
Why bathrooms need different wall cladding
A bathroom is not a typical dry interior. Between hot showers, poor ventilation in some homes, and the constant risk of splashback near basins and baths, the wall finish needs to be chosen with care. In Cape Town and along the coast, humidity can add another layer of wear, especially where windows stay closed in winter or extractor fans are undersized.
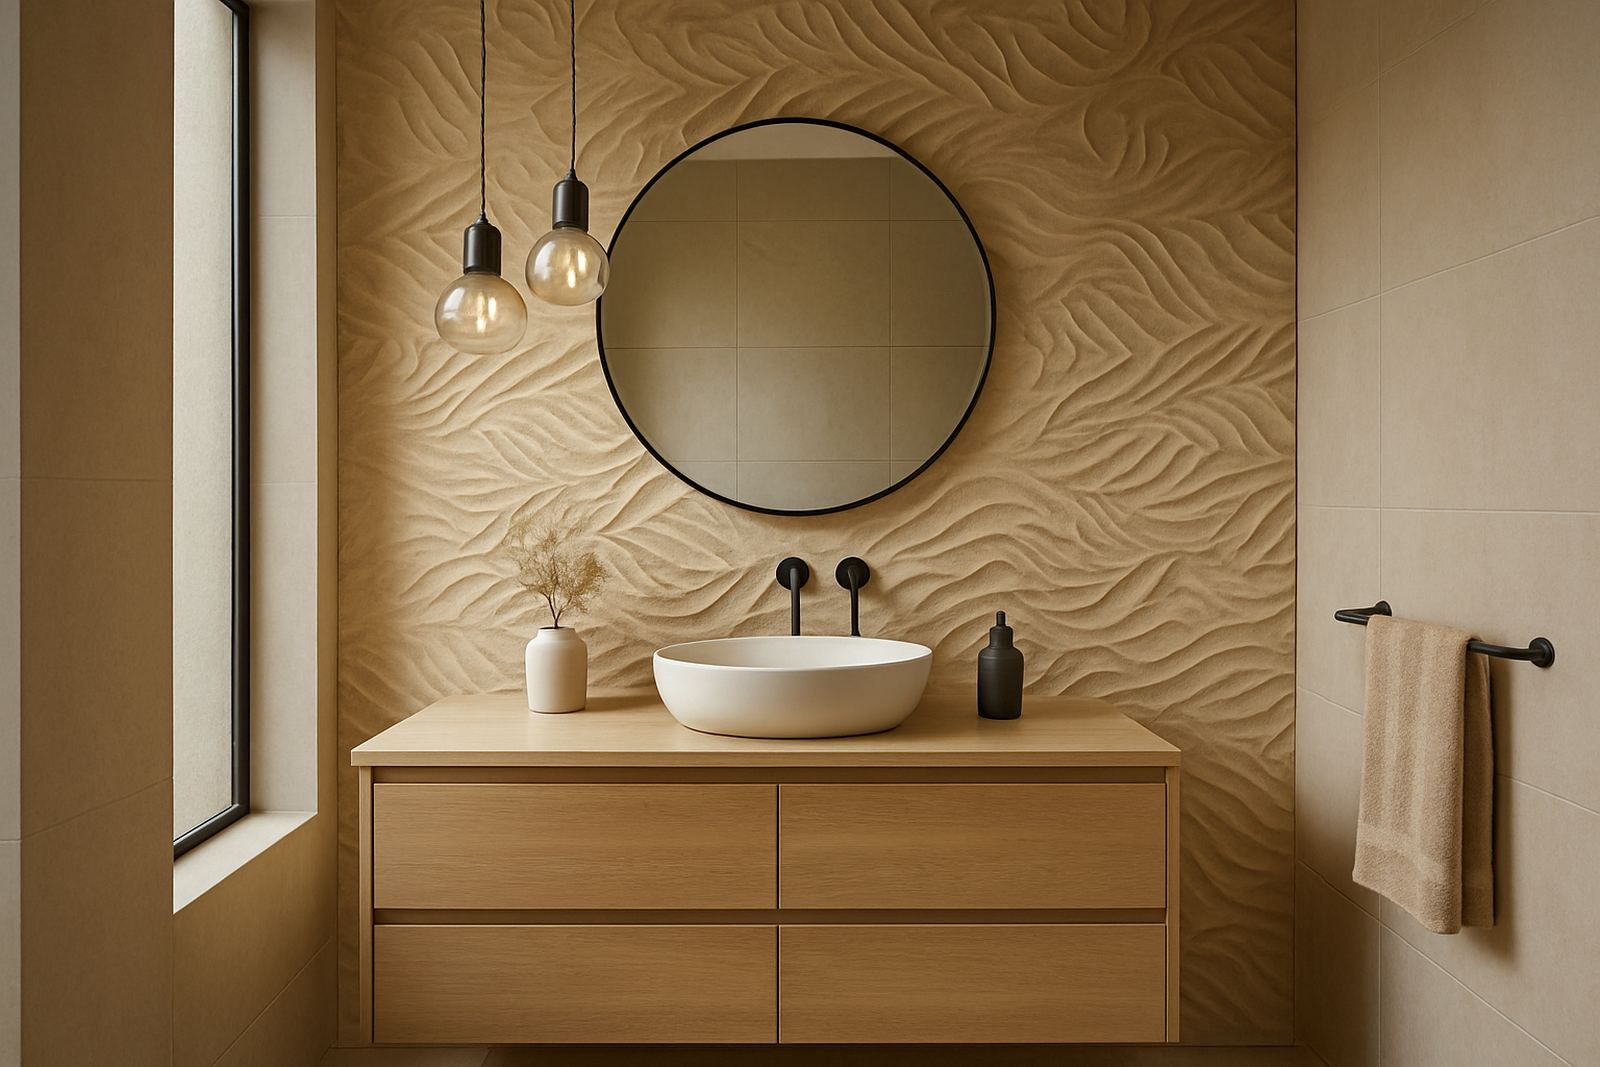
That is why bathroom feature walls are usually planned around moisture exposure first, and looks second. The best results come from matching the panel type to the exact position in the room. A wall behind a vanity can take a decorative 3D finish, while the area around a bath or shower may need a more water-tolerant surface and better sealing at the edges.
- Vanity walls: ideal for texture and depth
- Bath walls: need careful sealing and correct prep
- Shower-adjacent walls: require the most attention to moisture and joints
- Guest bathrooms: often suit lighter panels and simpler layouts
Common bathroom panel choices and what suits them
For bathrooms, we usually look at material behaviour, not only appearance. Some panels are better for dry accent walls, while others are more suitable in rooms with frequent cleaning and changing temperatures. The key is getting the balance right so the wall still looks good after years of use, not just on installation day.
In most homes, the practical set-up includes wall panels, adhesive or fixing components suited to the substrate, trims for corners and ends, sealant where needed, and careful surface preparation. If the wall is uneven or has old paint lifting, that has to be dealt with before any fitting starts. In some older homes in the Southern Suburbs or Stellenbosch, a bathroom wall can look fine at first glance but still need patching and levelling first.
- Moisture-tolerant decorative panels for vanity and dry feature zones
- Acoustic panels where the bathroom links to a bedroom or dressing area
- Trim pieces for neat corners and edges
- Sealers and prep materials for splash-prone areas
- Replacement sections for local repairs after plumbing work
Layout and planning for a bathroom feature wall
A good bathroom layout starts with where the eye lands first. Most clients want the feature wall behind a basin, bath, or freestanding vanity because it creates impact without crowding the room. In compact Cape Town apartments, a feature wall often works best on the shortest visible wall, especially if the space already has a lot of sanitary fittings and mirrors.
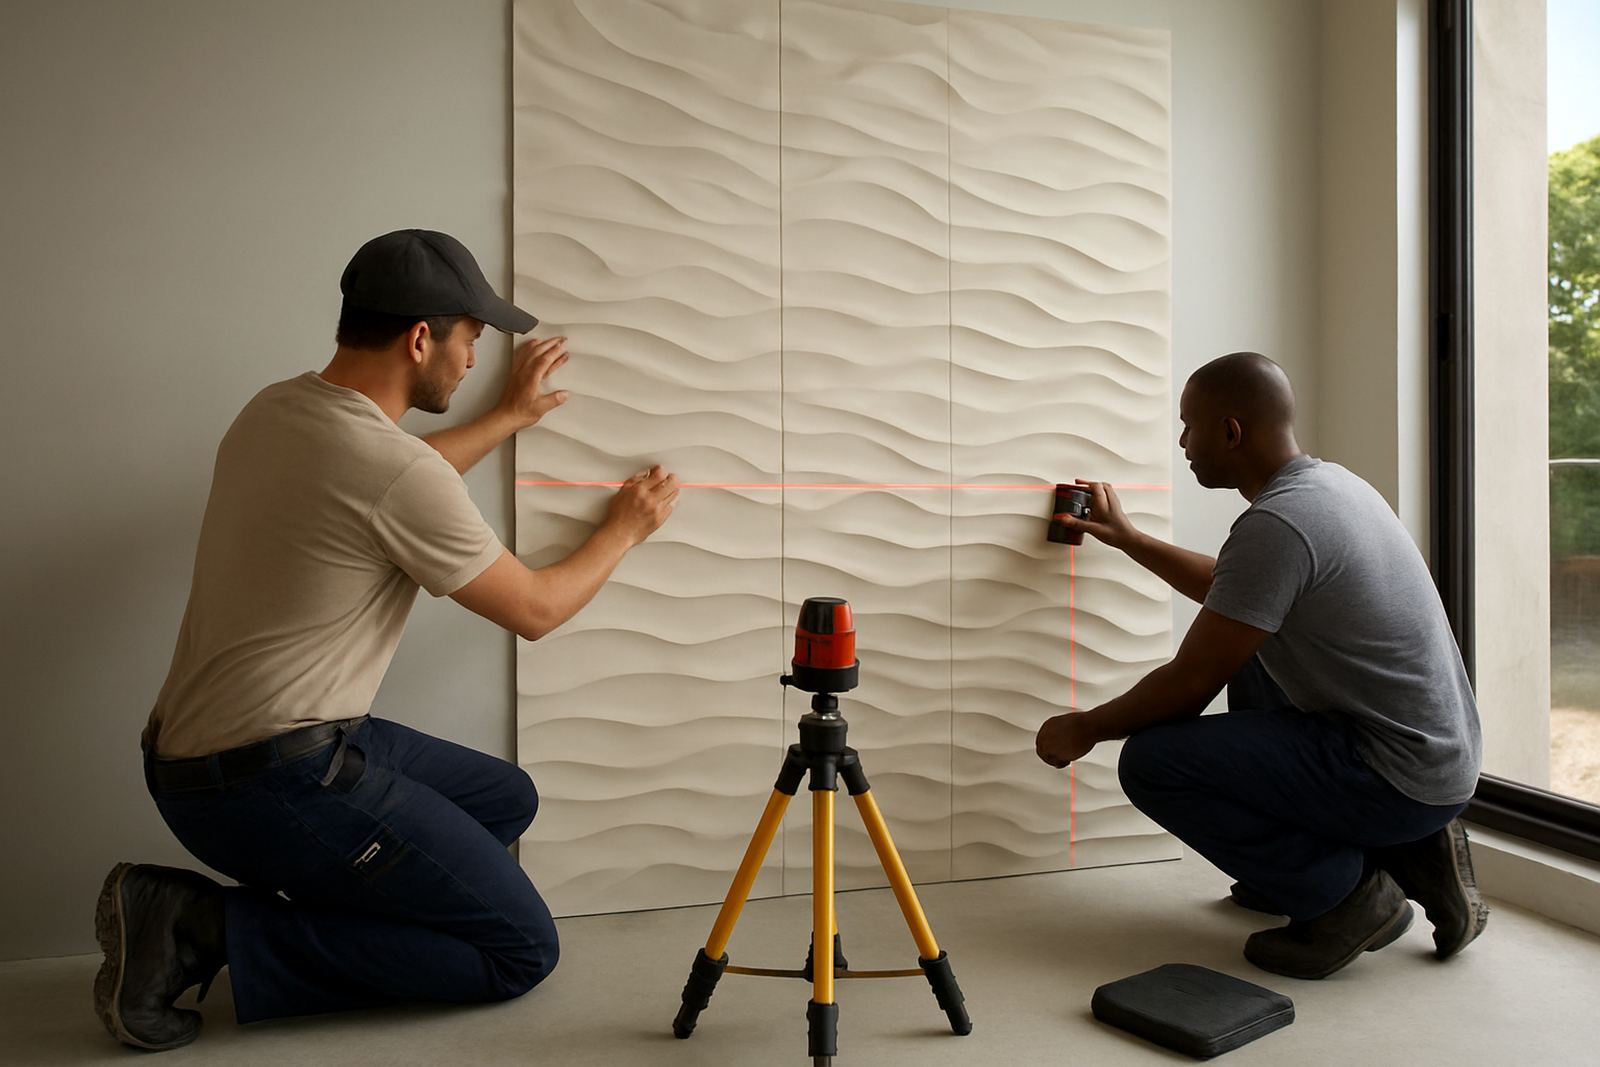
Before any order is placed, we advise a site measure-up so the panels can be planned around windows, towel rails, light fittings and access panels. It is important to check how doors open, where water is likely to splash, and whether the wall has enough clearance for a clean finish at the sides. If the room is part of a renovation, the plumbing and tiling schedule should be finalised first, otherwise the panel set-out may need rework later. That gets expensive quickly.
- Measure the exact visible wall area, not just the room size
- Allow for mirrors, shaving cabinets and mixers
- Keep access to shut-off valves and inspection points
- Plan joints so they land in less noticeable positions
- Use adequate ventilation, especially in closed bathrooms
Common mistakes that cost time and money
Bathroom projects often go wrong when the wall finish is treated like a simple cosmetic add-on. The most common mistake is fitting decorative panels onto a damp or dusty wall. Another problem is choosing a finish that looks good in a showroom but is awkward to maintain once soap residue and condensation start building up. We also see rushed installs where the corners are not trimmed properly, leaving edges that lift over time.
Another issue is poor planning around the bath or shower zone. If the wall is exposed to direct water and the product is not suitable for that use, the finish can deteriorate faster than expected. It is also worth checking the substrate. Old plaster, uneven brickwork and patched plasterboard all behave differently. A panel may sit flush in one section and bow in another if the wall was not prepared properly. Small errors become big eyesores in a bathroom because the space is compact and every line shows.
- Installing over damp or unsealed walls
- Ignoring extractor fan performance
- Not allowing for plumbing access
- Choosing a finish without checking maintenance needs
- Skipping proper edge sealing near water points
Budget ranges for bathroom feature walls
Bathroom budgets vary depending on wall size, the condition of the surface, the complexity of the layout, and whether the room needs extra prep. A small guest bathroom with a single feature wall will naturally cost less than a master suite with multiple wall sections, cut-outs and decorative trims.
As a guide, simple bathroom feature wall supply can start from about R2,500 for a compact wall section, while more detailed decorative panel sets can range from R4,500 to R12,000 depending on size and finish. Once you add wall preparation, site measure-ups and installation, many homeowners in the Western Cape budget between R8,000 and R25,000 for a complete bathroom feature wall project. Larger or more technical spaces, especially where repairs or special sealing are needed, may sit above that. For commercial bathrooms in lodges, offices or guest facilities, rollout pricing is usually worked out per unit or per wall bay.
It helps to think in stages rather than one lump sum. The wall condition, chosen product and installation method all affect the total. A neat, well-planned install usually costs less over time because it needs fewer call-backs and less maintenance.
How WallArtDesign handles bathroom projects
We work across Cape Town, from Montague Gardens to the Atlantic Seaboard, Northern Suburbs, Southern Suburbs, Stellenbosch, Paarl and Somerset West, with panels couriered nationwide. Our process is practical and built around the room itself, not just the sample. Morne van Rensburg leads the business, with support from Anele Mbeki, Bianca Naidoo, Johan Smit, Tshegofatso Mabunda, Gerhard Steyn and Zanele Dlamini, so each step is covered from design input to aftercare.
For bathroom work, the usual process starts with a design consultation and sample matching, then a measure-up and a final layout plan. If the room needs prep, we can advise on wall preparation before fitting. For commercial clients, we also handle repeated bathroom rollouts where consistency matters across several units. After installation, we remain available for repairs, maintenance and support if the room gets refreshed later.
- Site measure-ups for homes and commercial bathrooms
- Sample matching to suit tiles, vanities and fittings
- Layout planning around mirrors, lights and plumbing
- Installation and finishing for a neat final result
- Aftercare support if the room needs adjustments later