
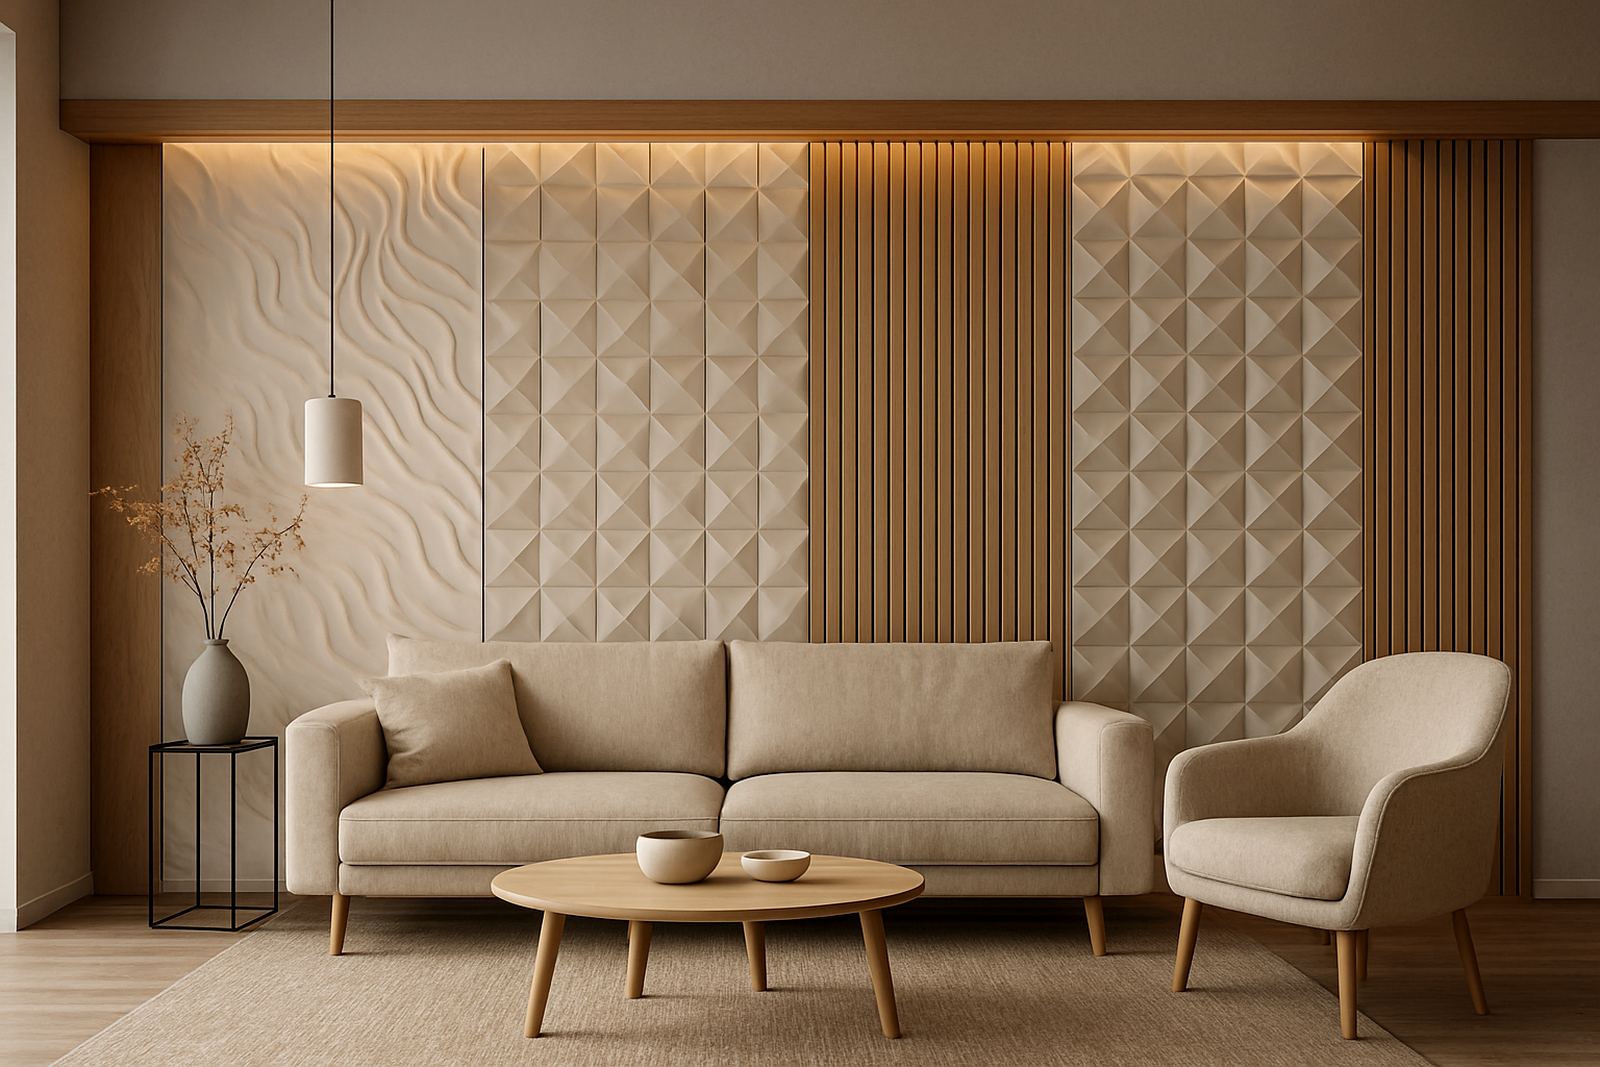
Clear the room and create a safe working area
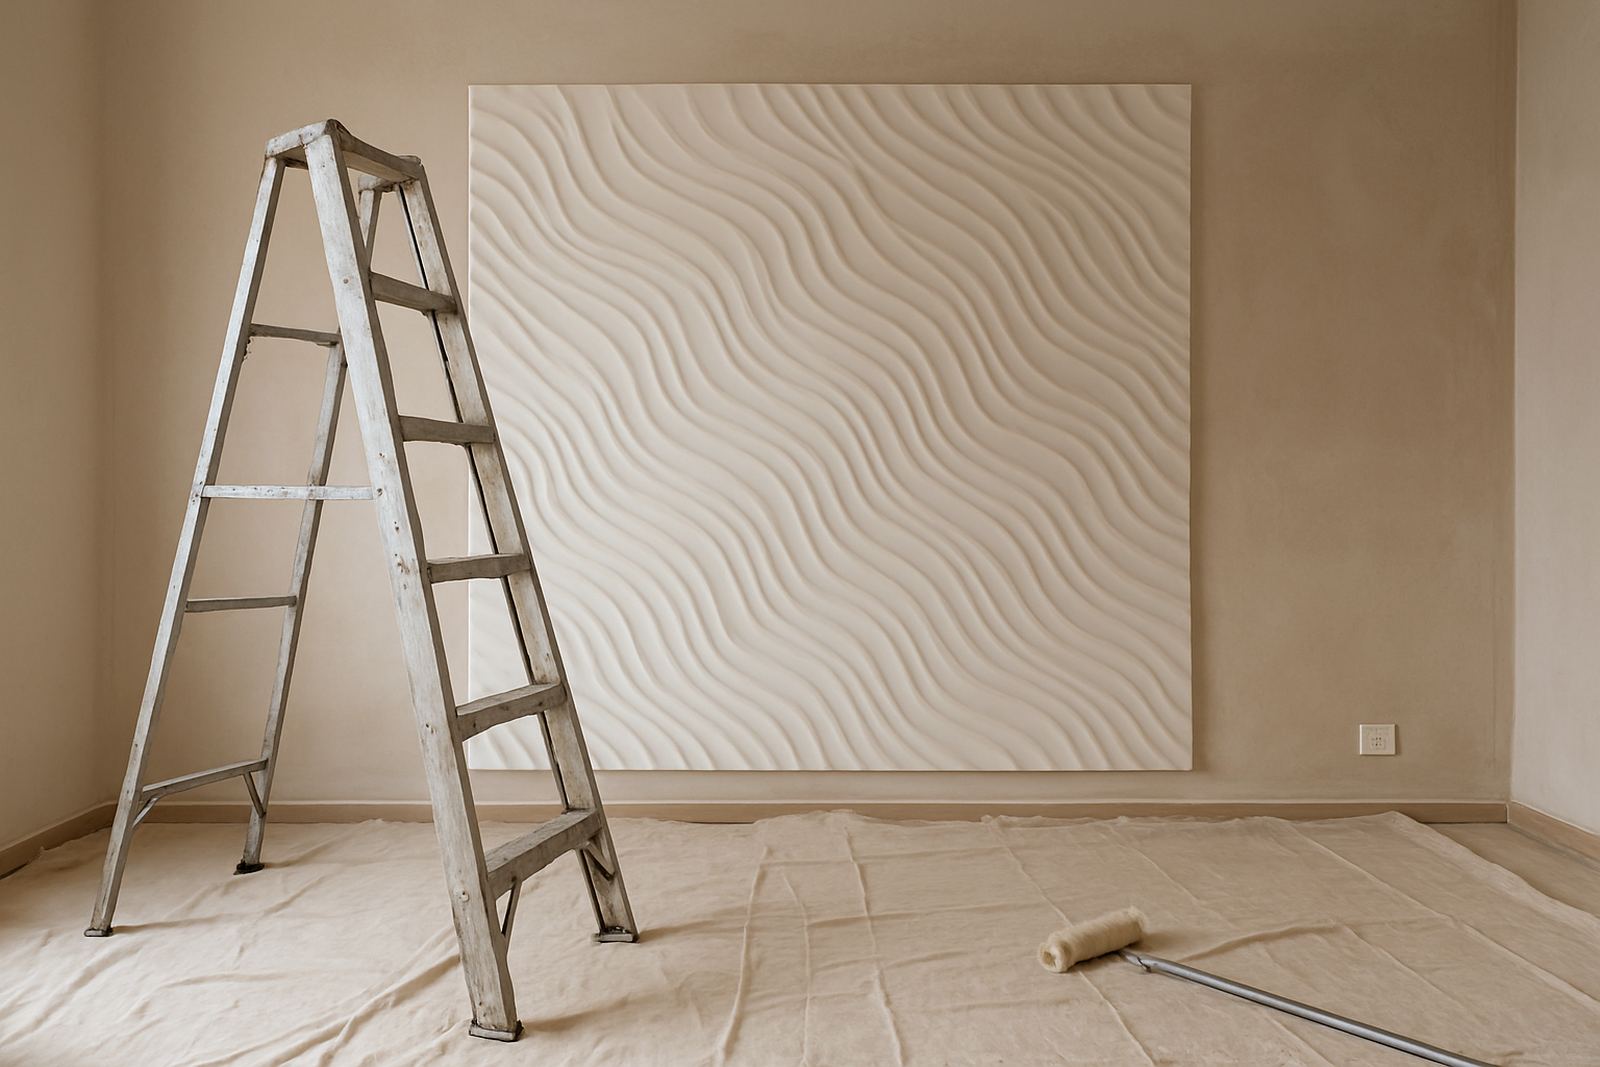
Before installation day, move as much furniture out of the room as possible. If a piece is too large to remove, shift it to the centre and cover it with clean plastic or blankets. Leave clear walking space along the walls that will be worked on, because installers need room for measuring, cutting and fixing panels neatly.
Remove wall art, mirrors, curtain tiebacks, shelving, loose décor and plugs in the work zone where needed. If you have fragile items in nearby rooms, pack them away too. Sawdust, adhesive and fine offcuts can travel further than people expect, especially in open-plan homes in the Atlantic Seaboard, Southern Suburbs and newer commercial offices in Montague Gardens.
If the job is in a business, let staff know which room will be closed off and for how long. A simple access plan avoids interruptions, protects equipment and keeps the site tidy.
Check your walls before the team arrives
Most cladding and 3D panel systems need a sound, clean and reasonably flat surface. If the wall has loose paint, damp patches, bubbling plaster or flaking texture, sort that out before installation. In coastal areas such as Blouberg, Sea Point and Somerset West, salt and moisture can show up as stains or soft plaster, so it is worth checking carefully.
Walls should be dry and free of dust, grease and old adhesive. If there are cracks, make a note of them and send photos before the appointment. Small imperfections may be managed during preparation, but deeper damage or movement should be repaired first. A wall with active damp will not hold up well, no matter how attractive the panel design is.
- Check for damp, leaks or mould
- Scrape off loose paint and failing plaster
- Remove nails, hooks and protruding fixings
- Wipe away dust, grease and smoke residue
- Make sure the surface is dry before fitting starts
Confirm power points, lights and fixtures
Take note of where plugs, switches, air-conditioning units, TV brackets, alarms and skirting boards sit on the wall. These details matter when planning panel layout and cuts. If the wall is being used for a TV feature, built-in shelves or acoustic treatment, the positioning should be confirmed early so the finished result looks balanced and functions properly.
Where lighting is built into the feature wall, the electrician should complete any required work before installation. Load-shedding also affects site timing, especially on jobs that need power tools or lighting for precision work. If the premises has backup power, let the team know so the schedule can be planned around it.
It helps to test that nearby sockets and switches work before the team arrives. If there is an issue, it is better to solve it ahead of time than to discover it once the wall is partly covered.
Plan access for delivery and installation
Good access saves time and avoids damage. Measure doors, passages, stairways and lifts if panels need to move through a building. For apartments, office parks and sectional title units, check body corporate or building rules for delivery times, parking bays and lift protection. In some areas, especially around central Cape Town and the Southern Suburbs, security and access control can add delays if they are not arranged upfront.
If the site is in a townhouse complex, mall, restaurant, clinic or office, make sure the correct person is available to open gates, approve entry and sign off on the completed work. Where parking is limited, reserve a bay near the entrance if possible. This is especially useful for larger commercial rollouts in Paarl, Stellenbosch and Somerset West.
- Confirm delivery access and parking
- Check stair height, lift size and corridor width
- Arrange site access codes or security clearance
- Set aside space for offloading materials
- Notify neighbours or tenants if noise may be expected
Prepare for accurate measuring and layout
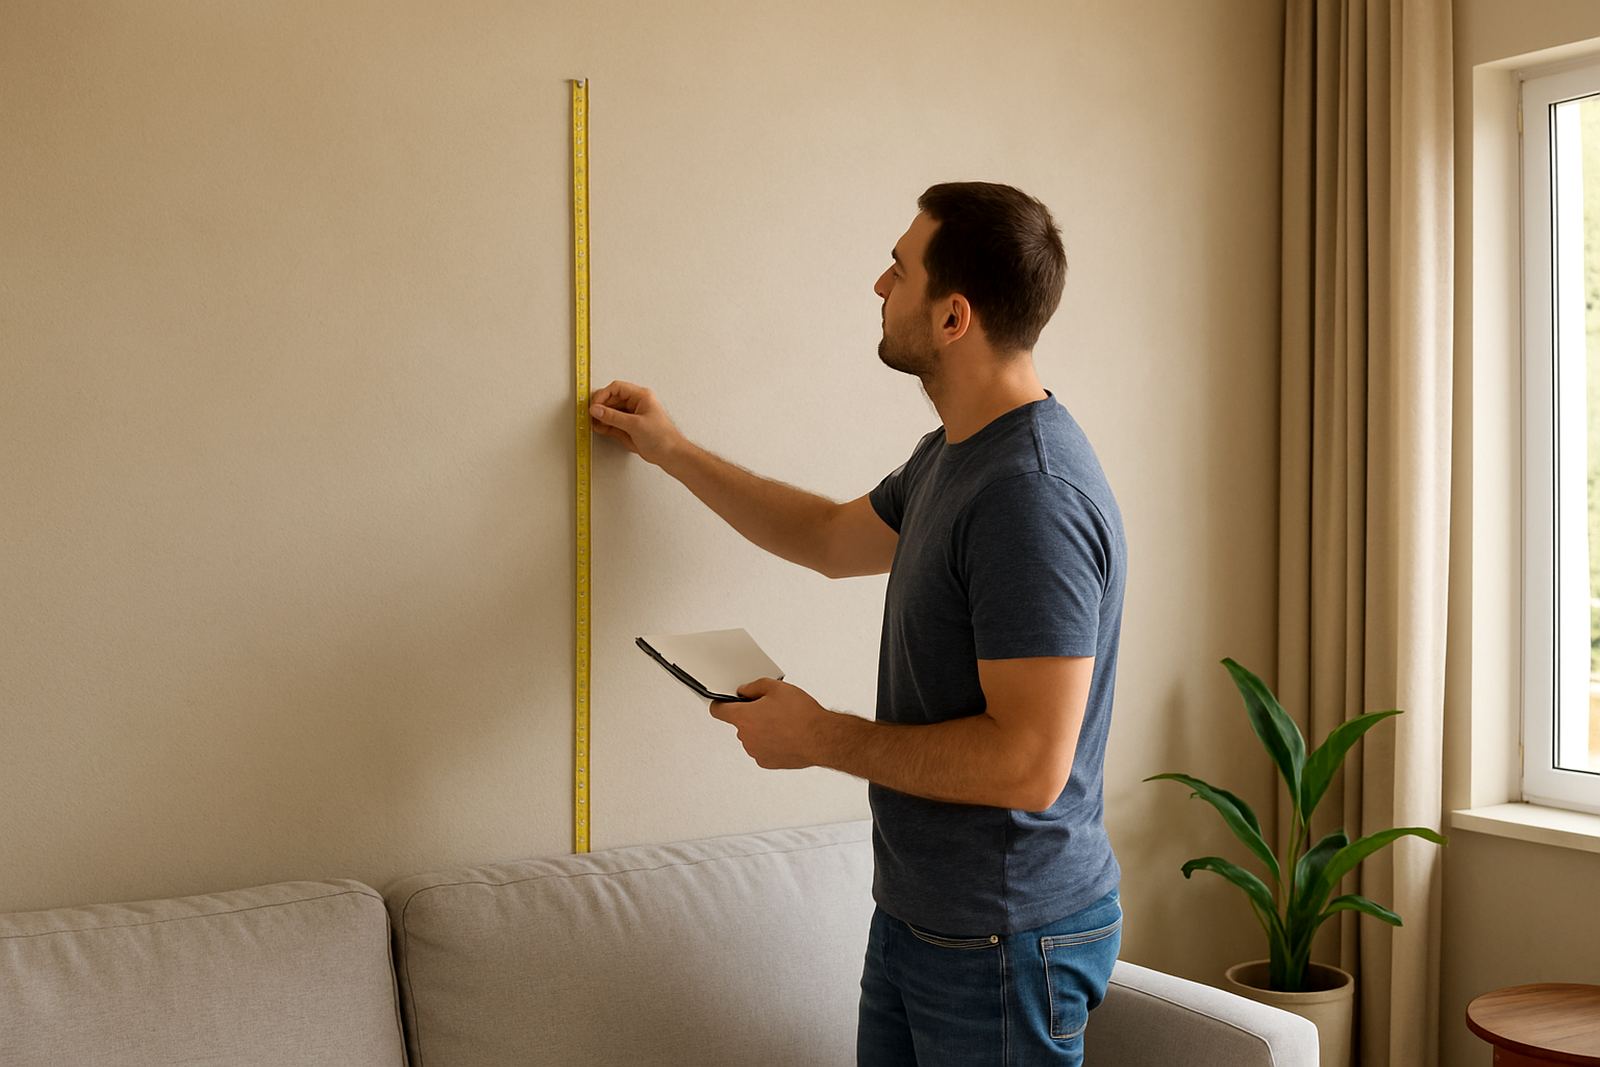
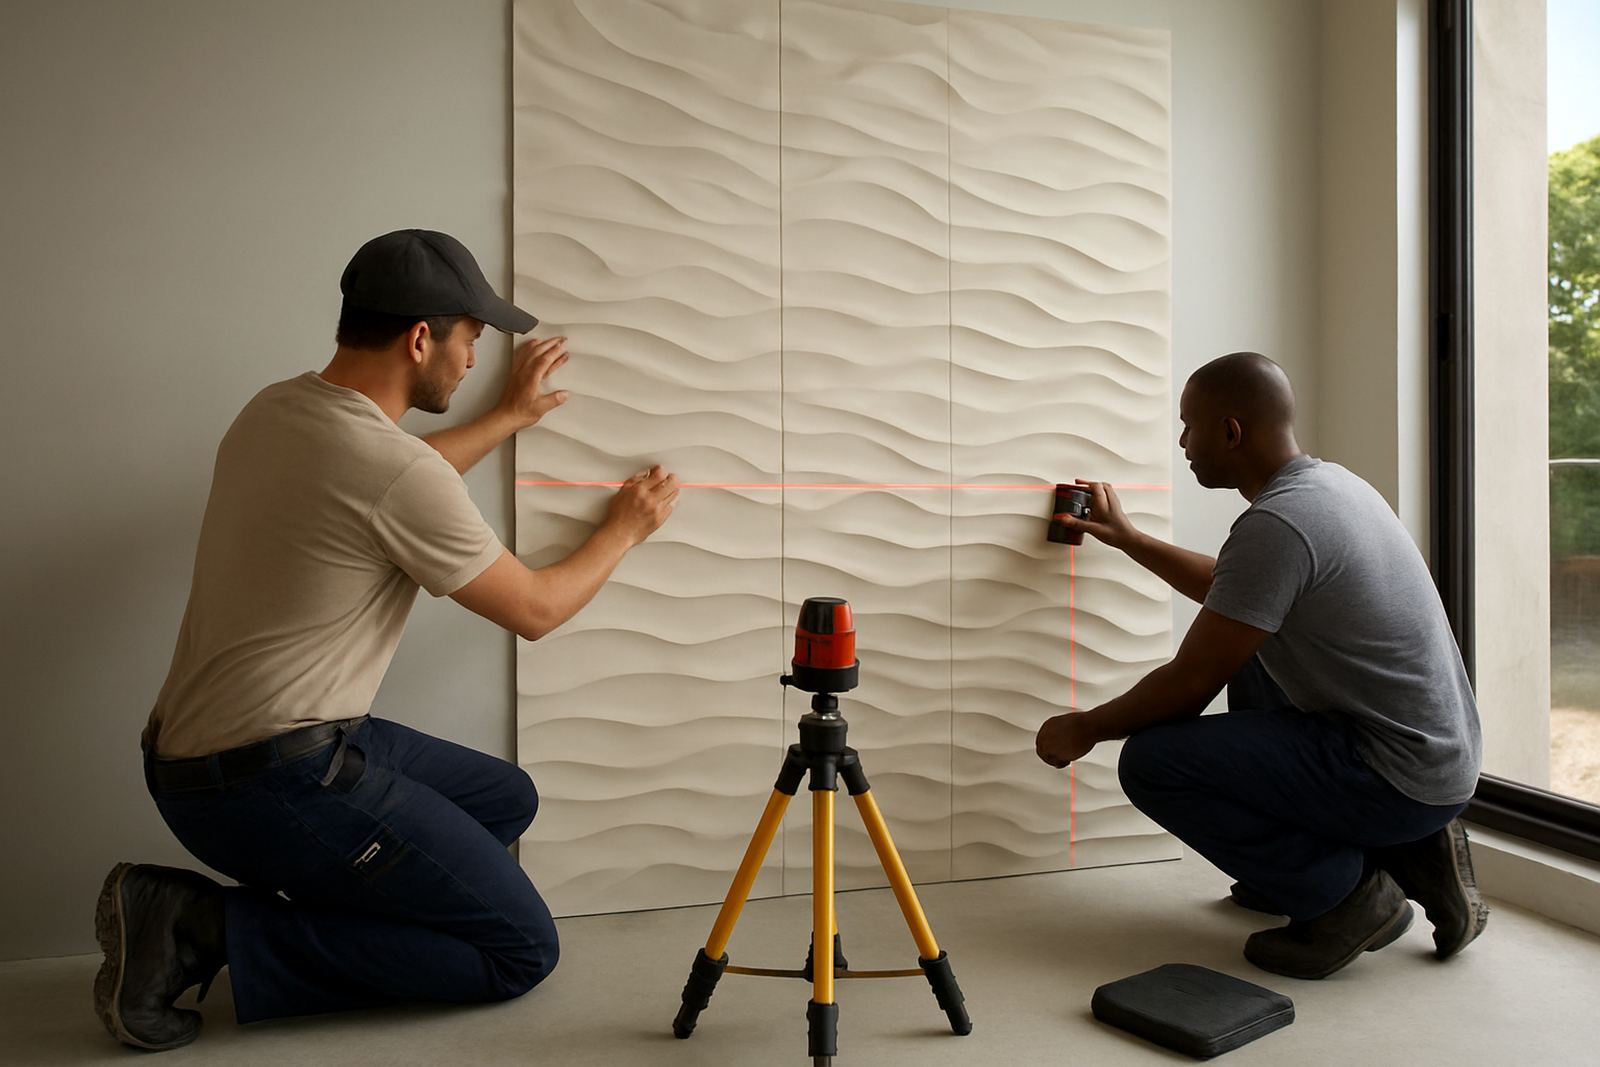
A clean site makes layout work easier. If possible, remove picture rails, loose trim and anything that may interfere with accurate measurements. The wall should be exposed from floor to ceiling so the installer can mark out a proper centre line, alignment points and cut positions. This is important for feature walls, because even a small shift can affect the visual balance of the whole room.
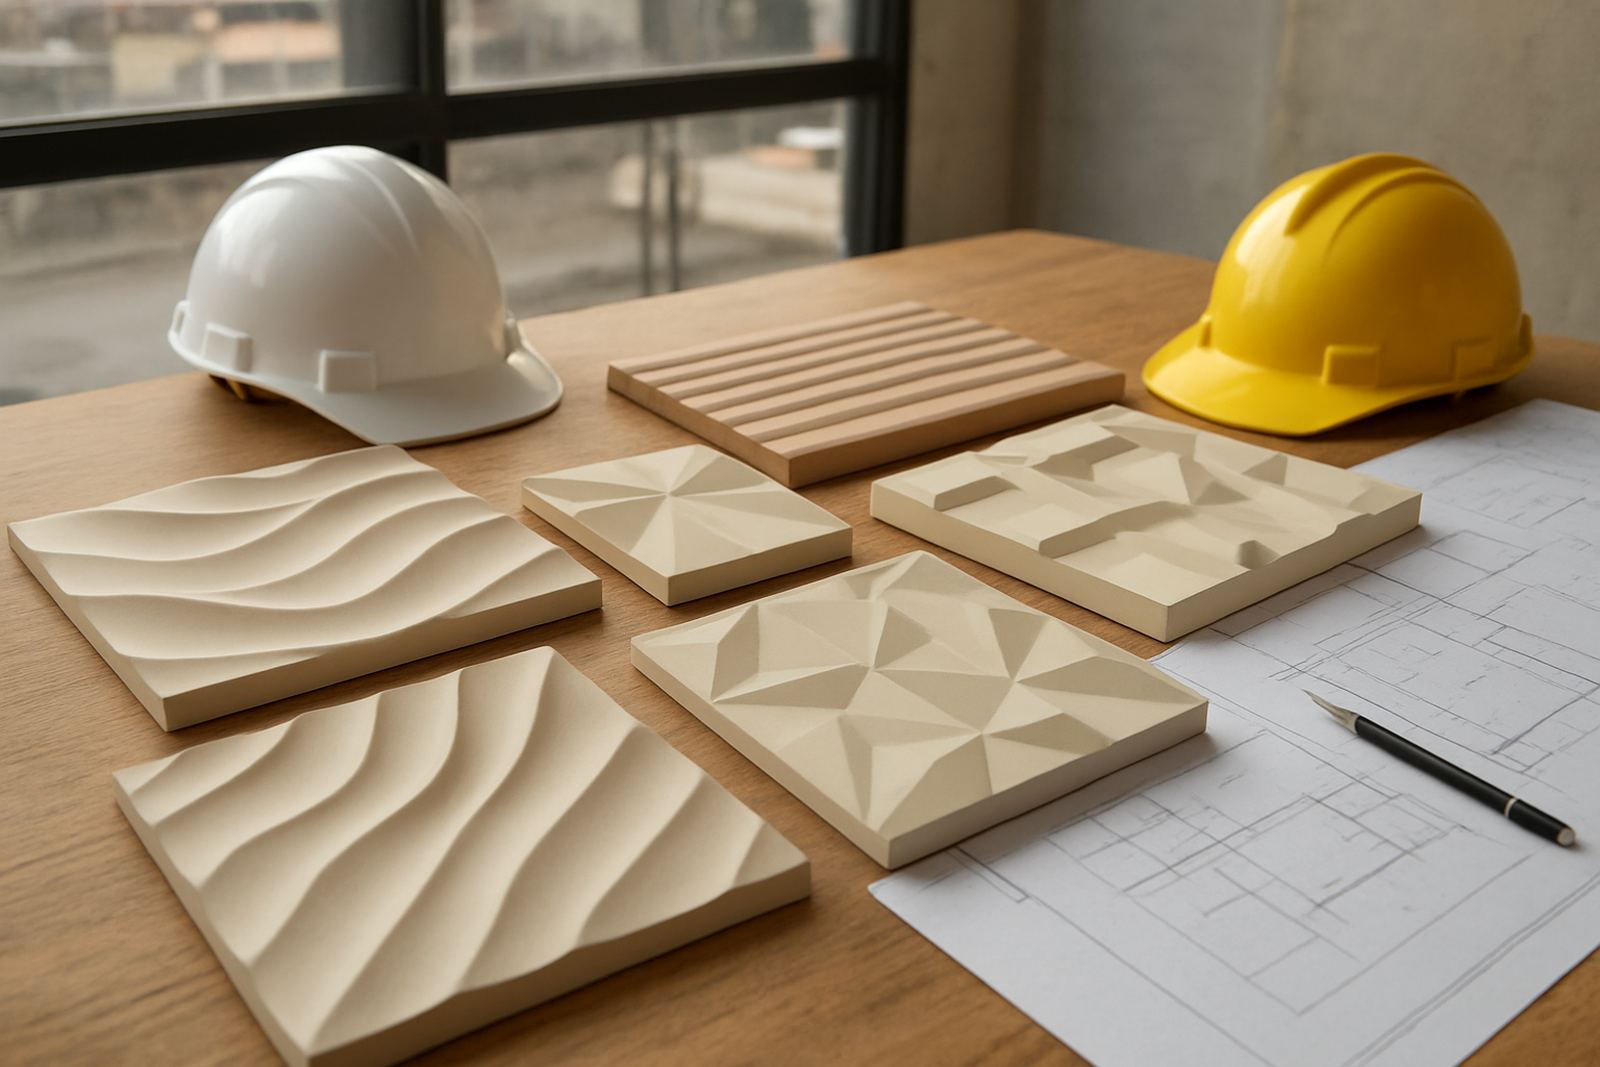
For irregular rooms, built-in cupboards or sloping ceilings, a site measure-up is especially useful. Please point out anything that should be included in the layout, such as existing finishes you want to keep, hidden access panels or cabling behind the wall. Good communication before the job helps avoid unnecessary rework and keeps the finish neat.
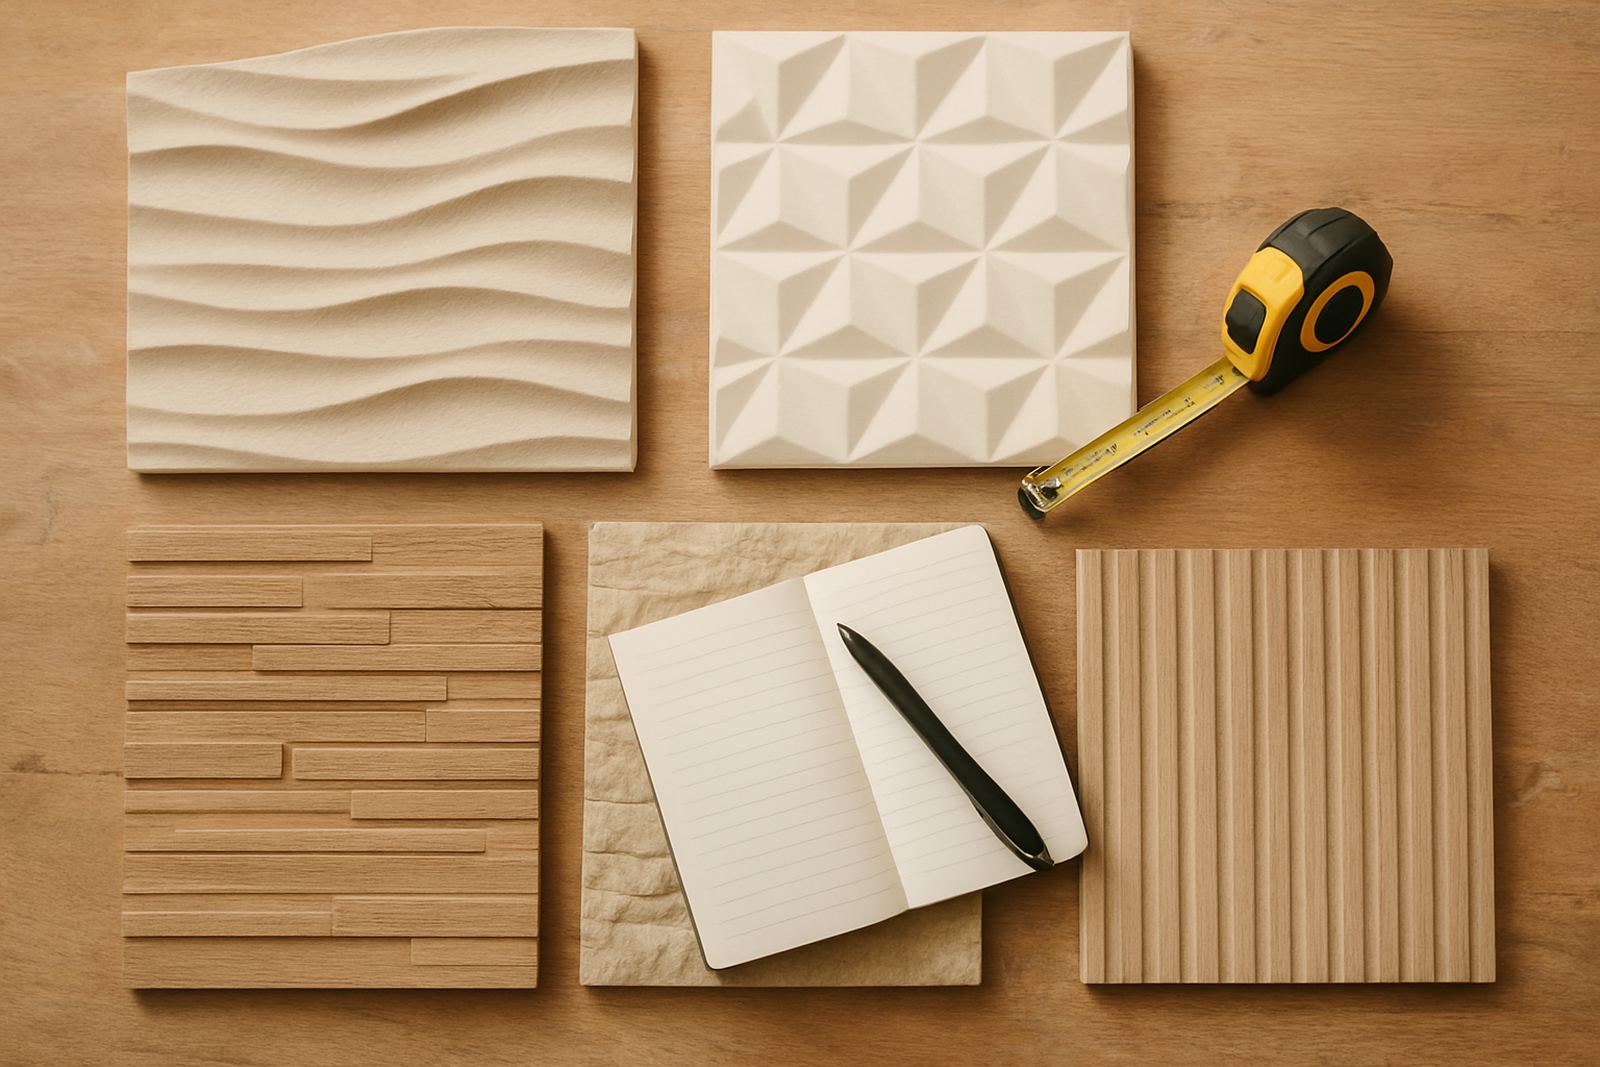
If you are matching a new panel design to an existing finish, keep a sample or clear photo on hand. Lighting conditions can change the appearance of colour and texture quite a bit, so it is useful to compare in daylight if you can.
What to expect on installation day
On the day of installation, keep the room accessible and avoid using the area while work is underway. Children and pets should stay clear of the work zone. If the project includes adhesive, cutting or sanding, ventilation is important, especially in smaller rooms or enclosed offices. Open windows where possible, but in windy Cape towns make sure loose dust will not blow through the property.
The team may need to reposition items, check alignment several times and clean as they go. That takes a bit of time, but it is part of getting a proper result. Once the panels are fitted, avoid touching them until the installer says the fixings and adhesive have settled. If there are final touch-ups or aftercare notes, keep them handy for future maintenance.
- Keep the area free of foot traffic
- Do not move fitted panels until advised
- Allow space for final checks and cleaning
- Keep pets, children and staff away from tools
- Ask questions before the team packs up, not after
Final checklist before the team arrives
Use this quick list the day before installation. It saves time and reduces stress, especially for busy homes and trading spaces where schedules are tight.
- Room cleared or central furniture protected
- Walls checked for damp, cracks and loose paint
- Plugs, switches and fixtures noted
- Access arranged for parking, delivery and entry
- Any site rules, body corporate rules or security steps confirmed
- Pets and children planned for elsewhere during the work
- Sample references or layout preferences ready for the installer
If anything changes, let the team know as soon as possible. A small update before the appointment is always easier to manage than a surprise on site. With the right preparation, your feature wall or acoustic panel project can be fitted cleanly and completed with less disruption.