
Start With the Full Wall Face, Not the Feature Area Alone
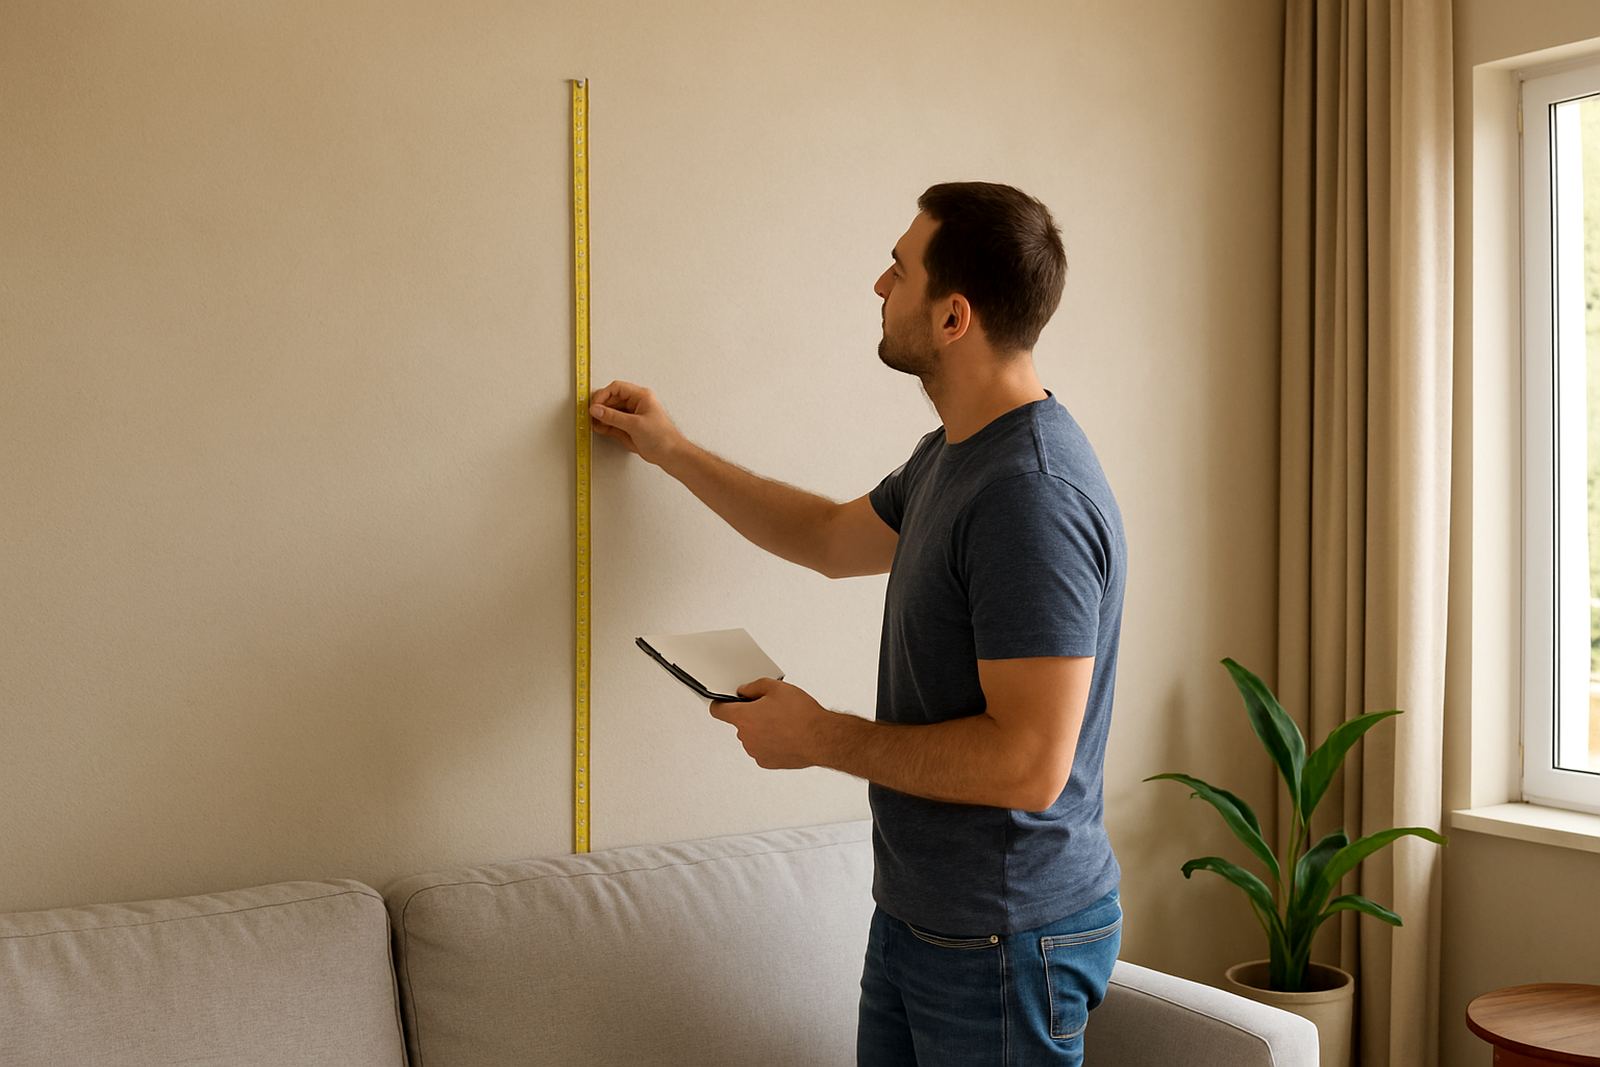
Measure the full wall from edge to edge, then work out the usable area for cladding or panels. If you only measure the centre section, you may miss skirting boards, window reveals, bulkheads or cornices that change the final take-off.
Use a metal tape measure where possible, especially on longer spans in homes and commercial spaces across Cape Town and the wider Western Cape. Record all dimensions in millimetres if you can, or in metres and centimetres if that is easier. Write the figures down straight away so you do not mix up width and height later.
- Measure width at the top, middle and bottom of the wall
- Measure height at the left, centre and right hand side
- Note any uneven floors or ceilings
- Record the largest and smallest readings
Check Openings, Corners and Fixed Fittings
Once you have the wall size, note anything that interrupts the surface. Doors, windows, light switches, plug points, air vents, alarm beams and wall-mounted units all affect the layout. In older properties in the Southern Suburbs or Stellenbosch you may also find walls that are slightly out, so it helps to measure each section separately.
For feature wall cladding and 3D panels, it is not only about the visible opening. You also need to think about how trims, joins and cut lines will fall around the edges. A careful sketch with labels can save time and reduce waste.
- Measure each opening separately
- Mark the distance from the nearest corner to each fitting
- Note skirting, cornice and dado rail heights
- Show where power points, switches and cables sit
Measure for Pattern, Direction and Panel Layout
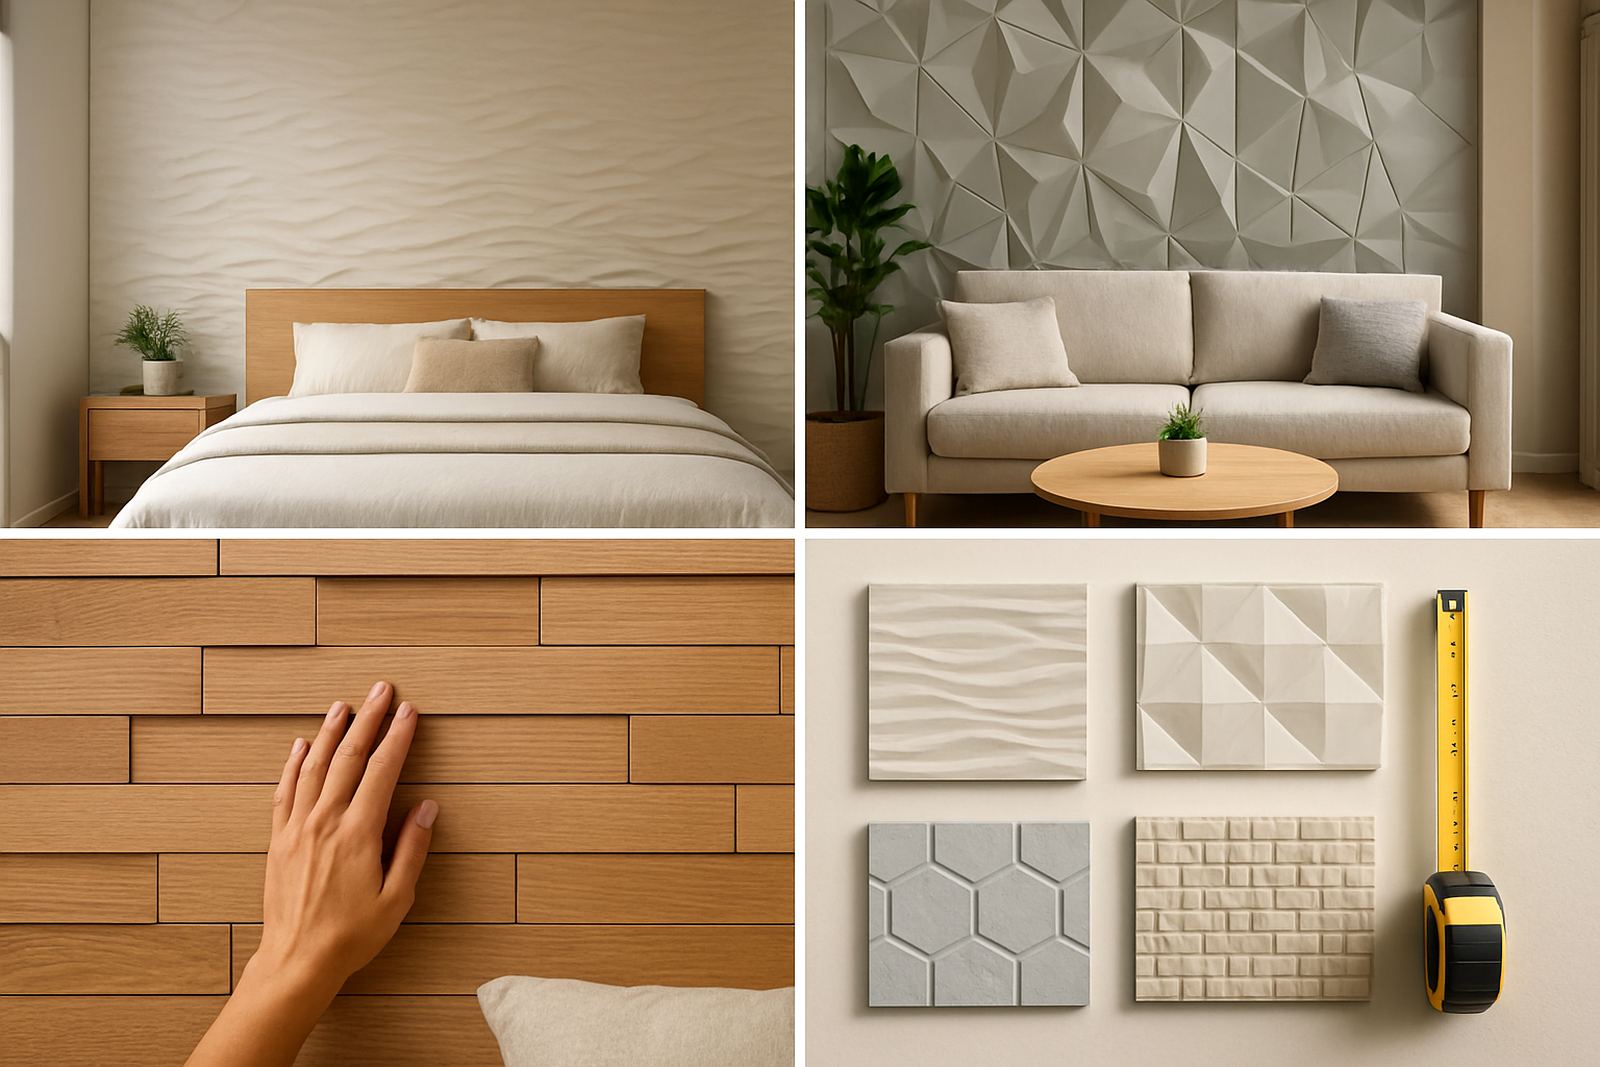
If you are ordering patterned panels or a wall system with a set design, the layout matters as much as the wall size. Some panels are designed to repeat in a strict sequence, while others can be staggered for a more natural effect. A neat layout can make a small room feel taller or a long passage feel more balanced.
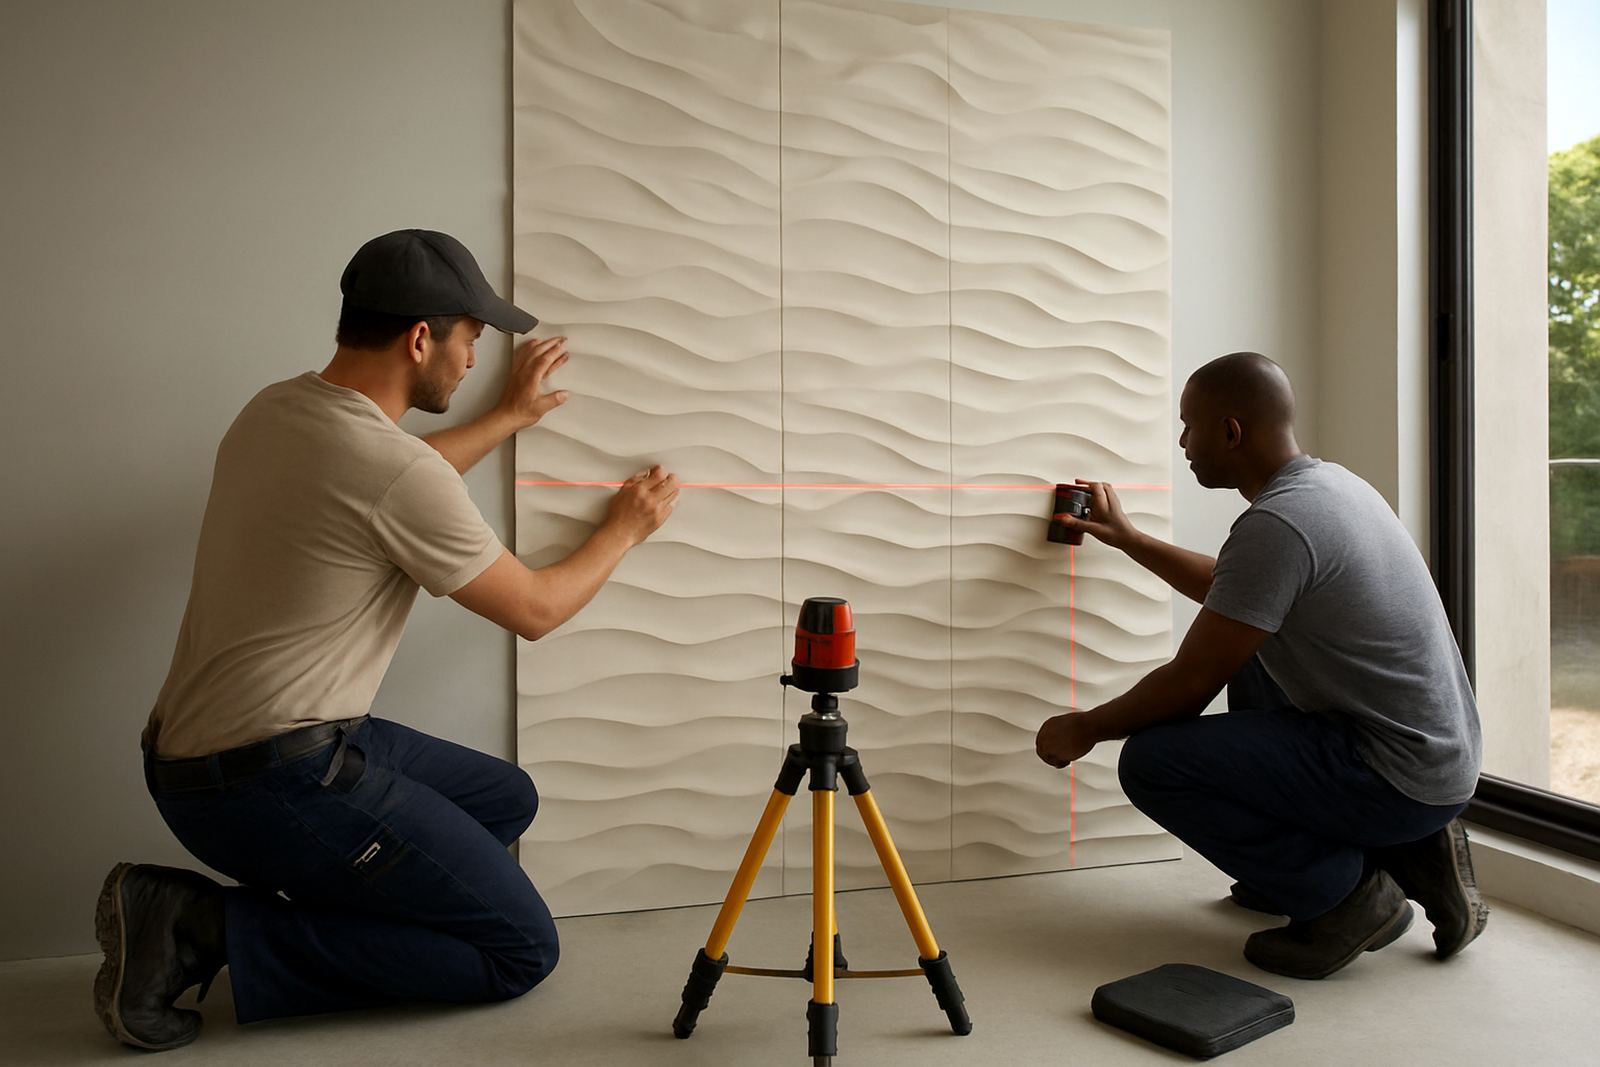
When you measure, think about the starting point. Decide whether the design should begin in the centre, from one corner or from a fixed feature such as a fireplace or reception counter. This is especially useful in commercial work, where signage, counters and seating often need to line up with the wall finish.
- Confirm whether the design repeats vertically or horizontally
- Check if the pattern needs a centre line
- Measure from the intended starting point, not only from the wall edge
- Allow for offcuts around the perimeter
Allow for Wall Preparation Before Installation
Wall preparation can affect the finished size and the way panels fit. If the wall is rough, painted with peeling layers or damaged by damp, the final surface may need repairs first. Coastal humidity in areas like the Atlantic Seaboard and Somerset West can also reveal cracks or moisture issues that are not obvious at first glance.
When you measure, note if the wall is brick, plasterboard, cement plaster or painted masonry. Tell us if the surface is flat, uneven or already carrying old wall coverings. That helps with planning, material choice and fixing method. In some spaces, load-shedding also affects installation timing, so a clear site note helps the team plan the job properly.
- Identify the wall surface type
- Check for cracks, damp patches or loose paint
- Measure any sections that need re-plastering or levelling
- Note if the room has limited access or power interruptions
Use a Simple Sketch to Send With Your Enquiry
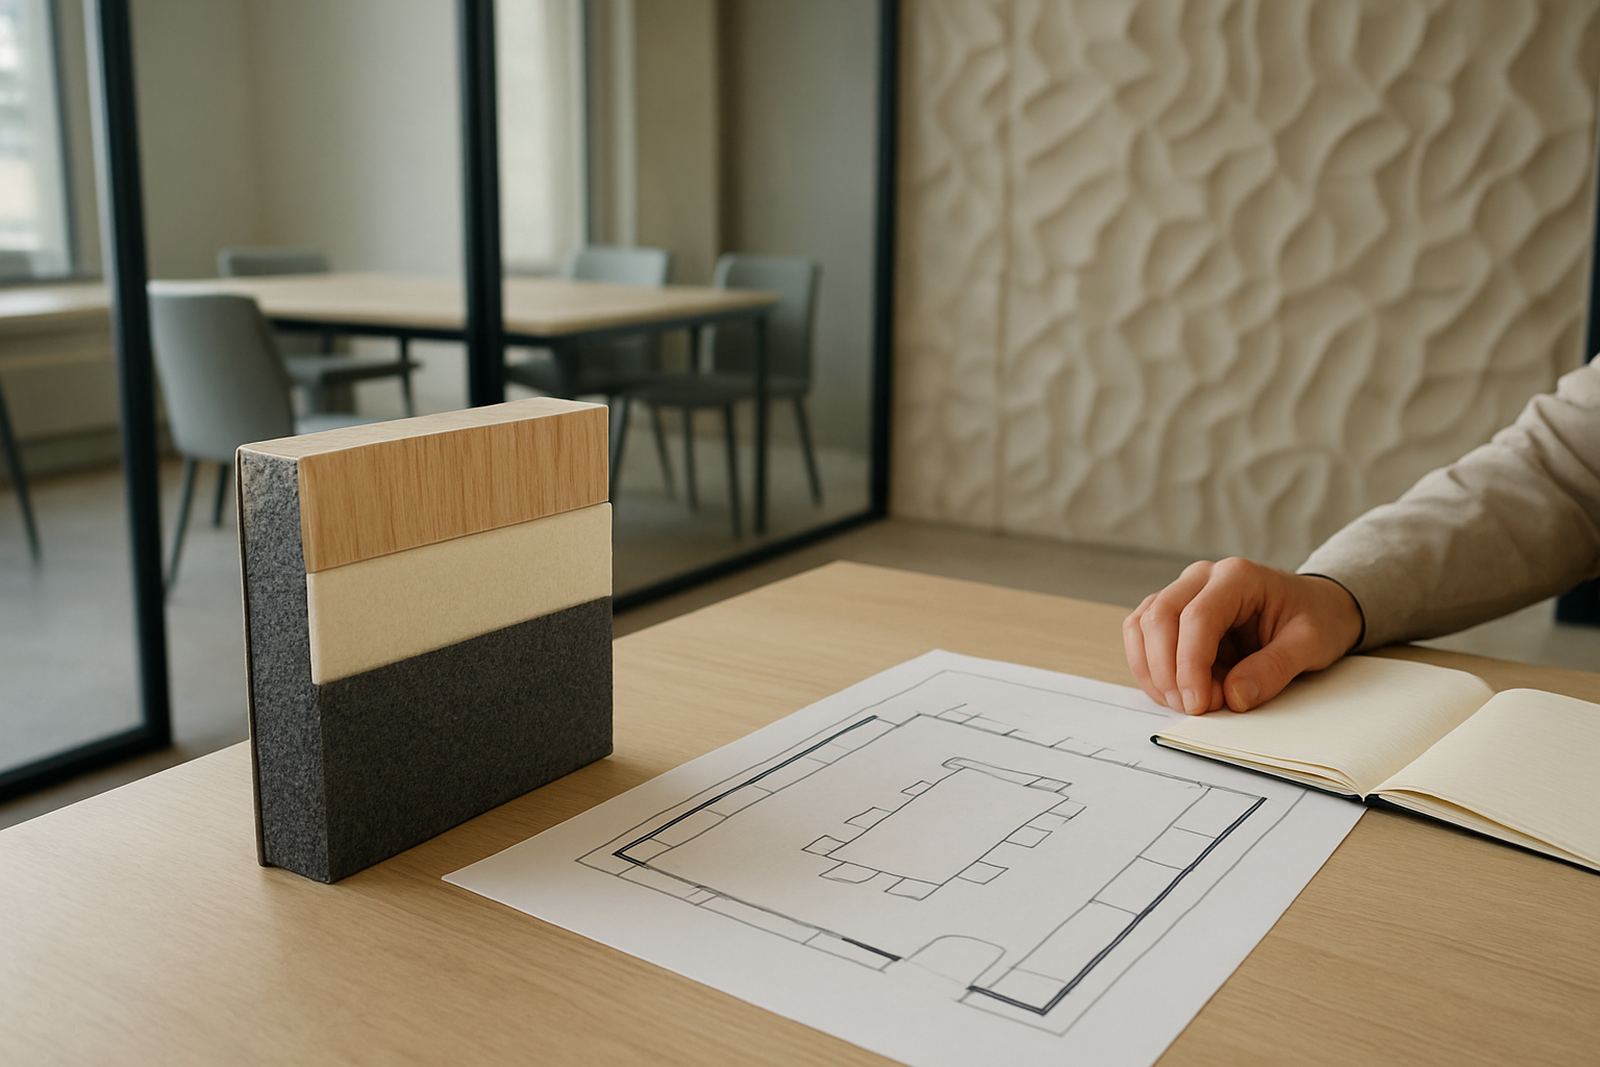
A quick hand sketch is often enough to help us understand your wall. It does not need to be neat, but it should show the key measurements and any problem areas. Add arrows for width and height, label each opening, and include a note if the wall turns a corner or steps in and out.
This is useful for homeowners in Paarl, business owners in Montague Gardens and contractors working across the Northern Suburbs. The more clear your sketch is, the easier it is to advise on quantities, lead times and whether a site measure-up is needed before order finalisation.
- Draw the wall shape roughly to scale
- Label every measurement clearly
- Include photos of the wall from a few angles
- Send your sketch with the enquiry form on our contact page
Before You Order, Do This Final Check
Before you submit your measurements, go back through them once more. Check that all figures are readable, that units are consistent and that you have not missed a second wall or side return. A small error at this stage can affect quantity, cut planning and the final fit.
If you are unsure, ask for a site measure-up. Our team in Montague Gardens can assist across Cape Town and installs throughout the Western Cape, while panels can be couriered nationwide. We work with homeowners, architects, designers and commercial teams, so accurate measurements help us plan a cleaner result from the start.
- Recheck width and height at more than one point
- Confirm all openings and fittings
- Make sure the sketch matches the photos
- Send the final details through the enquiry form