
Start with the bed and the wall around it
The first step is to measure the bed, the wall width and the ceiling height. A feature wall should work with the bed size, not fight it. For a standard double bed, a panel zone of around 1.8 to 2.4 metres wide often feels balanced. For queen and king beds, many homes in Cape Town and the Western Cape suit a wider layout, especially if the room has bedside tables on both sides.
Leave enough breathing room at the sides and above the bed. If the wall is very narrow, a full-height feature may feel too heavy. In smaller rooms, a centred panel field behind the headboard can still make an impact. If the bedroom has a sloped ceiling, bulkhead, or a window nearby, the layout should be adjusted before any installation starts.
- Measure wall width, ceiling height and bed width.
- Allow space for bedside tables, lamps and skirtings.
- Check for plugs, light switches and aircon points before fixing the layout.
- Take photos of the wall in daylight and at night for planning.
Choose a style that suits the room, not just the trend
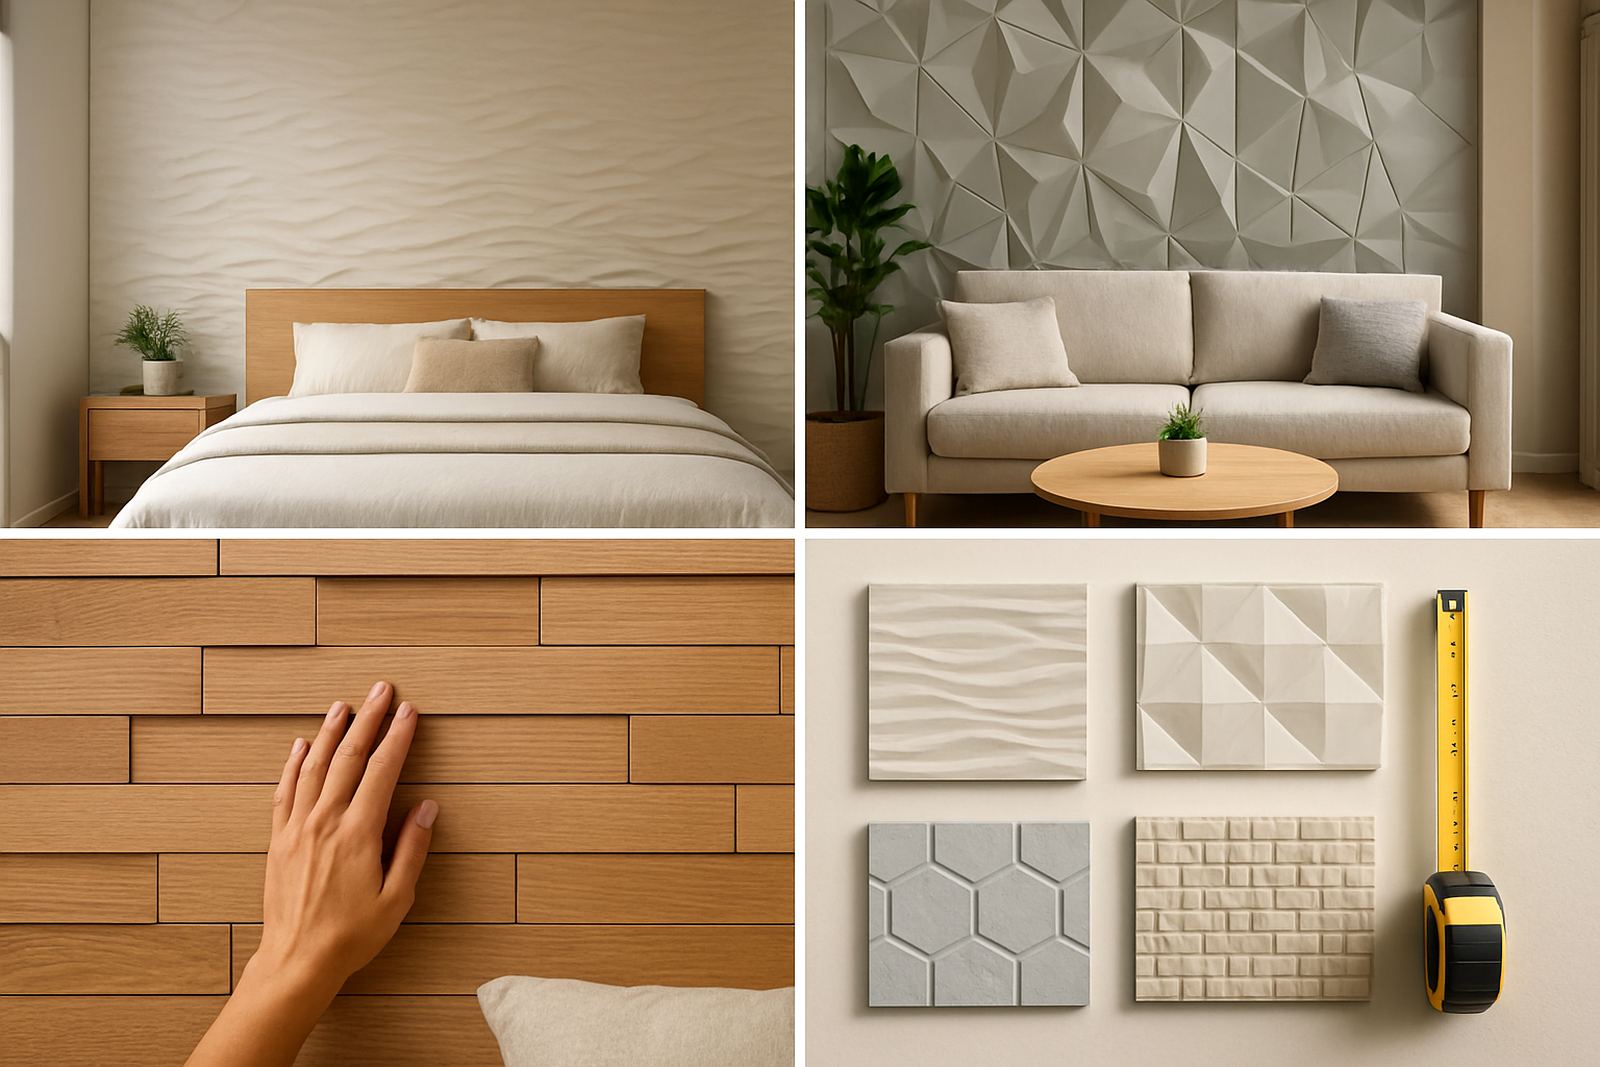
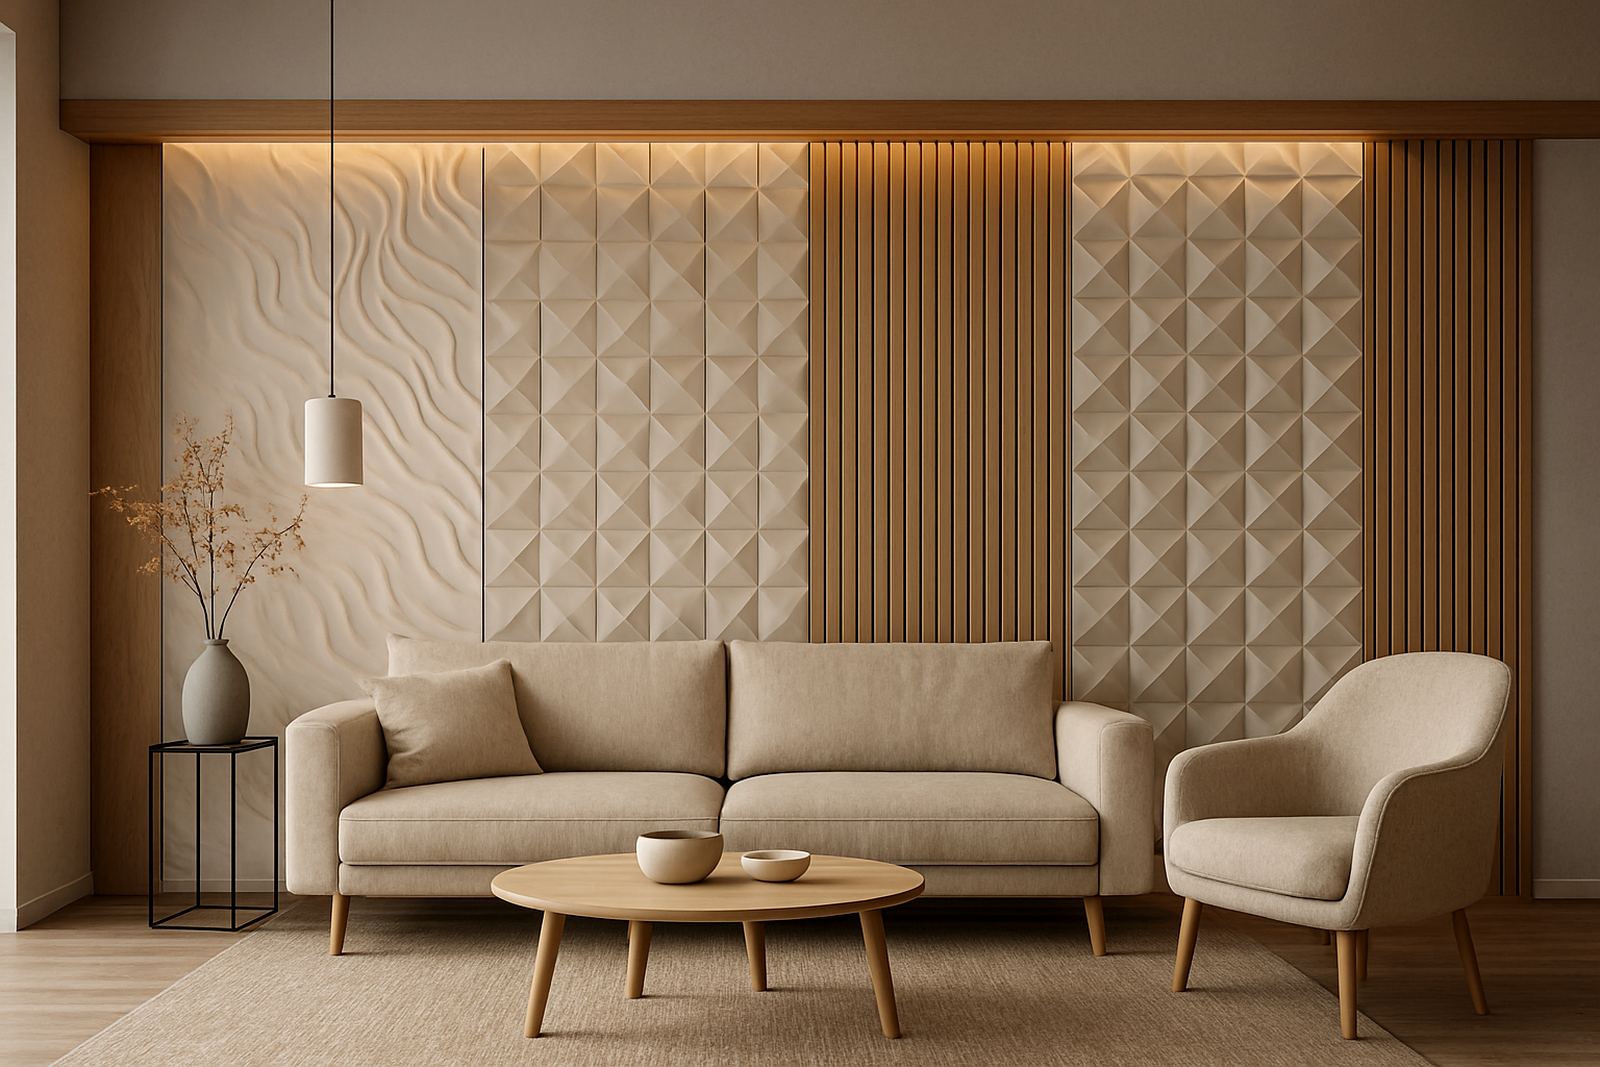
Headboard walls can be soft and calm, bold and sculptural, or practical with acoustic benefit. In coastal suburbs, lighter colours and textured surfaces often work well because they reflect natural light and feel cooler in the room. In inner-city apartments, darker tones or deeper textures can create a grounded, hotel-style look.
3D wall panels are useful when you want shadow lines and movement. Flat feature cladding gives a cleaner finish if the room already has strong furniture or patterned bedding. If you are working with a designer or architect, ask for sample matching against paint, flooring and fabric swatches. That avoids clashes once the room is complete.
- For calm bedrooms: choose soft neutrals, timber looks or low-relief panels.
- For modern suites: select geometric profiles or bolder panel repeats.
- For shared family homes: pick finishes that clean easily and handle everyday wear.
- For apartments: consider acoustic panels where noise transfer is a concern.
Plan the height and proportions carefully
The most common mistake is making the feature wall too short. A headboard wall should usually rise well above the bed, even if the bed itself is low. As a guide, many layouts look best when the panel area begins close to the floor and extends to a point above the mattress line, with the top edge aligned to a natural room feature such as a cornice, picture rail or ceiling break.
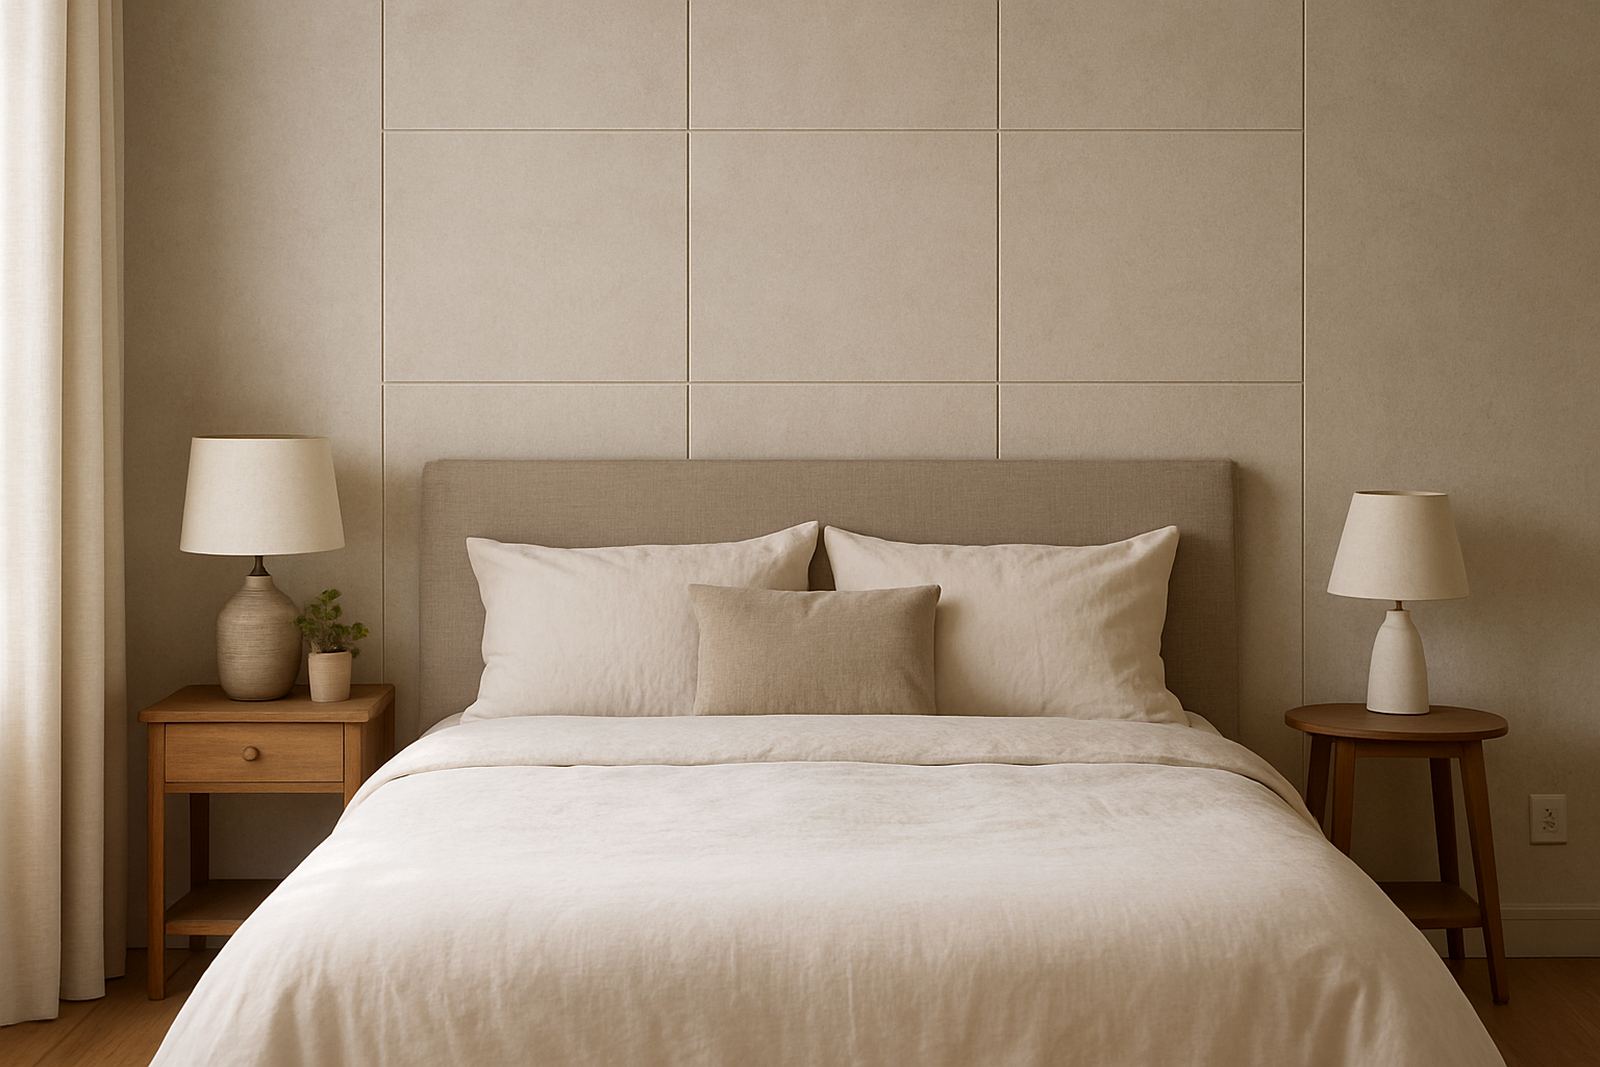
If the bed has a tall upholstered headboard, the wall treatment should complement it rather than compete. If the headboard is small or plain, the wall can take more of the visual load. In homes with lower ceilings, vertical lines can make the room feel taller. In rooms with generous height, larger formats and wider modules can create a more settled look. Getting the scale wrong can make the room feel awkward, so this part is worth checking twice.
When in doubt, mark the proposed wall area with masking tape and step back. Look at it from the doorway and from where the bed sits. If the line feels too narrow or too low, adjust before installation starts.
Prepare the wall before any fitting starts
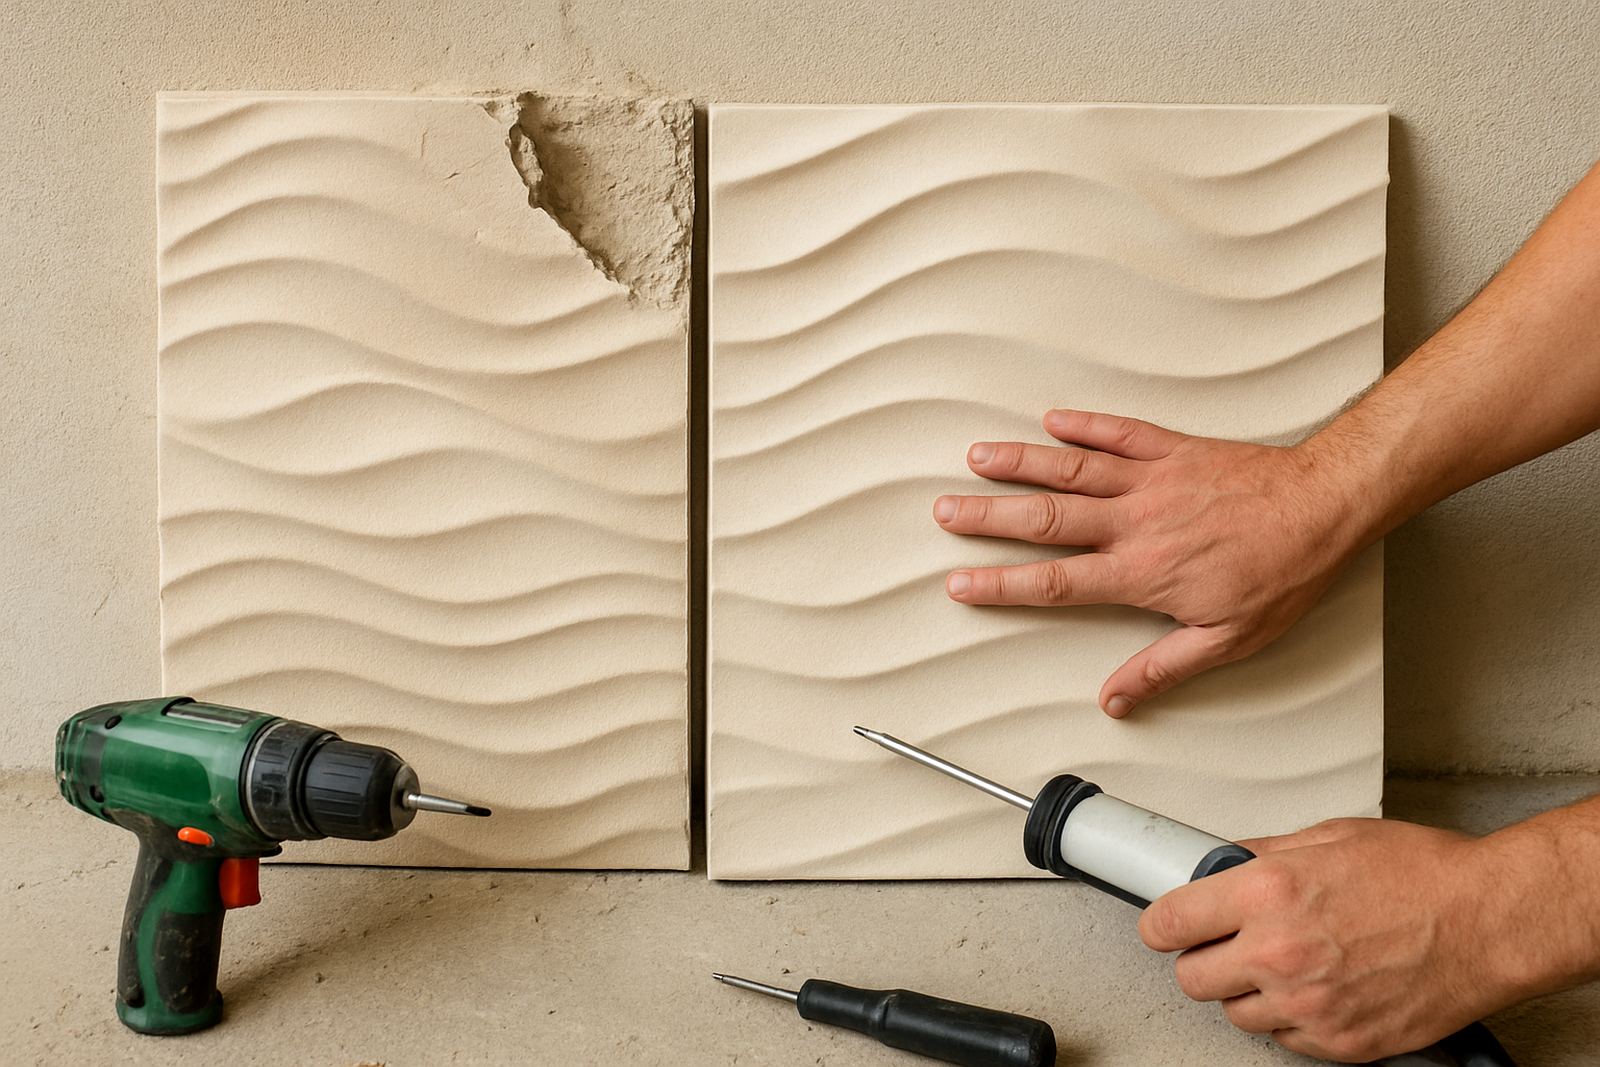
Good preparation matters more than people think. Bedrooms often have old nail holes, hairline cracks, uneven plaster or patches from previous fittings. Those issues should be sorted before cladding or panels go up, otherwise they can show through or affect adhesion. In humid coastal areas, it is also worth checking for damp, salt air exposure and any signs of paint failure near the window side.
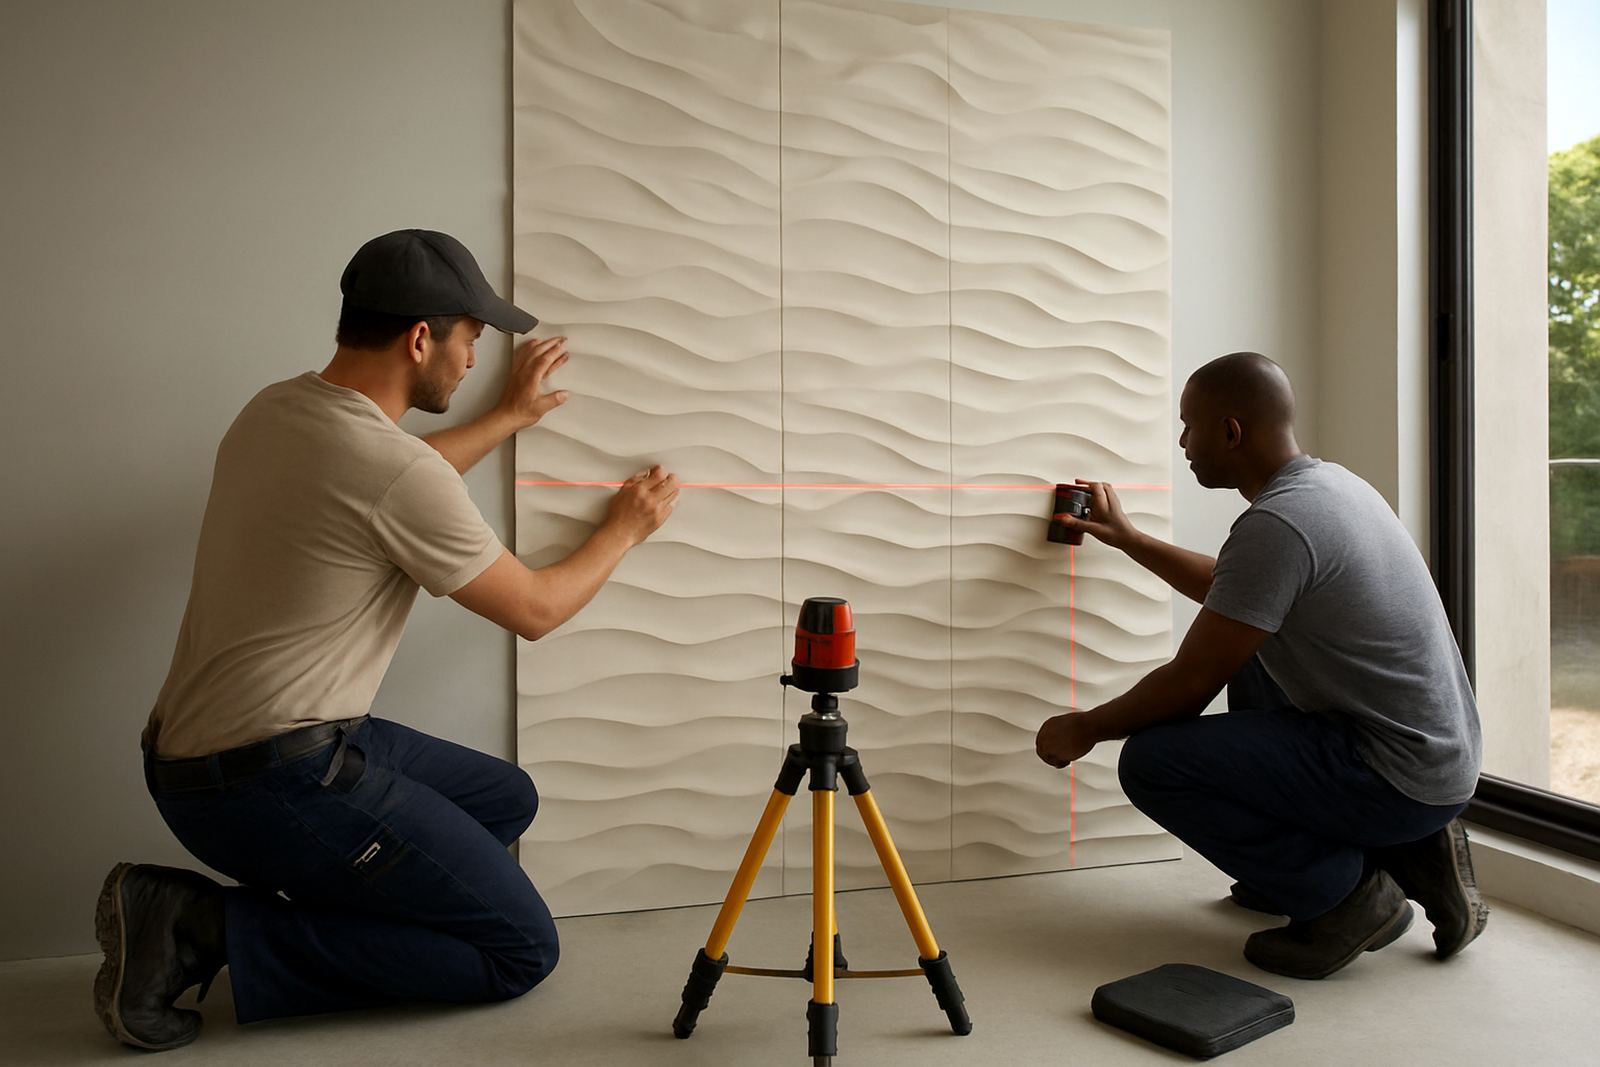
A proper installation sequence usually includes surface cleaning, checking the wall level, confirming power points and making sure the substrate can support the chosen product. If the room is being painted at the same time, allow enough drying time between coats. With load-shedding, it helps to schedule prep work and cutting when power is available, especially if tools or lighting are needed.
- Remove loose paint, dust and old adhesive.
- Check for damp, cracks and uneven surfaces.
- Confirm where lights, switches and charging points sit.
- Allow dry time after repairs and priming.
- Keep the room ventilated while materials cure.
Think about function as well as looks
A headboard wall does more than look good. It can reduce echo, frame reading lights, and protect the wall from marks and daily contact. Acoustic panels are worth considering in bedrooms with hard flooring, high ceilings or street-facing windows. They help soften sound, which can make a room feel quieter at night.
For family homes and guest rooms, maintenance should be part of the decision. Choose finishes that are easy to wipe down and not too fussy around edges. If the room is used by children or you plan to move furniture around often, a durable panel system is usually the better choice. Repairs should also be straightforward, because a small damaged section should not mean replacing the whole wall.
Think ahead about bedside lamps, wall reading lights and curtain tracks. A tidy layout around those items makes the finished wall look considered, not crowded.
Use this practical checklist before ordering wall panels
Before you confirm the layout, go through a proper checklist. This helps avoid costly changes later and keeps the bedroom project moving. If you are working with a homeowner, landlord, designer or builder, everyone should agree on the same wall width, finish and fixing method from the start. That saves time during site work and reduces surprises on the day of installation.
- Bedroom measurements checked and recorded.
- Bed size and headboard height confirmed.
- Sample chosen against flooring, paint and bedding.
- Wall condition assessed and any prep identified.
- Power points, switches and lights mapped out.
- Access confirmed for installers and materials.
- Aftercare plan understood for cleaning and maintenance.
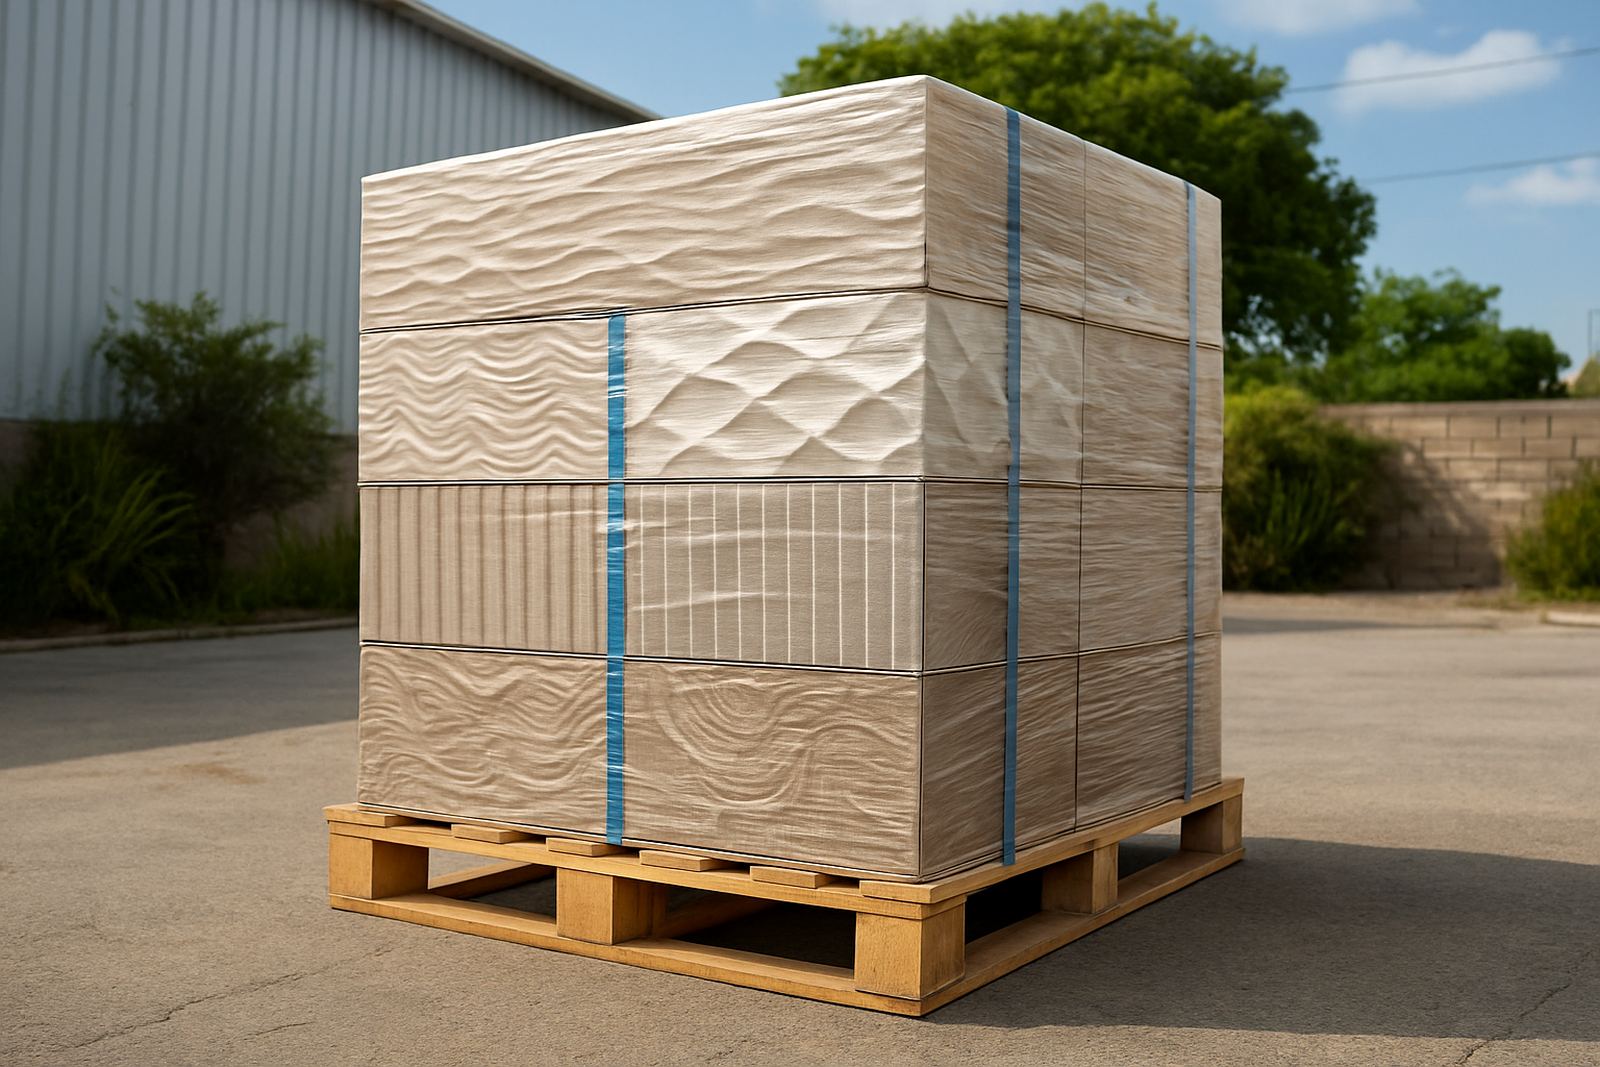
For projects in Montague Gardens, the Atlantic Seaboard, the Southern Suburbs or further out in Stellenbosch, Paarl and Somerset West, a site measure-up can help get the details right before anything is cut. If the panels need to be couriered nationwide, the same checklist still applies, only the packing and delivery timing changes.
Keep the wall looking good after installation
Once the wall is in place, basic care keeps it looking neat. Light dusting, dry microfibre cleaning and prompt attention to marks will usually be enough for most bedroom finishes. If the room is near the coast, wipe surfaces more often because moisture and fine salt can settle over time. Avoid harsh cleaners unless the product care notes say they are safe.
If a panel loosens, a joint opens slightly or a section takes damage during furniture moving, arrange a repair early rather than leaving it. Small issues are easier to fix when caught early and it keeps the whole wall looking intentional. With the right design and proper aftercare, a headboard wall can stay sharp for years, even in busy homes where rooms get used every day.