

Start With the Brief, Not the Panel Sample
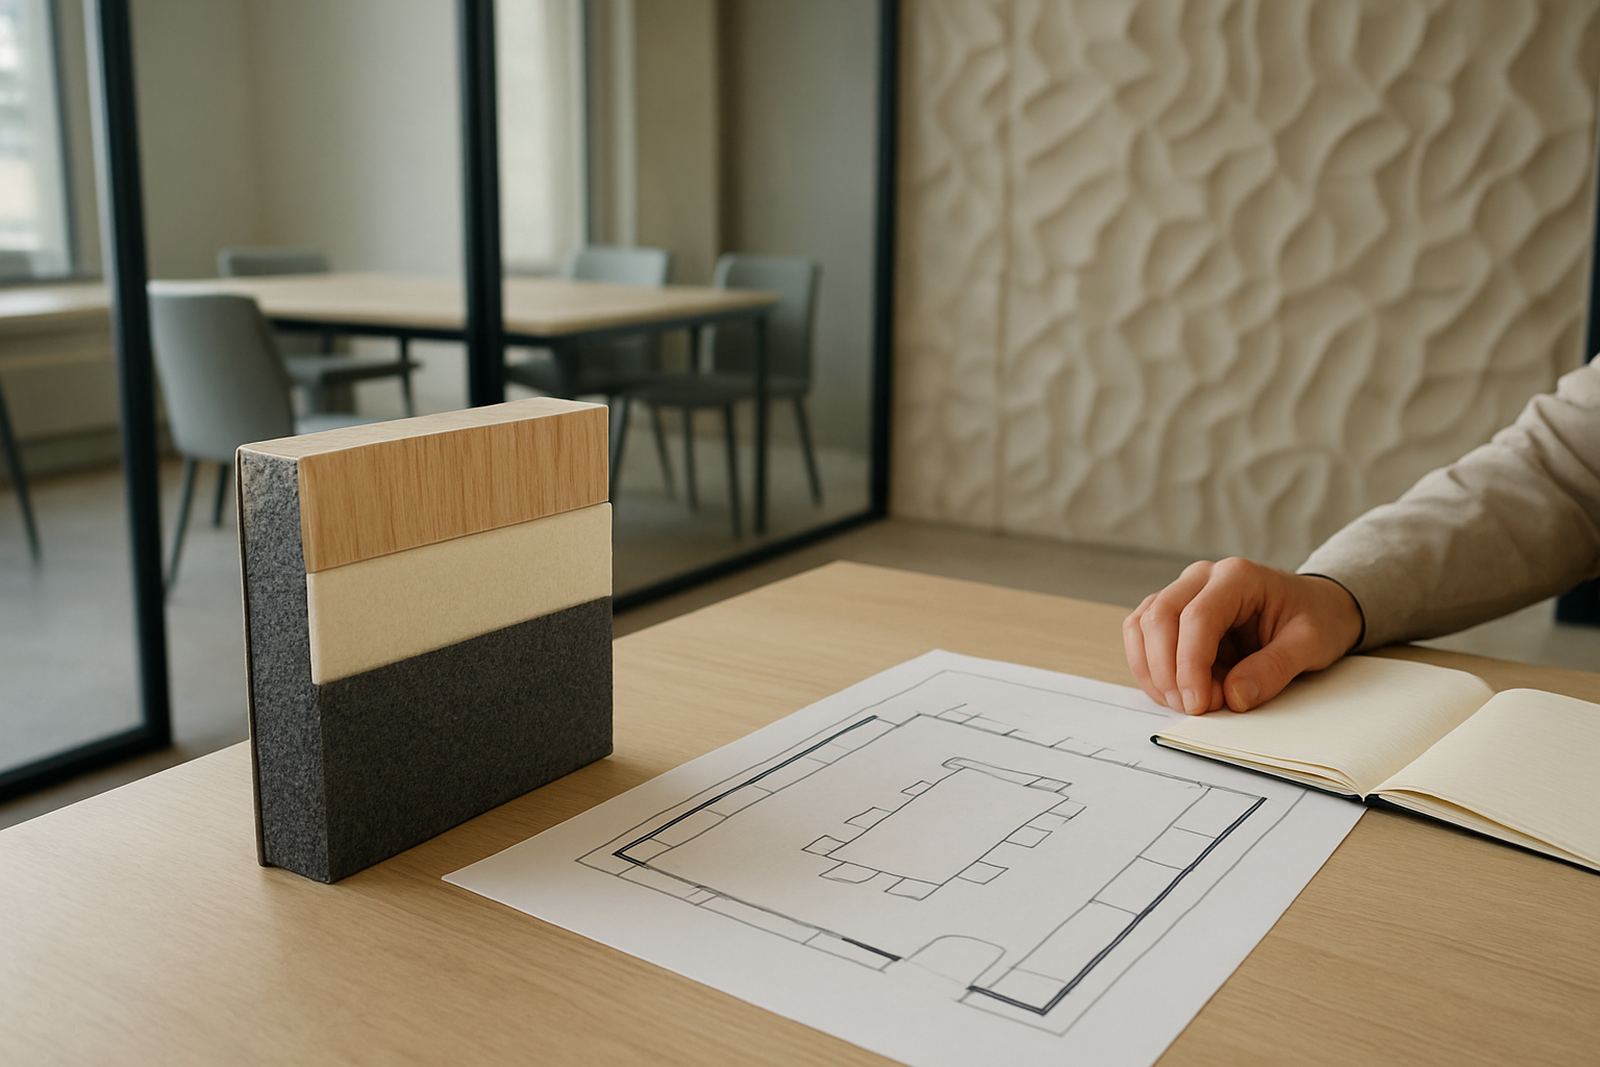
Good specification starts with the room, the user and the result you need to achieve. Before choosing a profile or finish, confirm whether the wall is for a lounge, lobby, boardroom, retail space, bedroom or hospitality area. A calm private room may need a softer texture and better sound control, while a public area often needs stronger visual impact and easier maintenance.
For projects in Cape Town and the wider Western Cape, it helps to factor in coastal humidity, sunlight exposure near glazed areas and the amount of cleaning the wall will need over time. In commercial settings, also check fire requirements, access for maintenance and whether the wall will be fixed to plaster, drywall or existing cladding.
- Define the room function and viewing distance
- Confirm the wall substrate and condition
- Note moisture, heat and direct sun exposure
- Check if the project needs acoustic support
- Set the budget and programme early
Choose the Right Material for the Site Conditions
Not every wall panel behaves the same way. Some finishes are better suited to dry interior spaces, while others are chosen for high-traffic areas where touchpoints, scuff marks and regular cleaning are part of everyday use. For marine-adjacent homes in the Atlantic Seaboard, or busy commercial interiors in Montague Gardens and Stellenbosch, material selection should always take maintenance and environment into account.
When comparing options, ask about weight, fixings, surface finish, expected maintenance and whether the panel can be repaired or replaced in sections later on. If you are working on a rollout across several sites, consistency between batches matters just as much as appearance. A good spec should read clearly enough for contractors and installers to follow without guesswork.
- Check weight and fixing method for the wall type
- Confirm whether the finish is suitable for the intended use
- Ask about cleanability and repair options
- Specify colour or texture references clearly
- Allow for batch consistency on phased projects
Use Scale, Repetition and Lighting to Shape the Wall
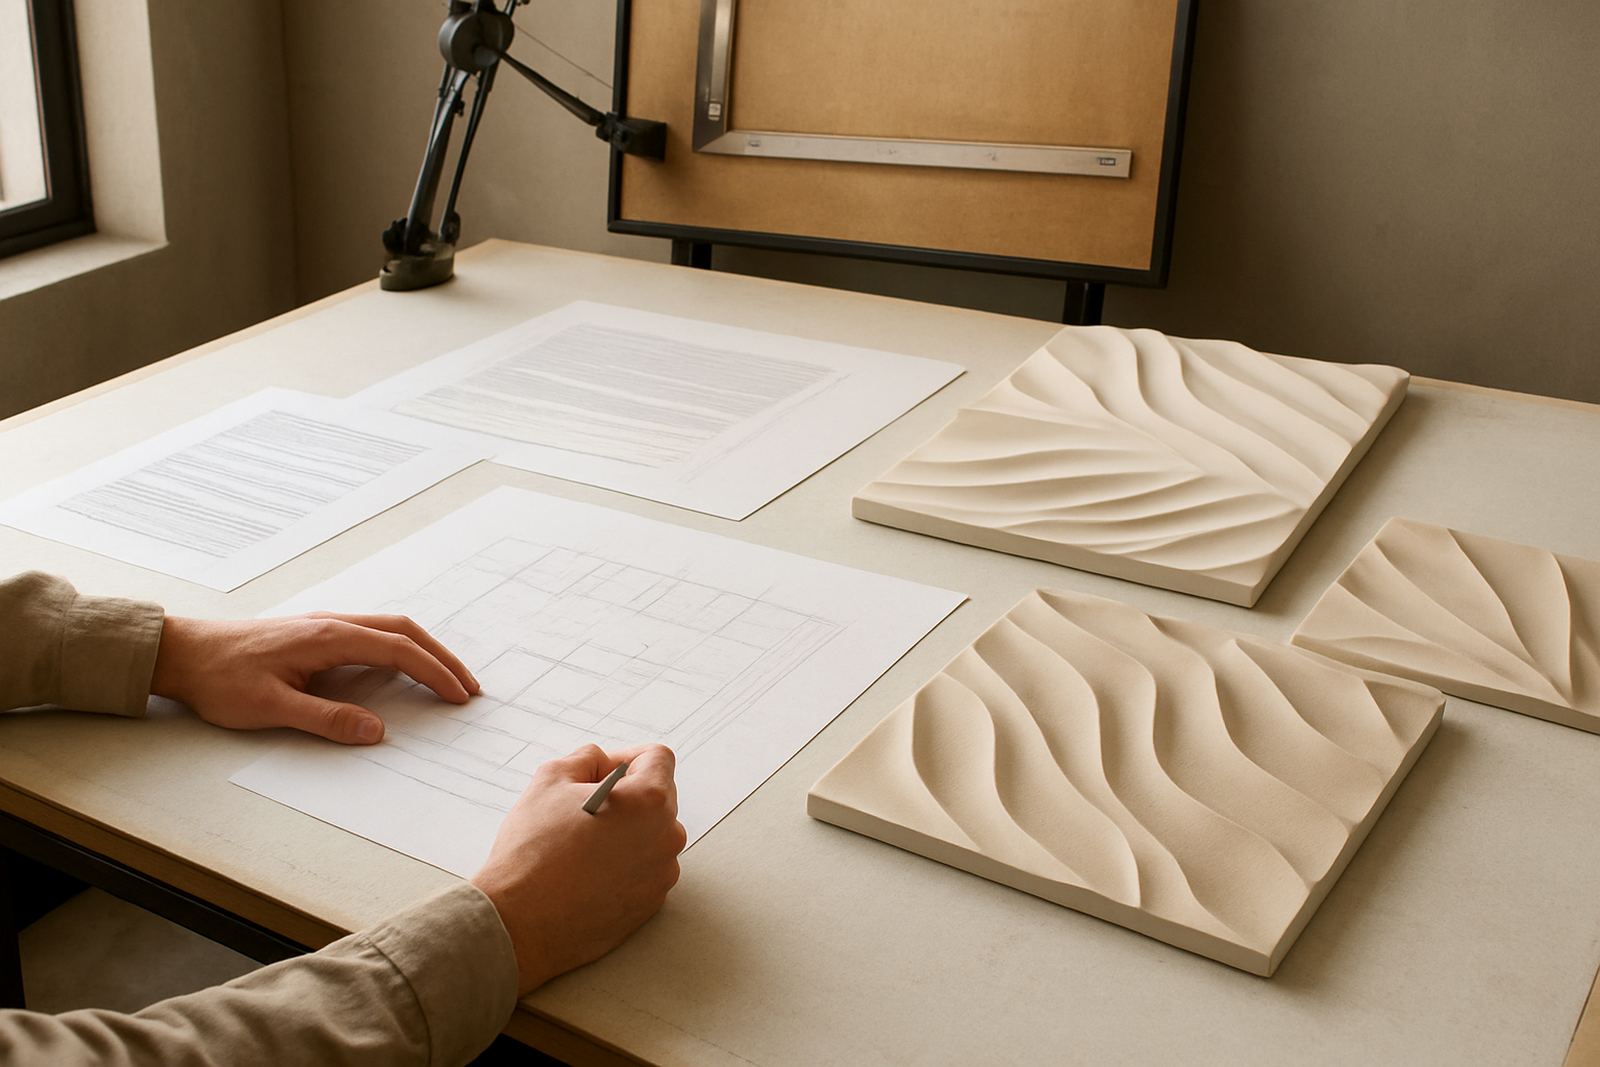
3D wall panels work best when the pattern scale suits the room. A large geometric profile can carry a spacious foyer or double-volume wall, while a finer texture may be better in a smaller passage or apartment living area. The same panel can look completely different once it meets downlights, natural light or shadow from nearby joinery.
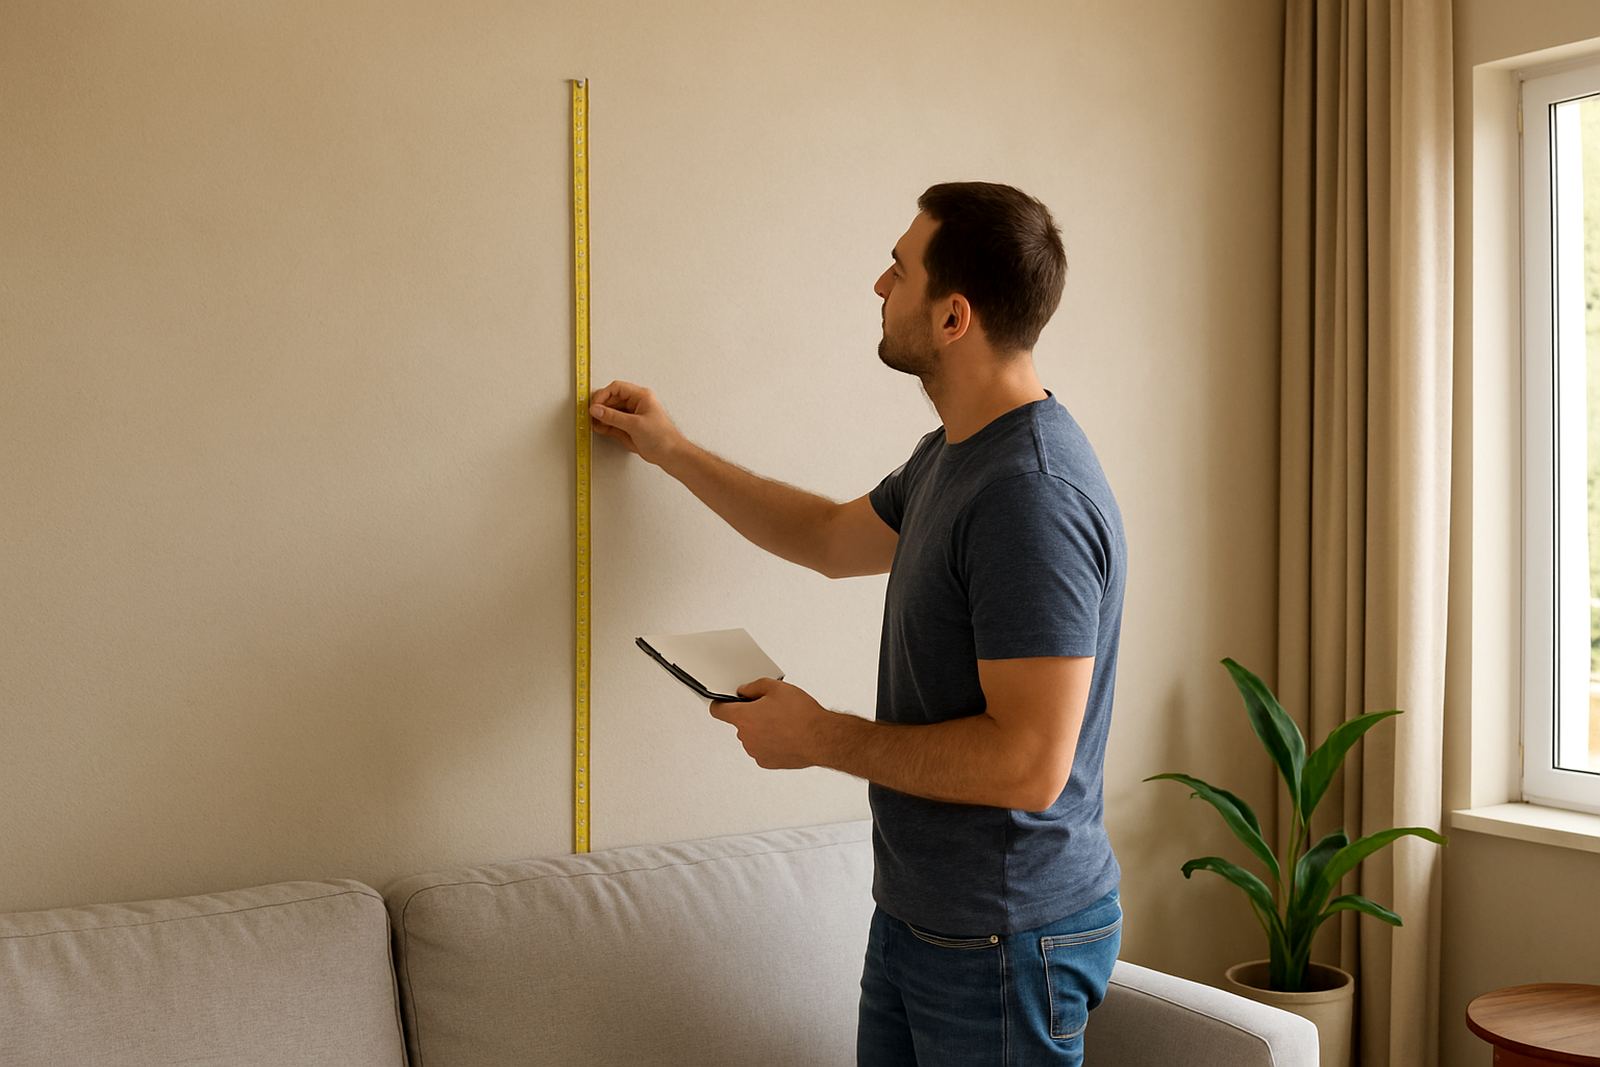
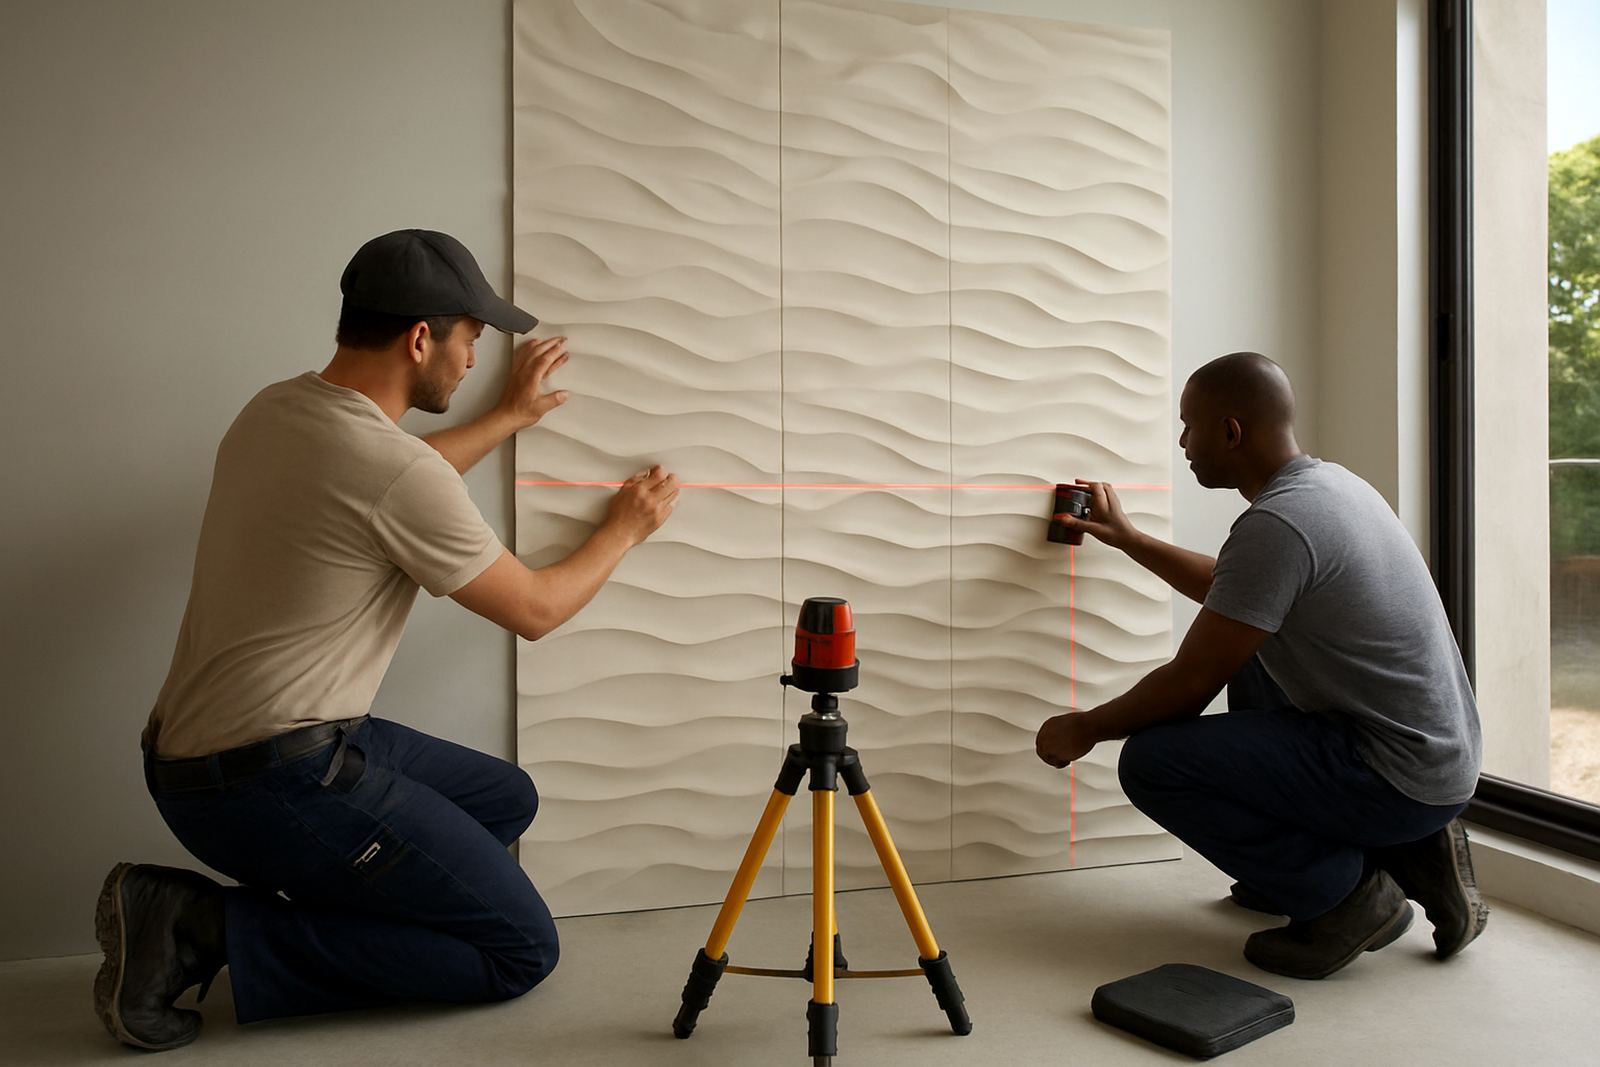
For designers, this is where a site measure-up is valuable. Exact wall dimensions, ceiling heights, reveals and corner conditions help determine the layout and panel count. It also helps to plan how the pattern will terminate at skirtings, bulkheads and openings so the finished wall feels deliberate, not cut up. In some cases a simple repeat is best, in others an offset layout gives the wall more movement.
- Measure the wall face, openings and corner returns
- Check how the panel reads under day and night lighting
- Plan joins so they sit in less visible positions
- Decide whether the pattern runs full height or as a feature band
- Allow for cuts around switches, sockets and access panels
Specify Acoustic Performance Where the Room Needs It
Acoustic panel fitting is often requested for boardrooms, offices, reception areas and hospitality interiors where echo can become a real issue. The right specification can improve speech clarity and reduce the hard reflections that make a room feel noisy. That said, acoustic performance should be matched to the room, not assumed from appearance alone.
When writing the brief, state whether the priority is speech privacy, reduced reverberation or a more comfortable overall sound in the space. Ask where the room will be used, how many people are typically inside and what other hard finishes are present. Glass, tiled floors and bare ceilings all affect the result. If the project needs both visual impact and sound control, the wall finish should be selected to suit both aims.
- Define the acoustic goal clearly in the scope
- Note the room size and hard surface areas
- Confirm if the wall is decorative only or functional too
- Check whether the chosen finish can be fitted around services
- Include the acoustic requirement in the tender notes
Prepare the Wall Properly Before Installation
Even the best panel will struggle on a wall that is not prepared properly. Plaster movement, moisture issues, loose paint and uneven surfaces can all affect the final finish. For this reason, wall preparation should be part of the specification, not an afterthought handed over on site. If a wall needs levelling, sealing or repair before fitting, that work should be identified early.
In older properties, especially in parts of the Southern Suburbs and older commercial stock around the city bowl, it is worth checking for hairline cracks, soft plaster and previous patch work. In new builds, confirm that the surface has cured correctly and is free of dust before any installation starts. A clean, dry and sound substrate gives the best result and reduces call-backs later.
- Check for moisture, dust and surface contamination
- Inspect for loose paint, cracks and hollow plaster
- Confirm cure time on new plaster or screed nearby
- Identify any repairs before panel delivery
- Agree who is responsible for preparation on site
Use a Clear Order, Delivery and Aftercare Plan
Specification is not finished once the panel choice is made. For a smooth project, the designer should also confirm order quantities, delivery timing, storage conditions and aftercare expectations. This matters on residential upgrades, but it matters even more on commercial rollouts where teams may be working across several sites in parallel.
In the Western Cape, local installations can often be scheduled around site access and finishing trades, while panels couriered nationwide need careful packaging, checking on arrival and a clear installation plan. It also helps to record any spare material, repair notes and cleaning guidance for the client handover. A project is easier to maintain when the end user knows exactly what has been fitted and how to look after it.
- Confirm final quantities and any spares required
- Set the delivery and install sequence in writing
- Check storage conditions before fitting begins
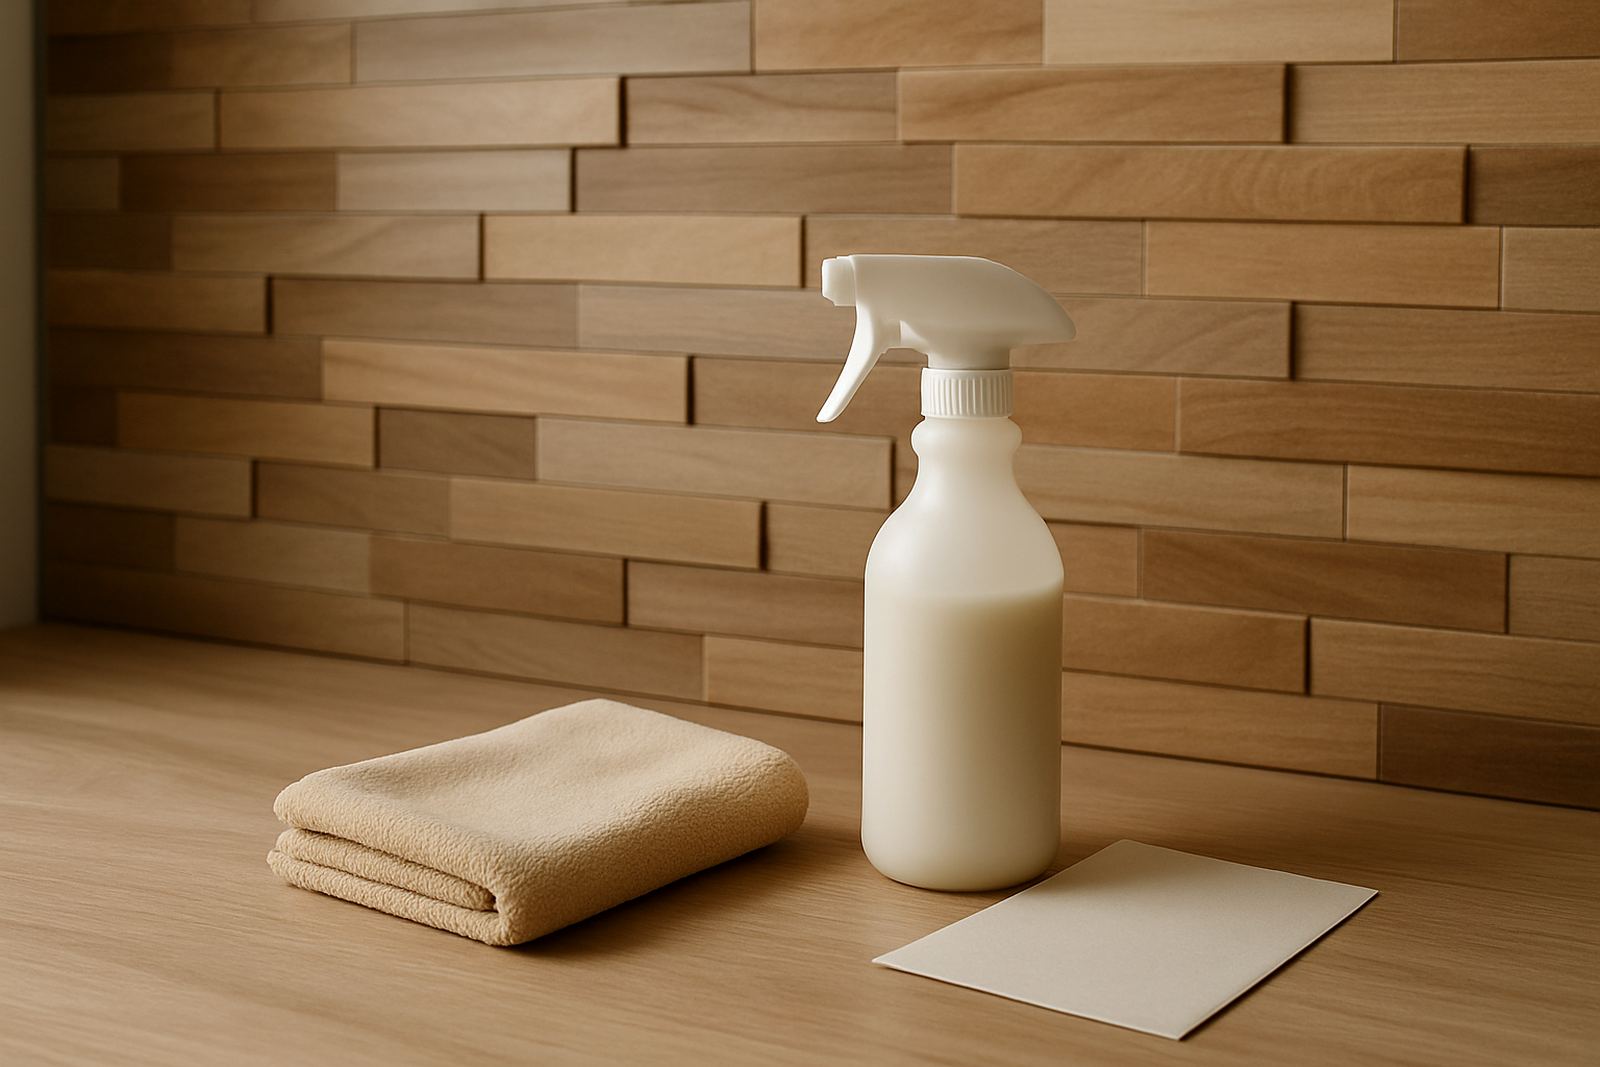
- Keep notes on cleaning and maintenance methods
- Record all product references for future repairs