
The brief for a double-volume living space
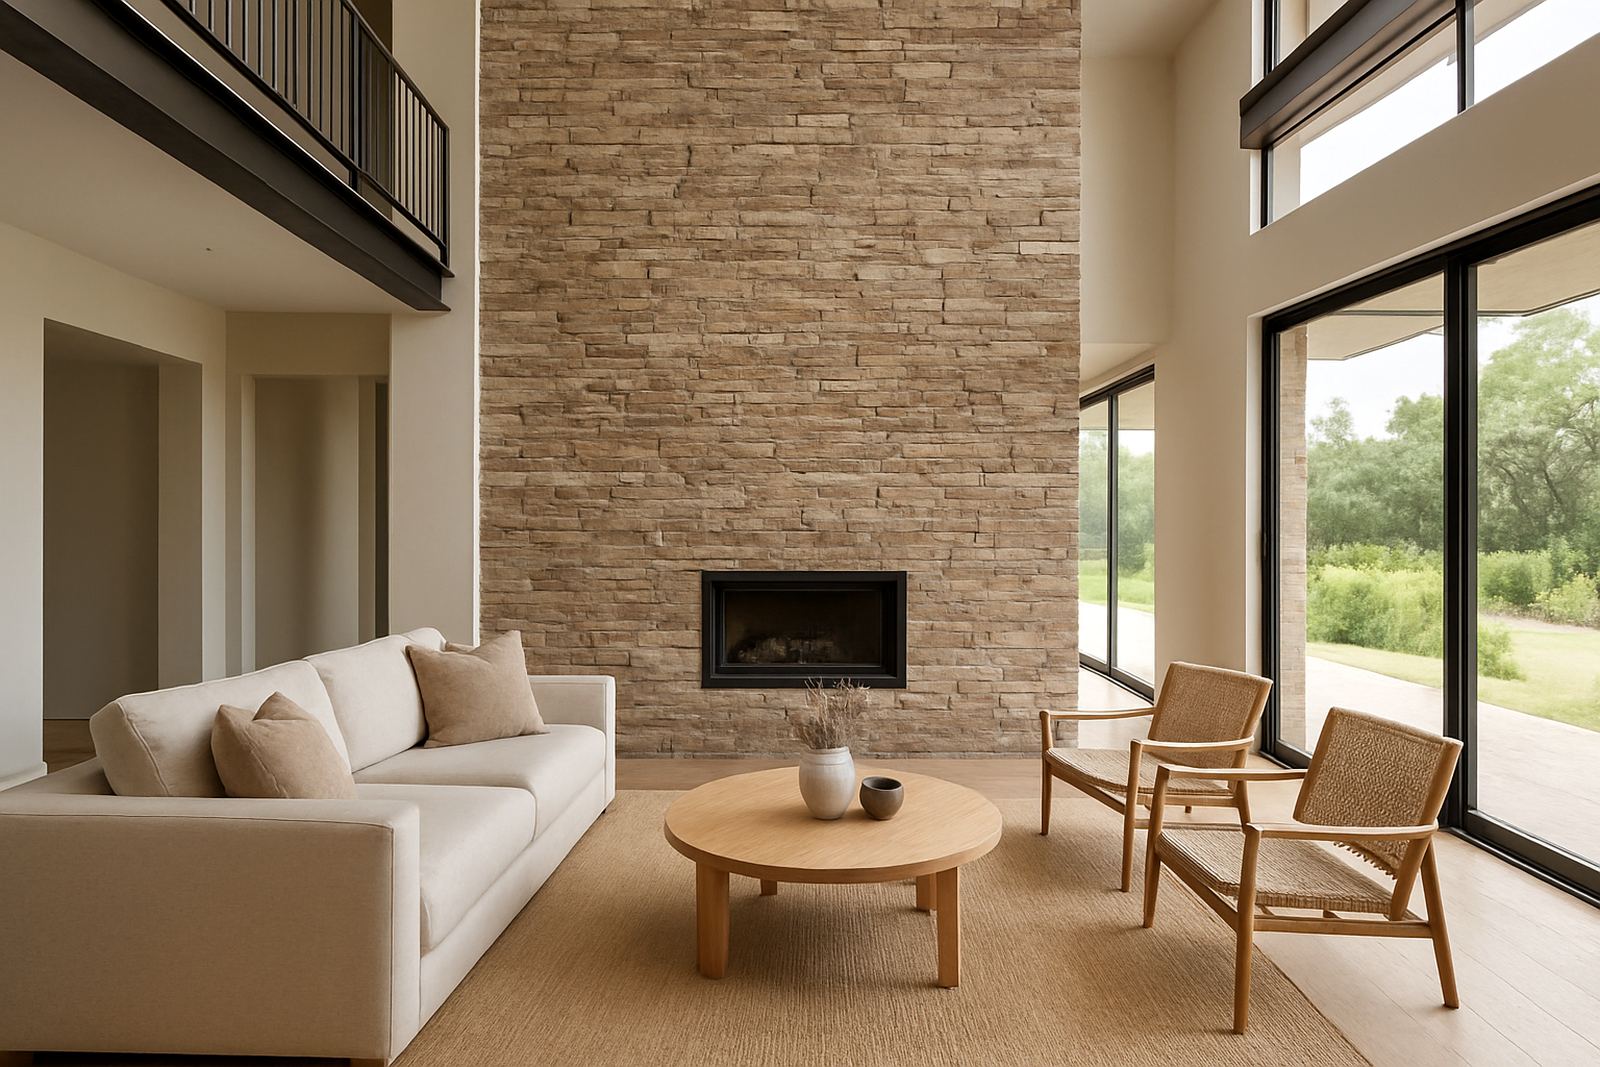
The client was a private homeowner in Somerset West planning a high-end living area with a strong focal point around the fireplace. The room had generous ceiling height, large glazed openings and hard surfaces, so the wall treatment needed to do more than look good. It had to ground the room visually, work with the proportions of the double-volume space and stand up to daily use without looking fussy.
They wanted a natural stone appearance but with a more practical installation than full masonry. The finish needed to suit coastal conditions in the Helderberg, where salt air and changing humidity can affect some materials over time. The brief also called for a surface that was easier to keep clean than rough split stone and that could be installed with minimal disruption while the home was occupied.
- Project type: luxury residential feature wall
- Location: Somerset West
- Main feature: double-volume fireplace surround
- Desired look: stone-look cladding with a refined, modern finish
Constraints on site and what guided the design
The main constraint was scale. A fireplace wall in a double-volume room can look too flat if the panel size, joint lines and edge details are not planned carefully. The team first measured the full wall height, fireplace opening, skirting levels and the distance to adjoining finishes so the cladding would sit naturally in the room. There was also limited tolerance for unevenness because the eye is drawn straight to that wall the moment you walk in.
Another consideration was the existing substrate. We checked the wall for plumb and surface condition before final layout was approved. In homes around Somerset West, we often find a mix of plaster finishes and builder-installed inserts, so prep matters. A good feature wall is not only about the panels, it is about getting the base right and making sure the layout lands neatly around the fireplace and adjacent returns. That is where small errors become very visible.
- Measured wall height and fireplace alignment before ordering
- Checked substrate for flatness and adhesion readiness
- Planned edge returns to avoid awkward cuts in the main view
- Allowed for heat-safe spacing around the fireplace opening
What we supplied and how the installation was completed
We supplied stone-look cladding panels selected for their texture, colour variation and suitability for an interior feature wall. The chosen finish had enough depth to read as natural stone from across the room, but with cleaner lines up close. It also worked well with the client’s flooring and window frames, which helped tie the whole space together without making the room feel heavy.
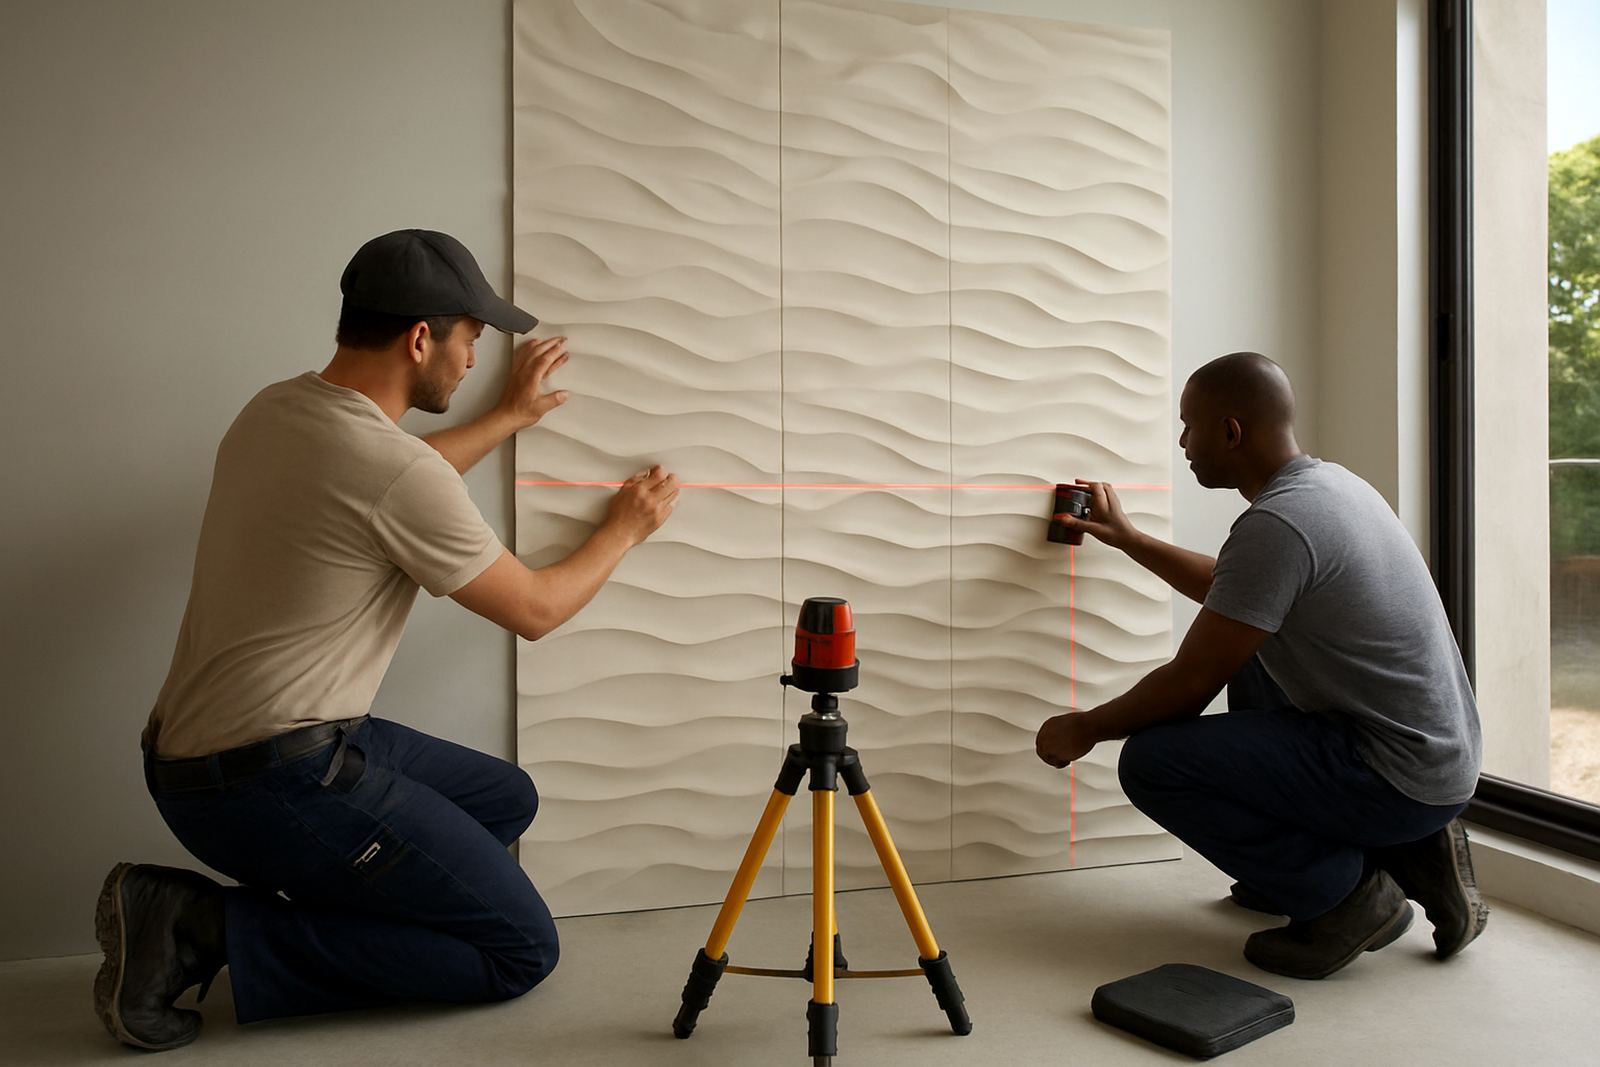
Our team handled the layout, wall prep and installation. Because the wall rose to double-volume height, the work was planned in stages. The lower section was set out first, then the upper runs were aligned to keep the coursing consistent. We also coordinated the final detailing around the fireplace recess so the surround looked intentional rather than built around the unit as an afterthought. That makes a big difference in a home like this.
- Stone-look feature wall cladding
- Interior wall preparation and layout marking
- Fireplace surround detailing
- Finish matching for a consistent colour blend
Timeline from measure-up to handover
The project ran over three weeks from initial site measure-up to final handover. Week one was for the visit, measurements and sample matching. Week two covered final confirmation, prep and panel cutting in the workshop. Week three was the installation itself, followed by a final check on joints, edges and surface finish. That pace worked well for the client because it kept the process moving without rushing the details.
For a villa project of this type, the goal is always to avoid rework. Once a feature wall is up, changes are expensive and time-consuming. By confirming the layout early, we reduced the risk of off-cuts showing in the main view and kept the installation clean. The homeowner could also continue with the rest of the room’s finishing work while we handled the wall. No one likes a site dragging on longer than needed, especially in an occupied home.
- Week 1: site measure-up and sample review
- Week 2: layout approval and workshop prep
- Week 3: installation and final snagging
The result in the finished living room
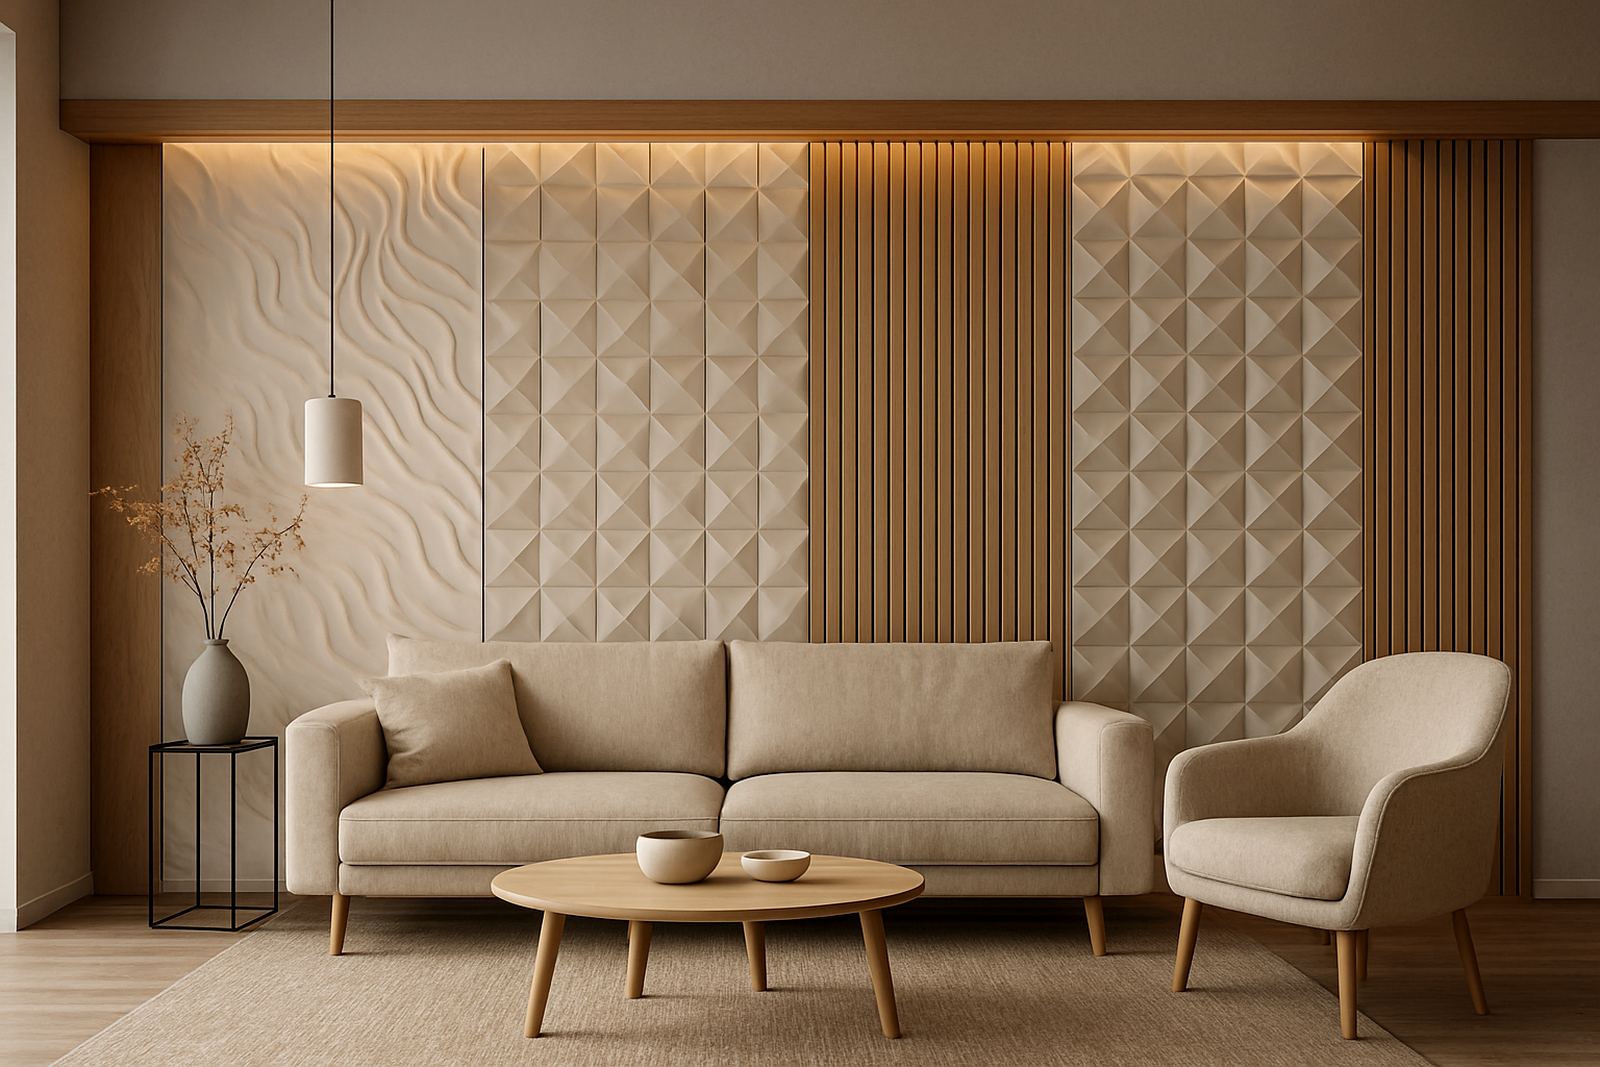
The finished wall gave the room a stronger centre point and made the fireplace read as a true architectural feature. The stone-look finish added texture without crowding the space, and the double-volume height now feels intentional instead of empty. From the seating area, the wall has presence; from the upper level, it carries the same visual weight and keeps the room balanced.
There was also a practical benefit. The selected cladding helped soften sound in the room compared with a bare painted surface, which matters in open-plan homes with tiled floors and large glazing. The client wanted a space that felt calm for everyday living but still looked special when entertaining. This wall achieved that and the change was immediate once the panels went up. It gave the room a proper anchor, and the fireplace finally had the setting it needed.
- Better visual balance in a high-ceiling room
- Cleaner fireplace framing
- Improved sound absorption compared with plain plaster
- Low-maintenance surface for regular use
What we would repeat on a similar villa project
If we were doing a similar Somerset West villa again, we would keep the same approach: measure carefully, confirm the sight lines early and match the cladding to the room’s natural light. In a coastal area, colour can shift through the day, so sample review is worth the time. We would also keep the layout as symmetrical as the fireplace and room geometry allows, because that is what gives a feature wall its polish.
For homeowners and designers working on luxury spaces in the Western Cape, this type of project shows why the install method matters as much as the product. A strong wall treatment can carry the whole room, but only if it is planned against the actual site conditions. That includes ceiling height, fireplace position, sunlight and the small finish details around the edges. Get those right and the wall holds its own for years.
- Confirm samples in the actual room light
- Plan around the fireplace centreline first
- Allow for coastal conditions and easy maintenance
- Keep the finish neat at all visible edges
Key facts
| Project type | Residential feature wall installation |
|---|---|
| Town | Somerset West |
| Property | Luxury villa |
| Main material | Stone-look interior cladding panels |
| Timeline | 3 weeks |
| Scope | Measure-up, design, prep, installation and handover |