
A Small Sea Point Living Area With A Big Brief
The brief came from a private homeowner in Sea Point, Cape Town who wanted the main living wall to do more than hold a TV. The apartment needed a cleaner focal point, better visual balance and a finish that would suit the coastal setting without looking heavy or busy. In a compact home every millimetre counts, so the client wanted the wall treatment to feel built in rather than added on.
The apartment had a straightforward open-plan lounge, but the TV wall sat directly in the line of sight from the kitchen and dining area. That meant the feature had to look good from multiple angles and still leave enough room for circulation. We also had to work around fixed power points, the existing TV bracket position and the limited access typical of apartment blocks in the area.
- Location: Sea Point, Cape Town
- Client type: Private homeowner
- Space: Compact apartment living area
- Main need: A sleek feature wall with textured depth
What We Had To Plan For Before Installation
Coastal apartments bring their own set of practical issues. Sea Point homes often deal with brighter natural light, salty air and tighter access, and all three can affect how a wall finish performs and how it is fitted. The client also wanted a surface that would not make the room echo, since the lounge is used for TV viewing and entertaining.
We started with a site measure-up and a design consultation to confirm the wall size, TV placement and surround clearances. The wall was checked for flatness, and we mapped out where the panels would sit relative to plugs, cabling and the bracket. Because the apartment is in a managed building we also kept the work neat and quiet, with delivery and installation planned to suit the body corporate rules and lift access. That kind of planning saves time and prevents small delays that can turn into big ones later on.
- Measured wall area and checked for level changes
- Confirmed TV and cabling positions before cutting
- Allowed for apartment access and working hours
- Selected a finish suited to coastal humidity and daily use
The Panel Selection And Finish We Supplied
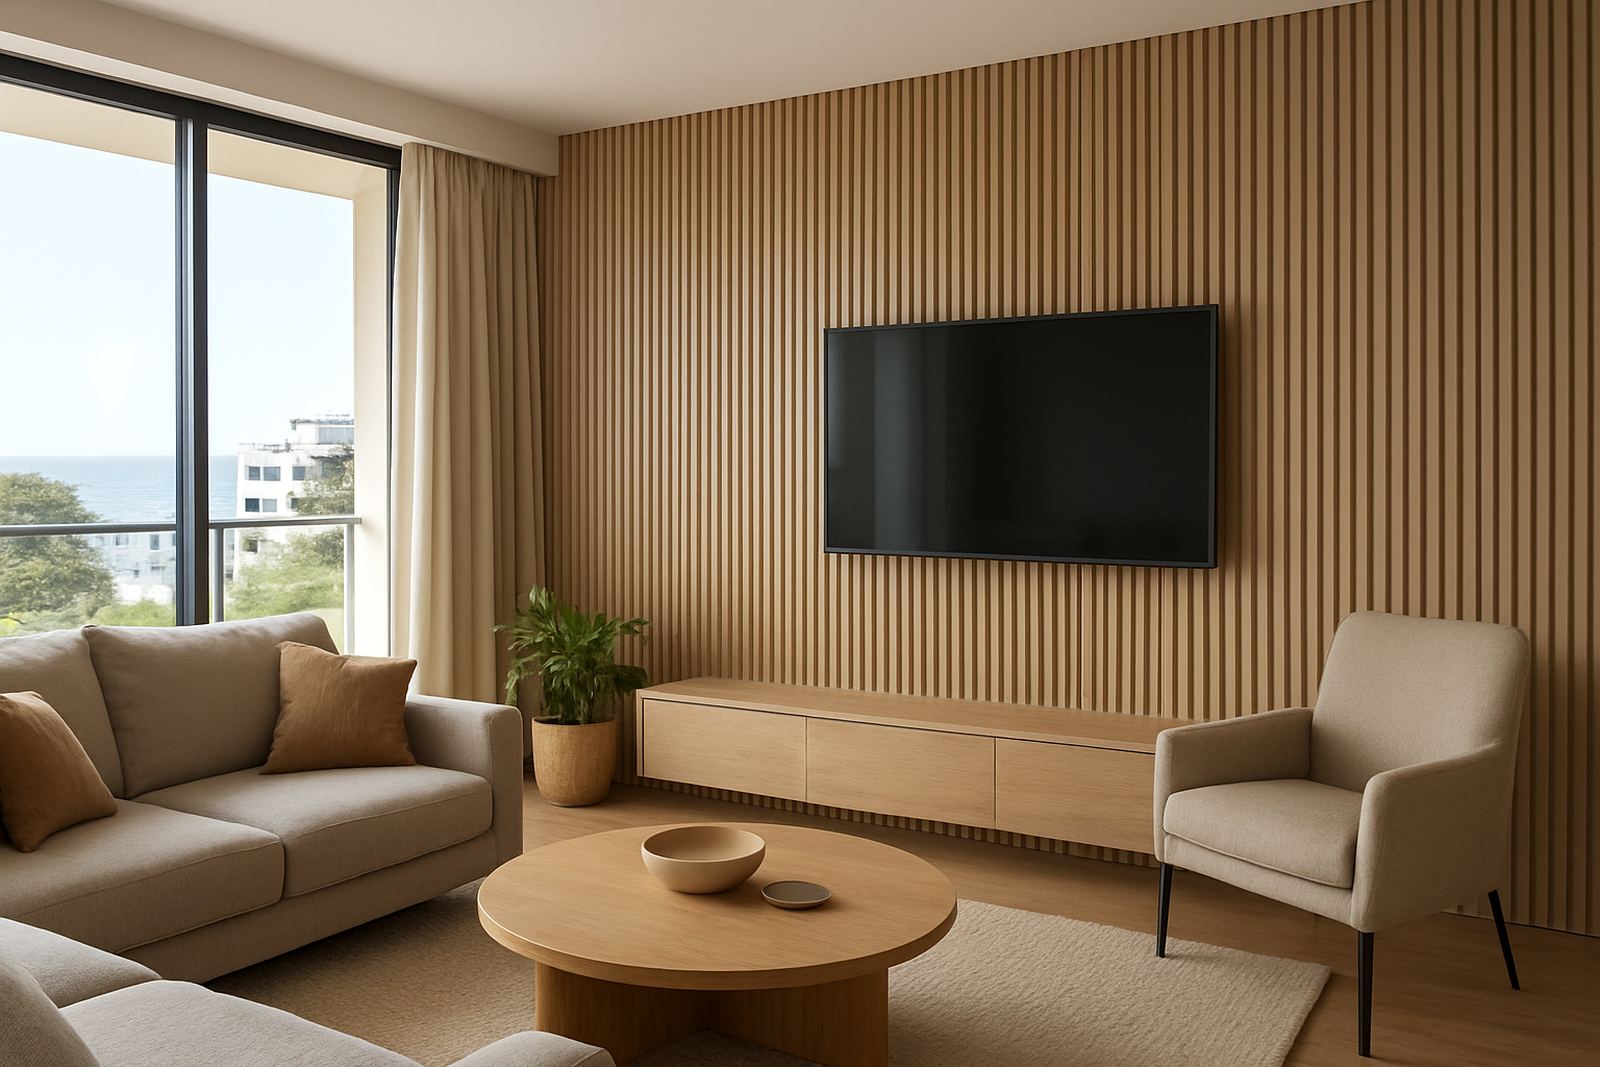
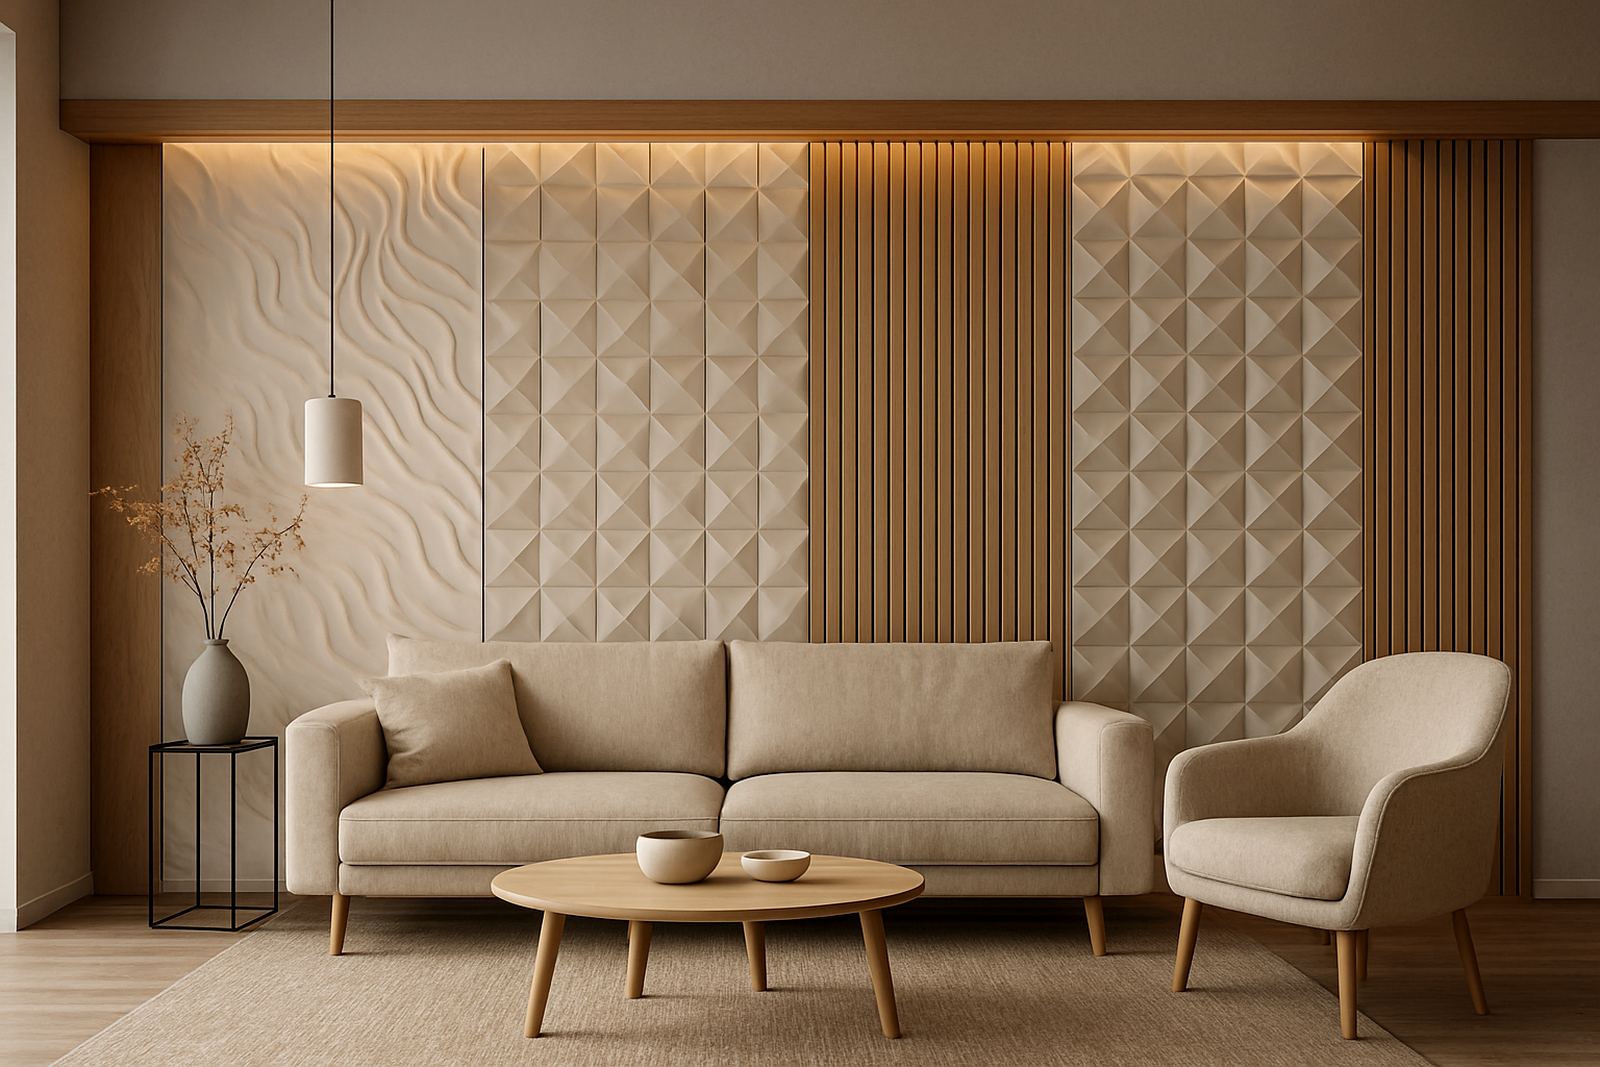
For this project we supplied 3D wall panels with a textured profile that gave the wall depth without overpowering the room. The chosen finish was a neutral tone that sits comfortably with pale floors, soft furnishings and the light that comes through Sea Point windows in the morning and late afternoon. The pattern added movement, but not so much that it competed with the television or the rest of the room.
The panel material was selected for interior use in a coastal environment, where stable performance matters. The client wanted a finish that could handle routine cleaning and would not feel dated in a year or two. We also prepared the edges and transitions so the feature wall would read as one complete installation rather than a collection of pieces. The result was a sharp, modern look with just enough texture to catch the eye.
- Product type: 3D interior wall panels
- Style: Textured feature wall with clean lines
- Colour: Neutral coastal tone
- Use: TV feature wall in a lounge
How The Installation Was Carried Out
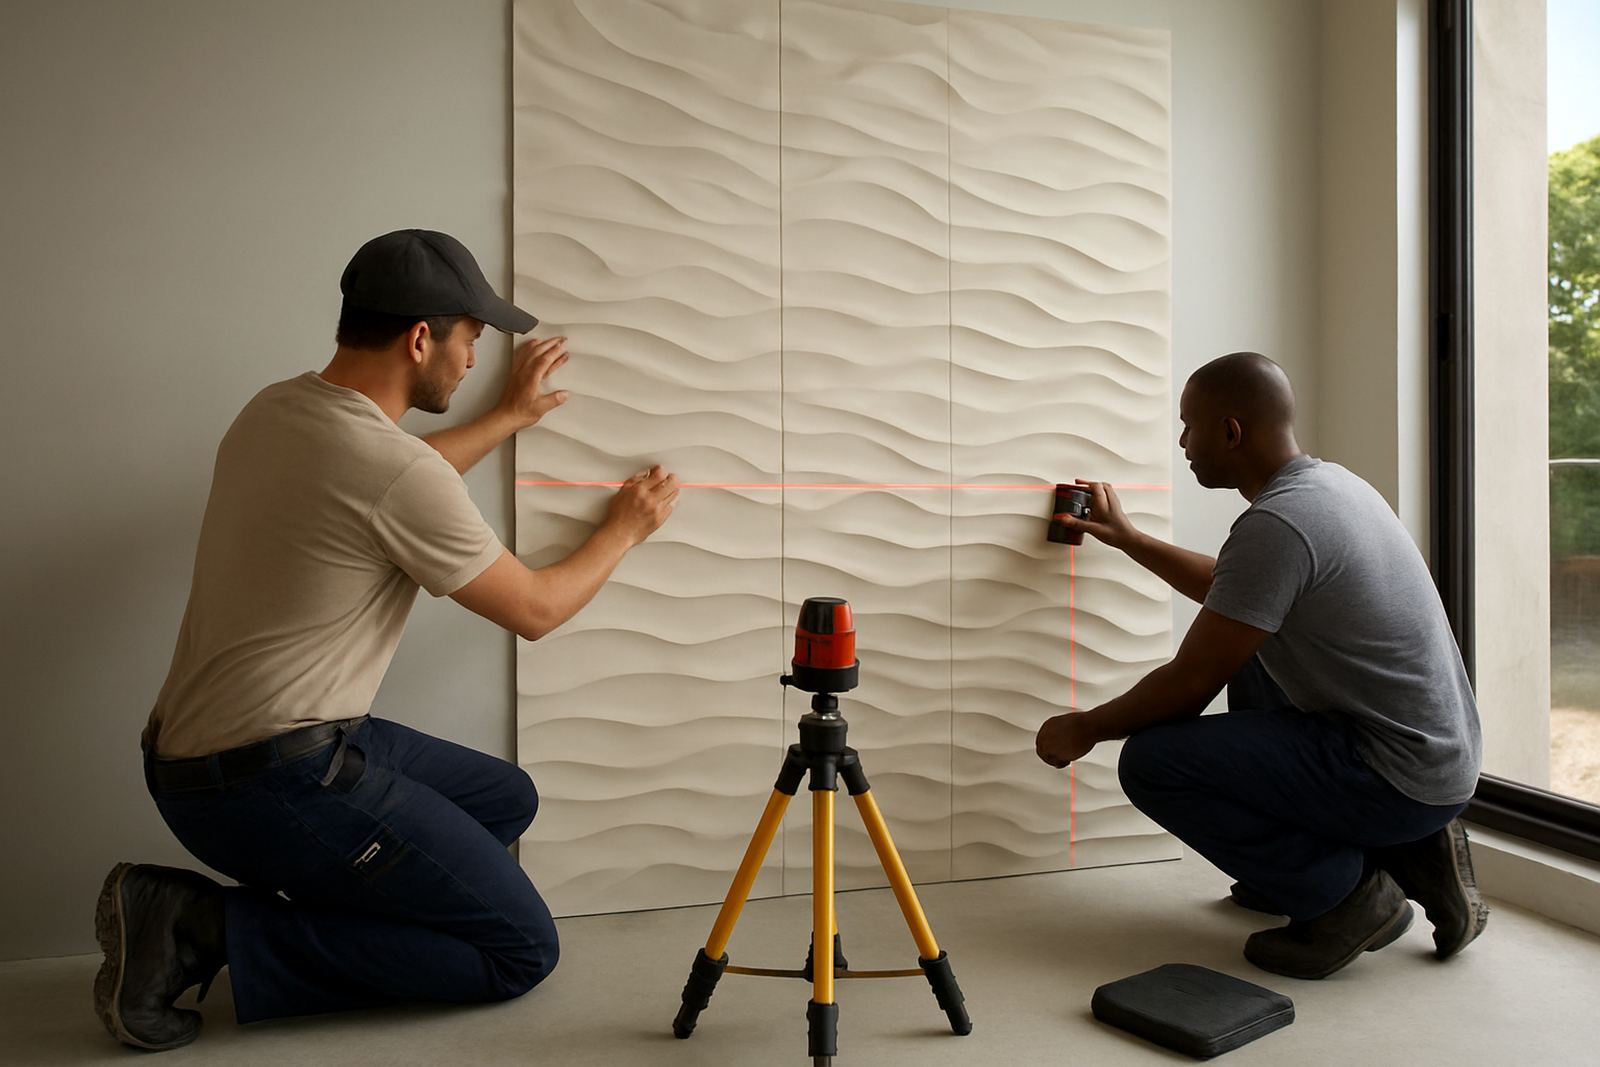
The installation took place over two working days, with the full project completed in one week from approval to finish. We started by preparing the wall surface and confirming the final layout so the pattern landed properly around the TV bracket and surrounding edges. Any small surface irregularities were corrected before fitting, which matters a lot when a wall is viewed up close in a smaller room.
Our installation team worked carefully around the electrical points and existing fittings, then finished the joins so the panel pattern felt continuous. Once the wall was up, we checked alignment from different viewing angles in the lounge and kitchen. That last step is important in apartment spaces because the feature wall must look right from more than one position, not only straight on. The finished wall sat neatly behind the screen and gave the room a proper centre point.
- Timeline: 1 week total
- Installation duration: 2 working days on site
- Preparation included wall cleaning and layout marking
- Final checks covered alignment and view lines
The Result In Daily Use
The finished wall changed the room immediately. The TV area now has presence, and the texture gives the apartment a more finished feel without reducing the sense of space. The client also noticed that the room sounded less sharp during conversation and TV use, which is one of the practical advantages of using the right wall surface in a compact apartment.
Because the finish is neutral, the homeowner can still change furniture, curtains or artwork later without having to redo the whole space. That flexibility matters in a seaside flat where you want the interior to feel current but not fussy. The wall now works as a backdrop for everyday living and for entertaining, which was really the point from the start.
- Improved visual depth in a narrow lounge
- Cleaner TV focus from multiple angles
- Better room acoustics for daily use
- Flexible look that suits future decor changes
What We Would Carry Into A Similar Apartment Project
If we were doing the same kind of apartment feature wall again, we would follow the same order of work: measure carefully, confirm the viewing line, and choose a finish that suits both the light and the scale of the room. In Sea Point, that approach works well because apartments often have strong daylight and limited wall area, so the feature needs to earn its place. Rushing the layout would have made the wall feel off centre, and in a small room that would show straight away.
We would also keep allowing for access planning, especially where lifts, parking bays and working hours are controlled. That may sound simple, but it makes the install smoother for everyone involved. For projects like this, the best outcome comes from careful preparation, tidy fitting and a finish that looks good in real day to day use, not just on the day of installation. It was a good example of how a compact space can still carry strong style with the right panel choice.
- Always verify the TV centre point before cutting
- Allow for coastal light when choosing colour and texture
- Plan for apartment access and building rules early
- Keep the finish simple enough for long-term use
Key facts
| Project | Sea Point Apartment feature wall |
|---|---|
| Area | Living room TV wall |
| Location | Sea Point, Cape Town |
| Timeline | 1 week from approval to completion |
| On-site work | 2 working days |
| Supplied | Textured 3D wall panels and installation |
| Use case | Residential coastal apartment |