
A lounge wall that needed more than paint
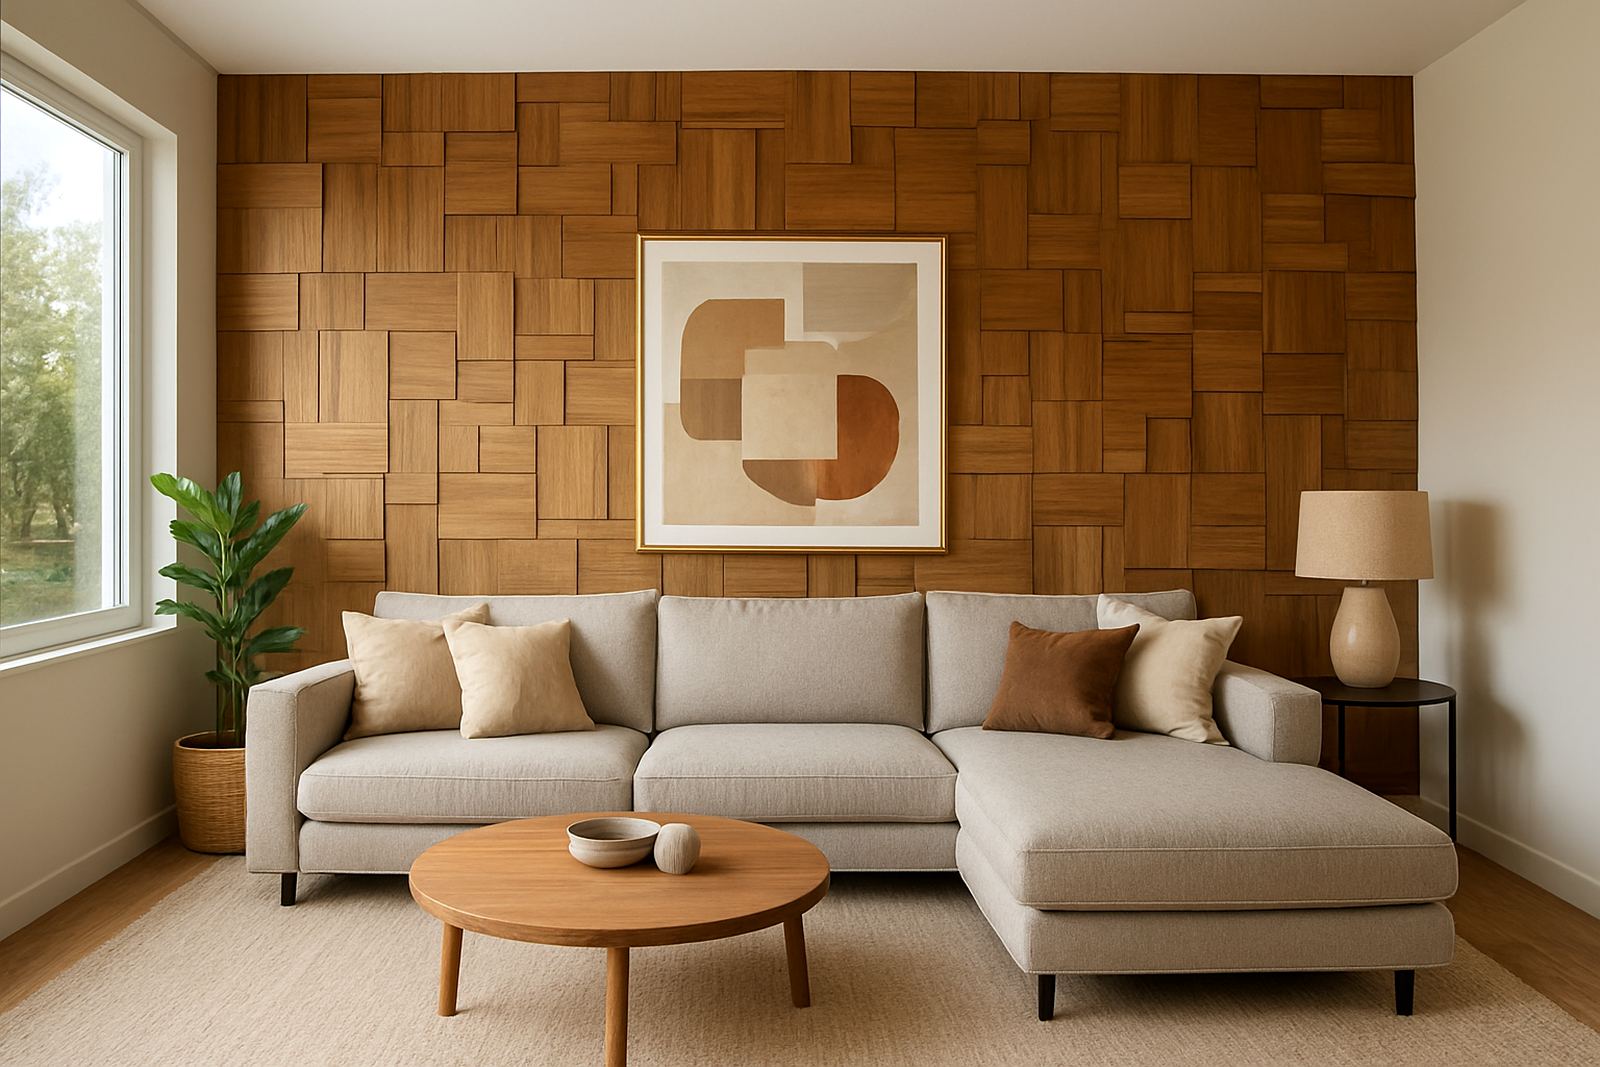
The clients in Claremont wanted the main lounge to feel more settled and inviting without turning it into a showpiece that felt too formal. The room opened onto the dining area and carried a lot of daily traffic, so the wall had to do more than look good. It needed to soften the space, work with the existing furniture and handle the kind of wear you get in a busy family home.
The brief was straightforward on paper. Create a feature wall with a timber look, keep the finish clean around plugs and skirtings, and make sure the result felt natural rather than overdone. They also wanted something that would not date quickly. That meant avoiding high gloss or busy patterns and choosing a tone that would sit comfortably with the light in a Cape Town home.
Claremont homes often have a mix of older proportions and newer finishes, so we were careful not to fight the room. The goal was to add depth and structure, but still keep the lounge practical for everyday use, from school bags to weekend entertaining. It was a tight fit, but the plan held together well.
What we measured, matched and supplied
Before any installation, we did a site measure-up to check wall length, ceiling height, socket positions and the condition of the painted surface. That matters more than many people think. A wall can look flat enough at first glance, but slight bows, patch repairs and uneven corners will show up once the panels go on. We also checked how the room picked up afternoon light, because timber-look finishes can change quite a bit between morning shade and late sun.
The selected finish was a warm timber-look cladding with a fine linear grain, chosen to give the wall texture without making the room feel heavy. For this project we supplied:
- Custom-cut feature wall cladding sections sized to the lounge wall
- Edge trims and finishing pieces for clean perimeter lines
- Fixings and adhesive suited to internal wall application
- Prepared cut-outs for plugs and switches
- Colour and sample matching to align with the room finishes
The panel format was chosen for neat installation and future maintenance. It also allowed us to keep the joins consistent, which is important when the wall is seen from the seating area and the dining side at different angles.
Installation in a busy family home
The install was scheduled over 2 weeks, with the first week used for final checks, surface preparation and material prep in the workshop. The second week covered fitting, alignment and finishing on site. That timing gave the family enough space to keep using the rest of the home without feeling like the lounge had become a building site.
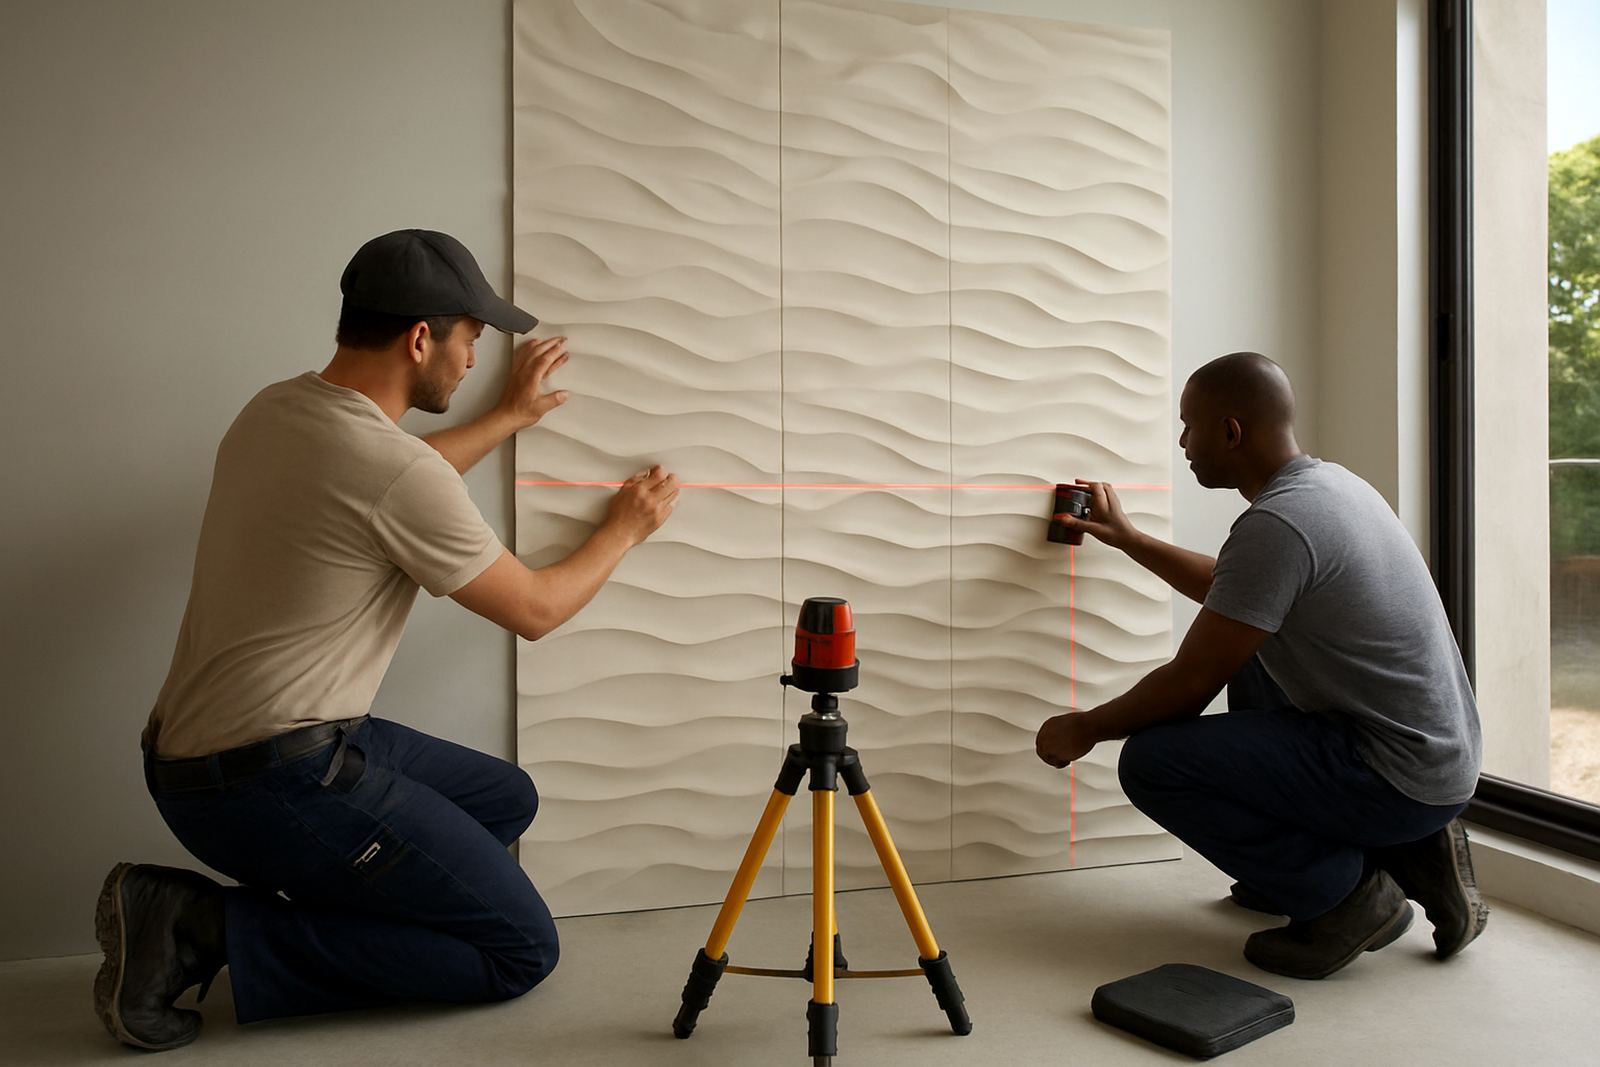
Wall preparation was a key part of the job. We cleaned the surface, checked for loose paint and marked out the panel grid before any fixing started. Where needed, we corrected minor surface irregularities so the finish would sit properly. In a home setting, especially in Claremont where rooms are often used hard every day, getting the prep right saves trouble later.
The main stages were:
- Protecting the floor and nearby furniture before work started
- Marking the layout so the panel lines stayed level
- Cutting around sockets and wall details on site
- Fixing the panels in sequence for a consistent grain direction
- Checking joints, edges and visible alignment before final handover
We also made sure the wall remained practical. Access to plug points was preserved and the finish left enough clearance for cleaning. No one wants a feature wall that looks good only until the first dusting, so the layout was done with real use in mind.
Why the timber look worked so well
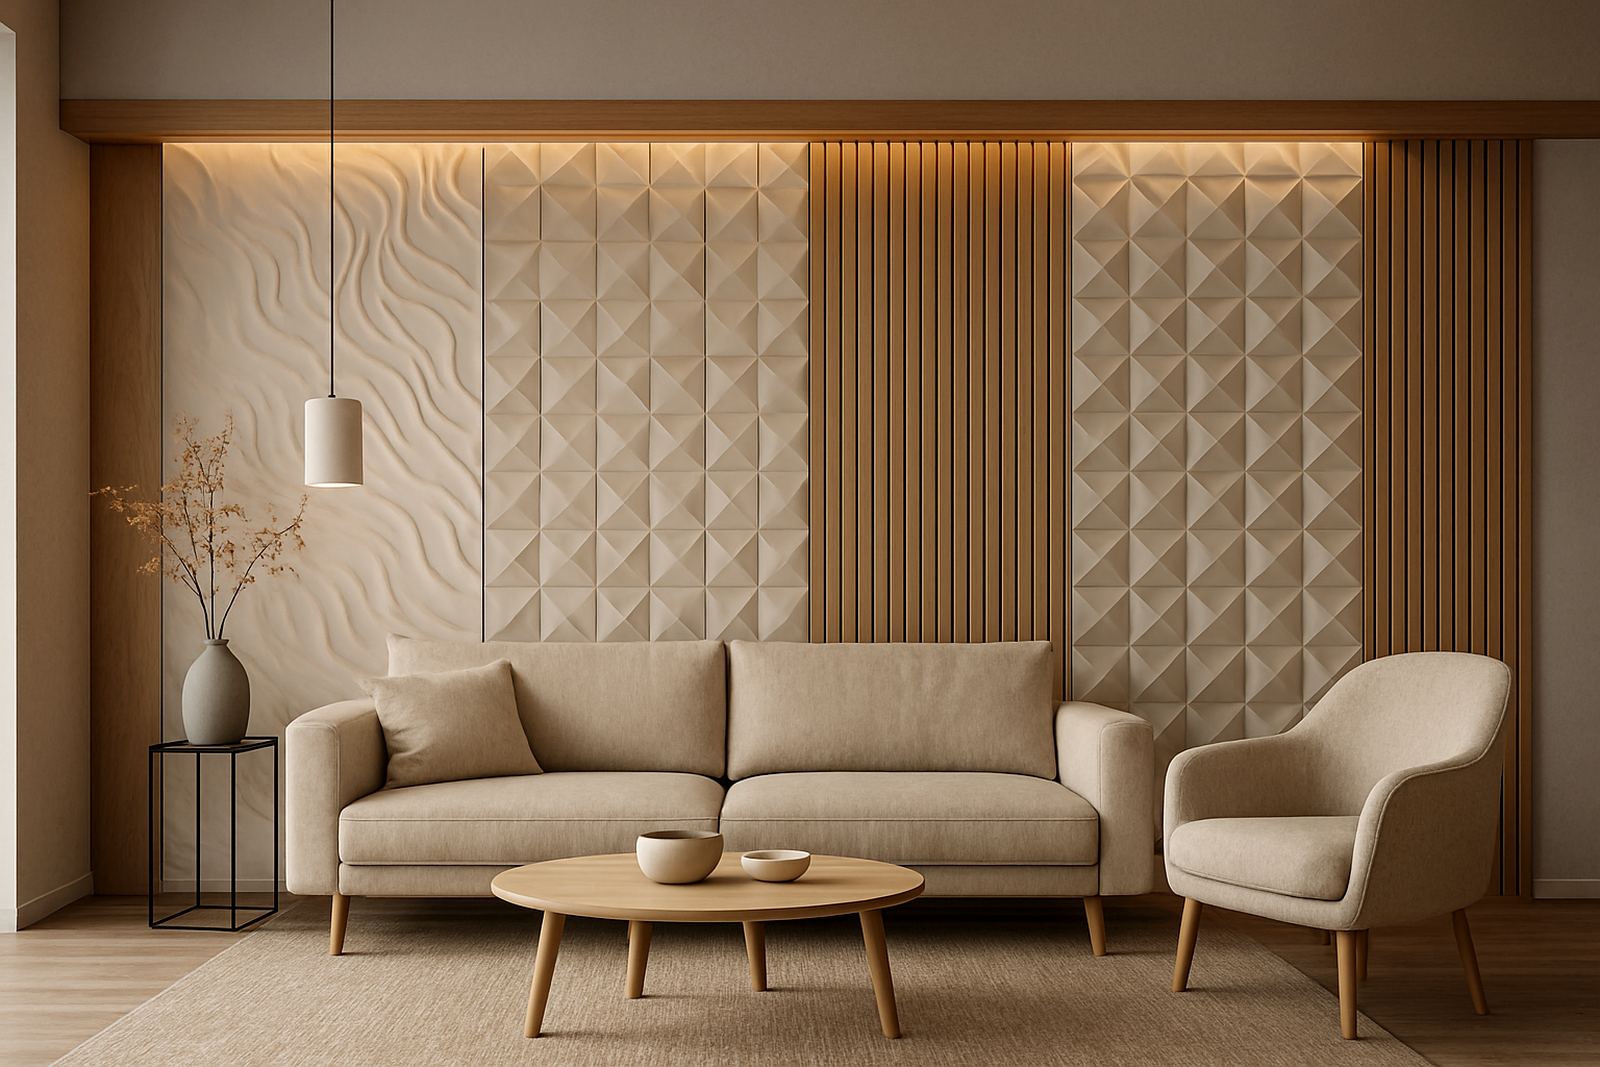
The finished wall changed the feel of the lounge without taking over the room. The timber tone brought warmth into a space that had previously felt a little hard edged, especially in the evenings when the lights came on. It also added visual weight behind the seating area, which helped the room feel grounded and more complete.
There was also a practical side to the choice. The panel finish offers better acoustic behaviour than a plain painted wall, so the room now feels less echoey when the family is talking, watching television or entertaining guests. It is not soundproofing, of course, but it does make a noticeable difference in a room with hard floors and open movement.
The clients were looking for a result that would age well, and this finish suits that brief. It will not date quickly because it is simple, textural and easy to pair with other materials. If the room changes later, the wall should still hold its own alongside new curtains, rugs or artwork.
Details that matter in coastal Western Cape homes
In and around Cape Town, material choice has to account for more than appearance. Coastal humidity, temperature shifts and the general pace of family life all play a part in how a wall finish performs over time. This is especially relevant in homes that are not always air-conditioned, or where rooms are opened up for fresh air in summer.
For this project, we paid close attention to the following:
- Keeping edges sealed and joints neat to reduce dust build-up
- Using a finish that suits indoor conditions in the Western Cape
- Allowing for easy cleaning in a lived-in family space
- Planning around the room’s natural light so the grain looked balanced through the day
The wall was installed to look intentional from every angle, not just head-on. That matters in open-plan homes where people move between rooms and notice details from the side. The result feels calm and finished, with enough texture to add interest but not so much that it dominates the lounge.
What we would carry into a similar family home project
If we were doing this style of project again, we would keep the same approach: proper measure-up, sample review in the actual room, and a fixed installation plan that works around family routines. Those steps save time later and give a better result than trying to improvise on site. In homes like this, the best outcome comes from careful prep and tidy execution.
We would also recommend this style of wall for homeowners who want a feature in a lounge, passage, entertainment area or main bedroom without going too decorative. It suits people who want warmth, structure and a finish that is practical enough for everyday use. The look also works well when matched with soft fabrics, neutral paint colours and simple lighting.
For this Claremont family home, the result was exactly what the brief asked for: a warm timber-look statement wall that lifted the lounge and felt right in the space. Nothing flashy, just a solid finish that brings the room together.
Key facts
| Project location | Claremont, Cape Town |
|---|---|
| Client type | Private family home |
| Feature supplied | Warm timber-look feature wall cladding |
| Room | Main lounge |
| Timeline | 2 weeks from measure-up to handover |
| Key benefit | Visual warmth with improved room acoustics |