
Coastal brief for a relaxed holiday home
The clients, a private holiday home owner in Melkbosstrand, wanted feature walls that would add warmth to the main living areas without creating extra upkeep. The home sits close to the sea, so the brief was not just about appearance. It had to cope with salt in the air, changing humidity and regular openings of sliding doors during summer. They also wanted finishes that would suit family visits, rental stays and the occasional cleaning cycle in between.
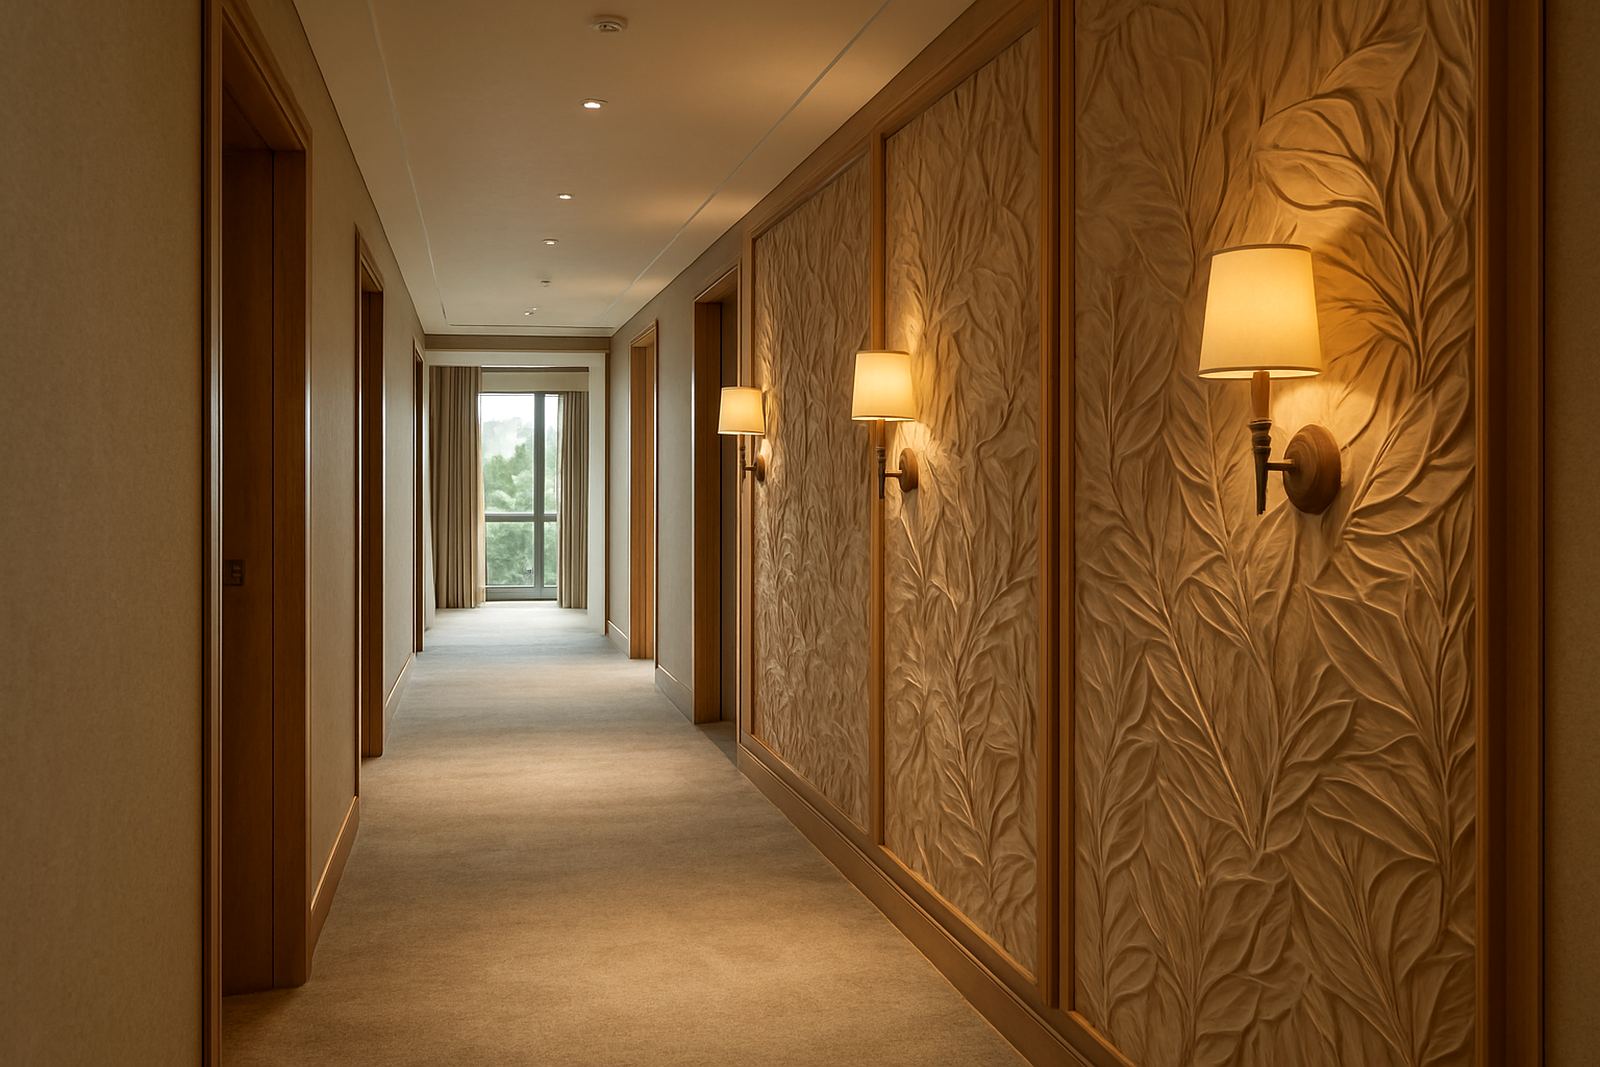
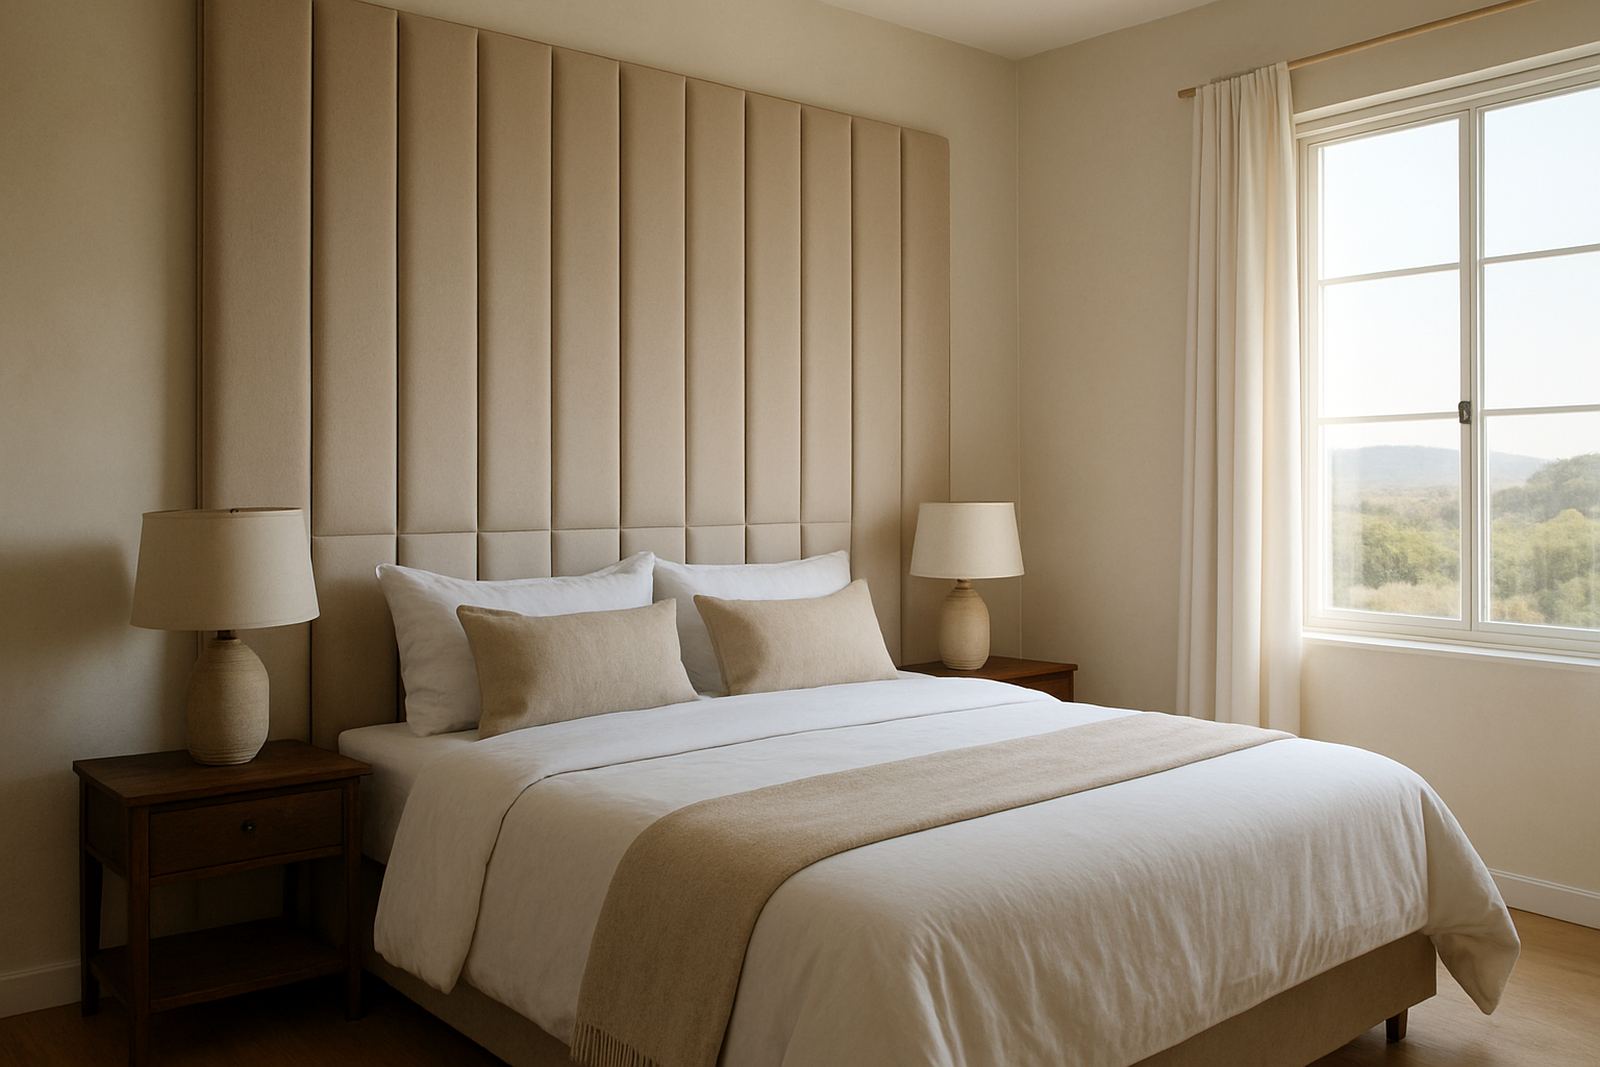
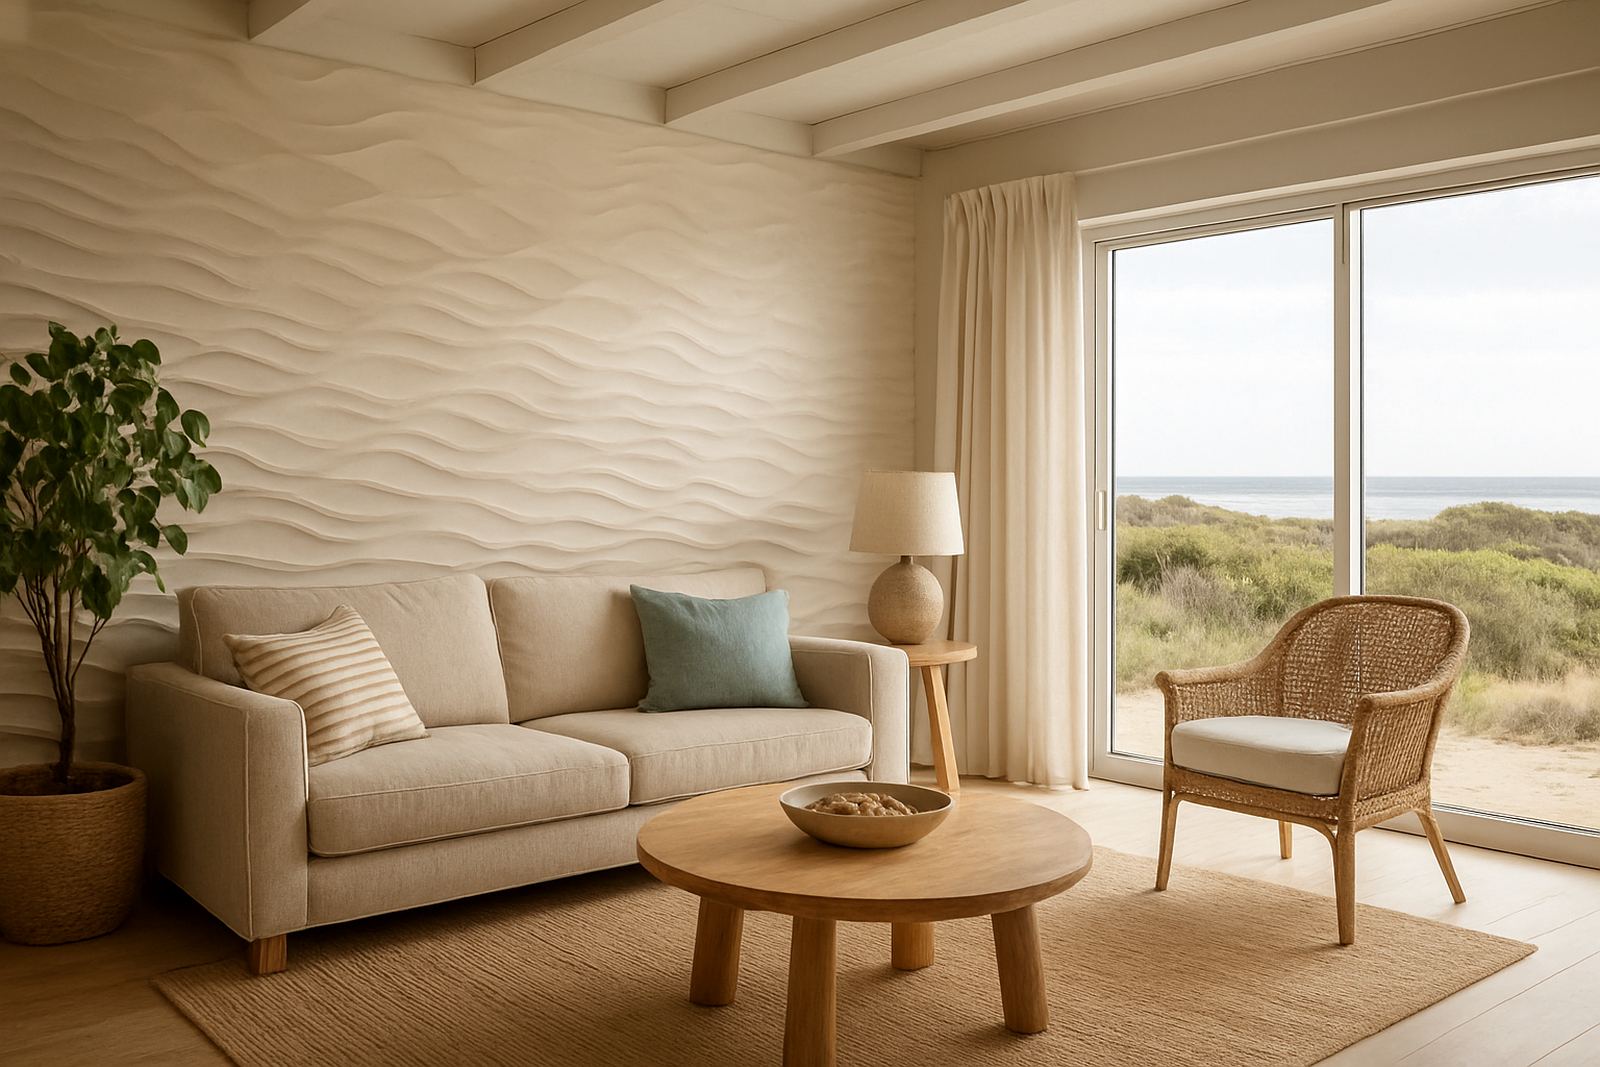
We started with a site measure-up and a design consultation to see where the strongest visual impact would be. The main focus areas were the living room wall behind the seating area, a passage wall that felt too plain, and a bedroom headboard wall where the owners wanted a softer finish. The brief was clear: create texture, keep maintenance low, and avoid anything that would look tired after one coastal season.
- Location: Melkbosstrand, Western Cape
- Property type: holiday home
- Key need: decorative wall finish suited to coastal humidity
- Primary areas: living room, passage, bedroom feature wall
Material choices that suit sea air and busy use
For this project we recommended panel options that are suited to interior decorative use in coastal homes, with finishes selected for easy cleaning and a tidy edge detail. The materials were chosen for stability, visual depth and a neat look around corners and openings. In a home this close to the ocean, we avoid anything that can move too much with humidity or show obvious wear after a few years.
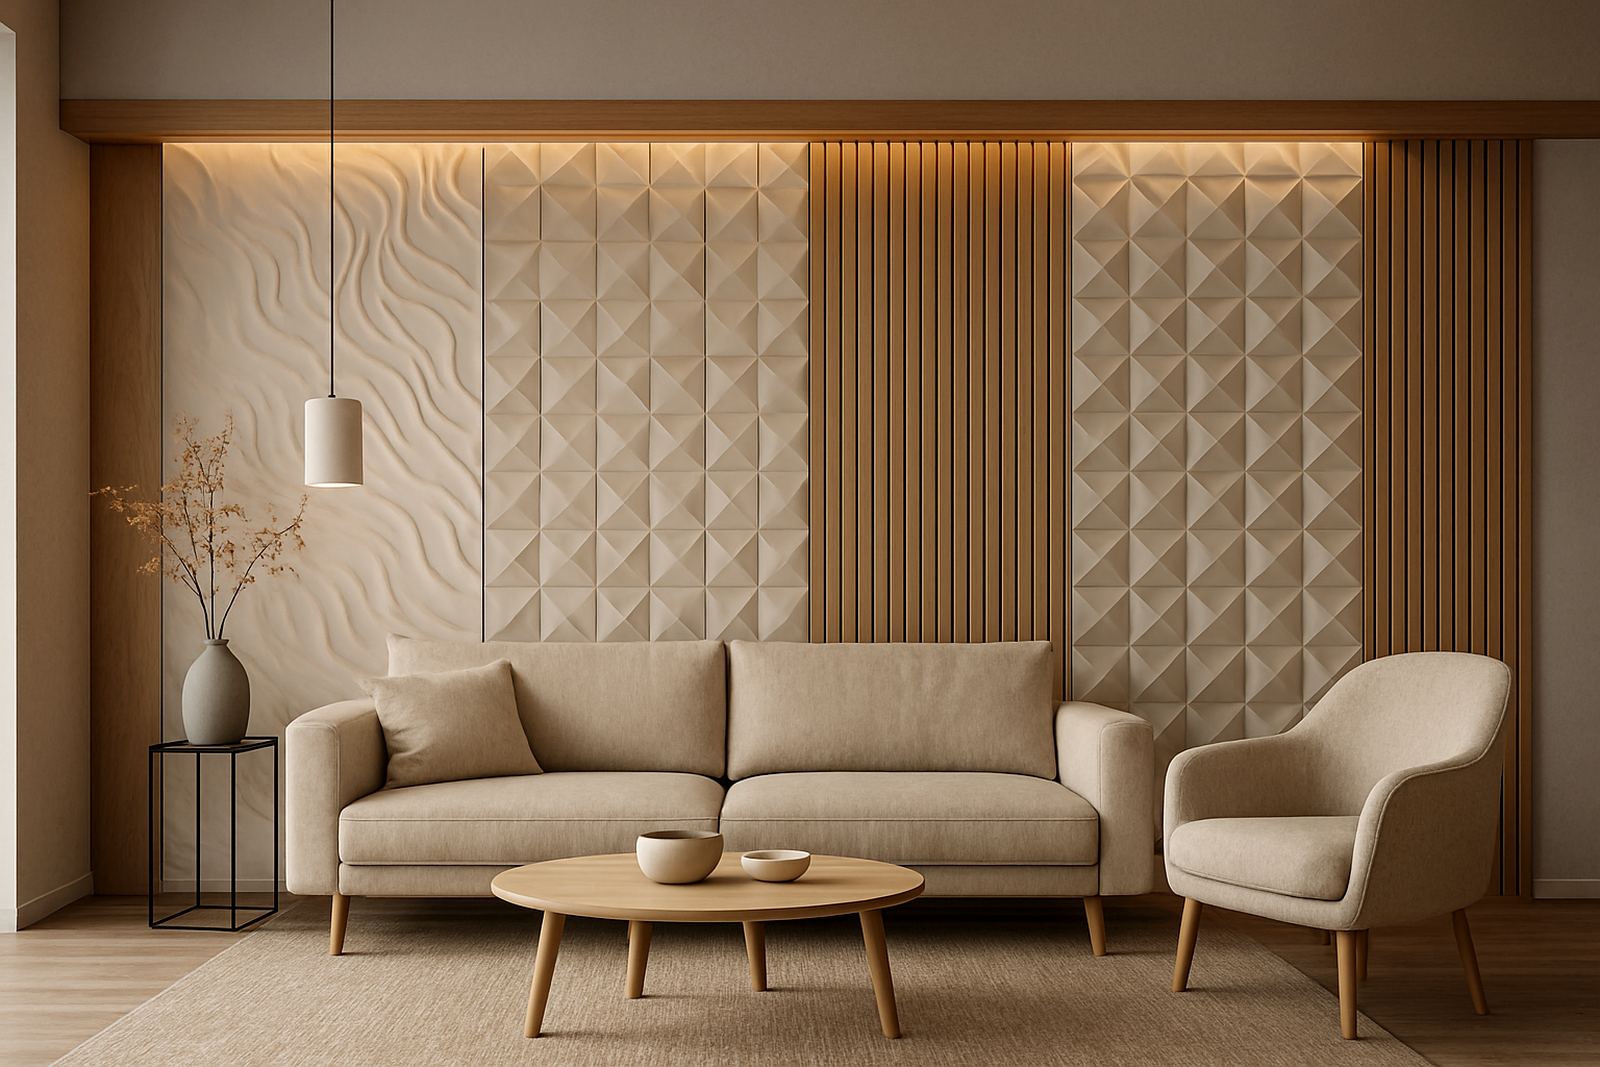
The clients wanted a contemporary feel but not something cold or overdone. We balanced soft textures with a strong geometric pattern in the main living area, then used a calmer panel profile in the bedroom. This kept the home feeling connected rather than repetitive. The colour palette stayed neutral so the owners can change furniture and soft furnishings later without needing to redo the walls.
- Decorative feature wall cladding for interior use
- 3D wall panels for depth and shadow detail
- Moisture-aware finish selection for coastal conditions
- Neutral tones to suit changing decor over time
Preparation work before any panels went up
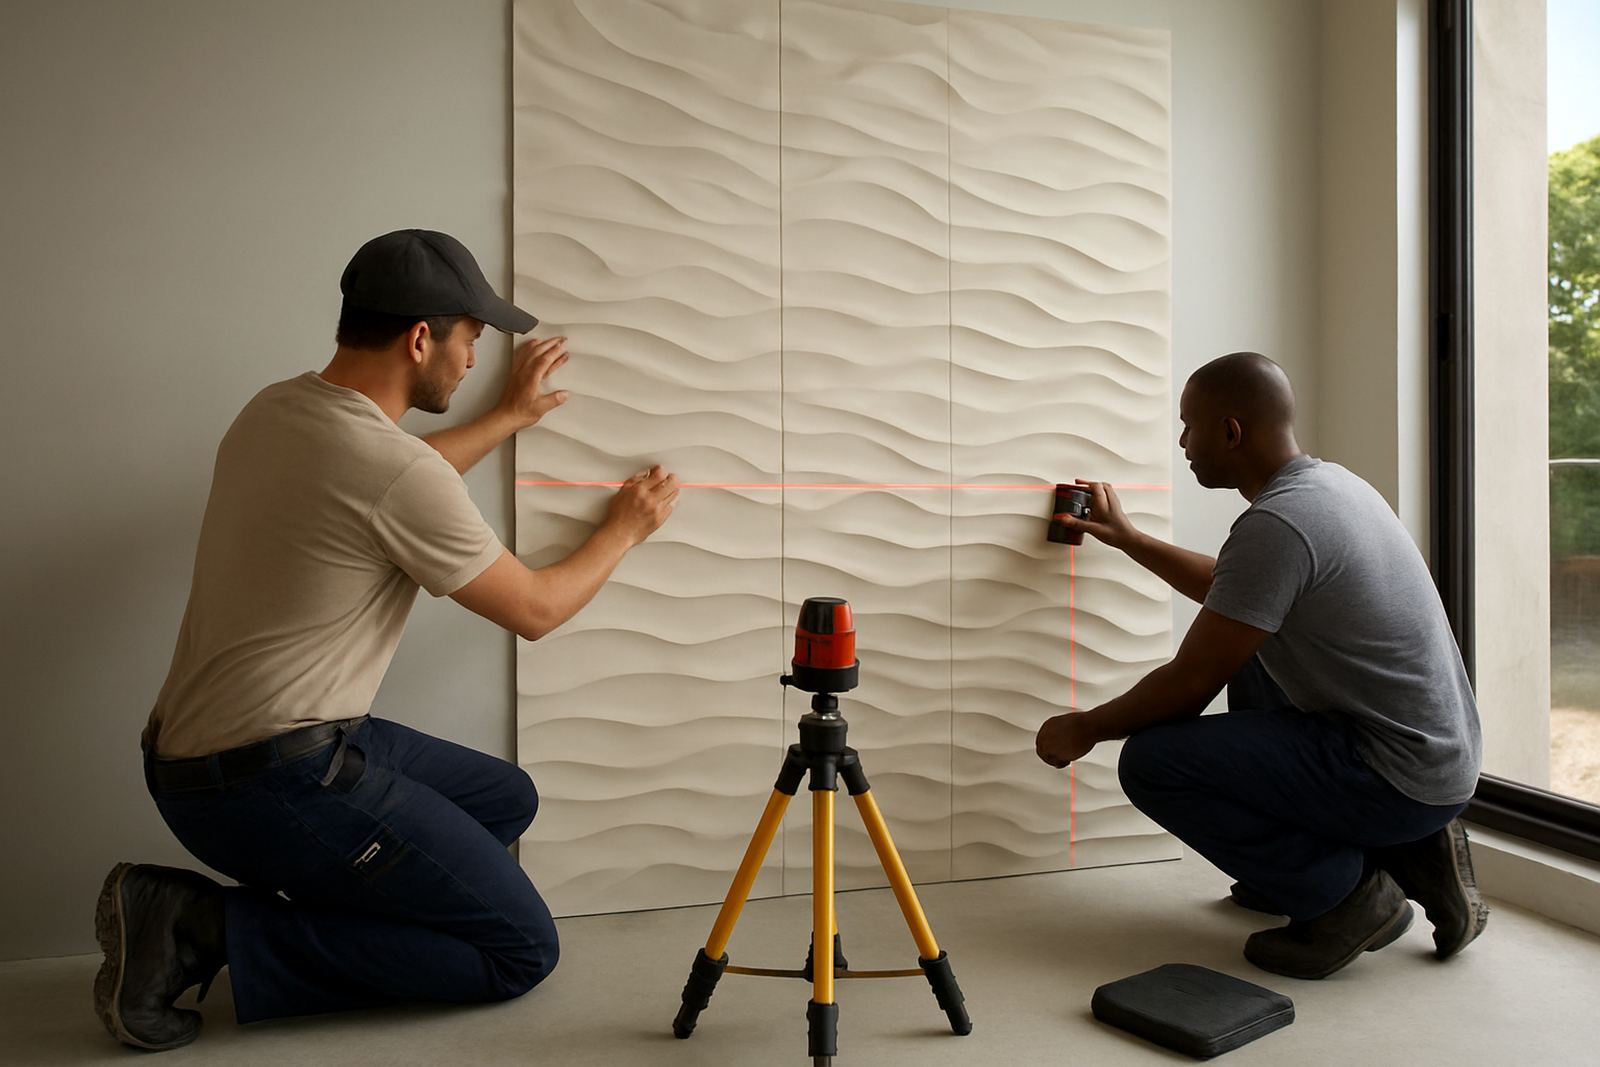
Good preparation is what makes the final result last, especially in a holiday home that may stand empty for stretches and then be used heavily in one weekend. We checked wall flatness, moisture points and surface soundness before starting. Where needed, we carried out wall preparation to improve adhesion and get the base ready for clean panel alignment. A few areas also needed minor corrections around corners and junctions where previous paint and plaster work had aged unevenly.
The installation plan was staged so the family could still access parts of the home during the work. That matters in holiday properties, because the timing often has to fit around bookings and travel. We also checked how natural light moved through the rooms. A panel with good shadow lines can look flat if it is placed badly, so the layout was adjusted to suit the morning and late-afternoon light coming in from the coastal side.
- Wall condition check and level assessment
- Surface prep for even panel fitment
- Layout adjustments based on light direction
- Staged work plan to suit the owners schedule
Installation over a tight two-week programme
The full job took two weeks from final confirmation to handover. During the first week we completed preparation, final sample matching and panel cutting in our workshop. That cut down on noise and dust at the property and kept on-site disruption low. In the second week, Johan and the installation team fitted the panels, finished edge details and checked alignment room by room. The bedrooms and passage were completed first, then we moved into the main living area where the largest feature wall needed the most careful setting out.
The project ran smoothly because the sequence was planned properly. Tshegofatso coordinated the schedule with the homeowners, while Bianca helped confirm the visual balance of the selected finishes. Gerhard oversaw workshop prep and Zanele kept the communication clear through the handover stage. That kind of coordination is important on coastal homes where weather, traffic and short access windows can all affect timing a lot.
- Week 1: measure-up, sample matching, prep and workshop cutting
- Week 2: panel fitting, edge finishing and final inspection
- Access managed around the homeowners schedule
- Final room-by-room sign-off before handover
What changed in the rooms after the fitment
The finished spaces gained structure without losing the calm holiday feel the owners wanted. In the living room, the feature wall now gives the seating area a proper focal point and helps the room feel more grounded. The passage, which used to feel like a blank connector, now has depth and movement. In the bedroom, the softer panel treatment brought a more restful look that still feels practical for everyday use.
There was also a useful acoustic benefit in the main living area. Holiday homes often have hard flooring, glass openings and high reflected sound, so the right panel finish can take the edge off echo. It is not a full acoustic treatment, but it does make conversation feel less sharp. The homeowners also wanted something that would be easy to wipe down after sand, fingerprints and normal family use. That was achieved, and the rooms now look considered rather than overfussy.
- Stronger visual focal points in key rooms
- Better sound control in the living area
- Low-maintenance surfaces for holiday use
- Cleaner transition between modern finishes and soft furnishings
What we would repeat on the next coastal property
If we were doing this again on another Melkbosstrand or Blouberg-side home, we would follow the same basic approach: inspect moisture risk early, match the finish to the room use, and keep the design restrained enough to age well. Coastal properties can look beautiful but they punish poor prep, so the sensible choice is always to plan for the environment first and the visual effect second. That is what helps a coastal installation keep its look for longer.
For holiday homes, the best results usually come from a combination of measured layout, practical materials and a fitment sequence that does not rush the final details. We would use the same process again for another owner wanting a polished result that can handle coastal living, a busy family pattern and the odd bit of downtime between visits. It is simple work when done properly, but it has to be done properly or the finish will show it.
- Start with moisture and wall condition checks
- Choose textures that suit the room function
- Keep colour tones flexible for future decor changes
- Allow time for accurate layout and finishing
Key facts
| Project location | Melkbosstrand, Western Cape |
|---|---|
| Client type | Private holiday home owner |
| Project duration | 2 weeks |
| Services used | Site Measure-Ups, Design Consultations, Sample Matching, Wall Preparation, Panel Installation, Aftercare Support |
| Key materials | Interior decorative wall cladding and 3D wall panels |
| Main challenge | Coastal moisture and humidity near living areas |