
A salon brief that had to look good and work hard
The client was a local salon in Durbanville looking to refresh both the waiting area and the main styling section. The brief was clear: create a warmer feel, reduce the hard echo from tiled floors and glass, and keep the room practical for daily use. The owner wanted something that suited a premium service environment but still made sense for a busy team working with hair products, blow dryers and constant foot traffic.
Because salons see a lot of movement, we had to avoid anything fragile or difficult to clean. The existing walls were flat but a bit plain, and the space needed more depth without reducing circulation around the styling chairs. The client also asked for a finish that could be completed with as little disruption as possible so the salon could keep trading during part of the install period.
- Location: Durbanville, Northern Suburbs of Cape Town
- Space type: reception, waiting area and styling wall sections
- Goal: soften the room and improve the visual finish
- Practical need: low maintenance surfaces and better acoustic comfort
What we supplied for the feature walls
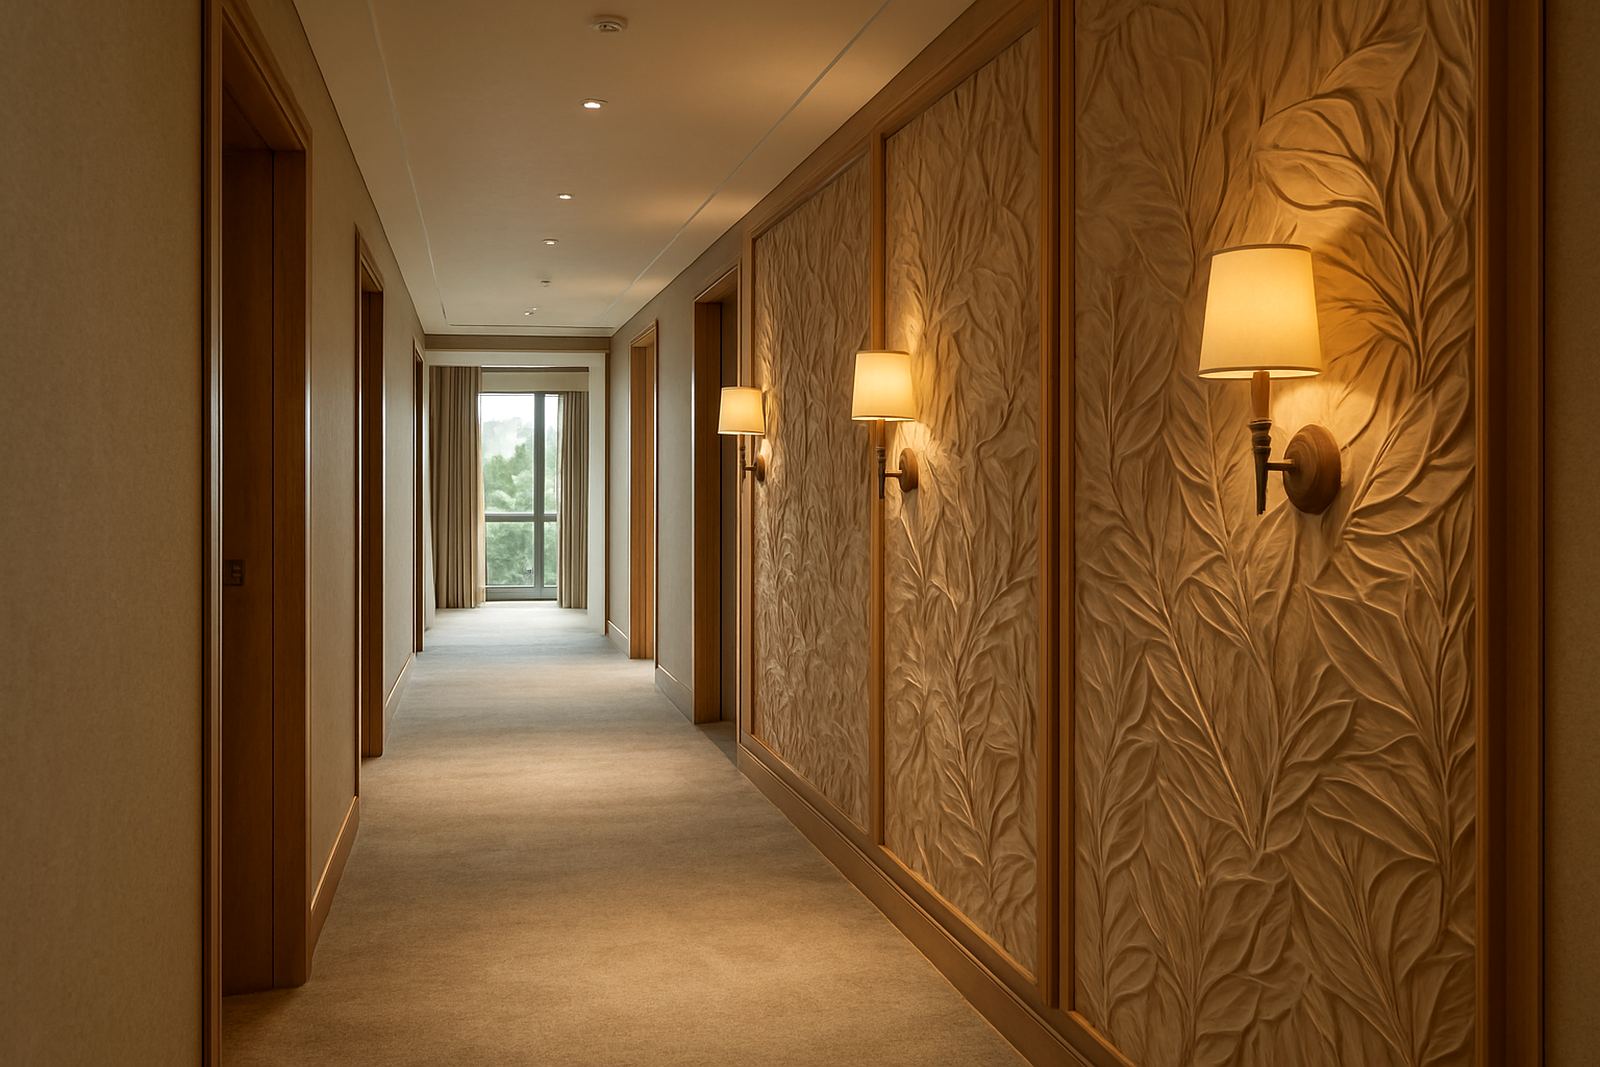
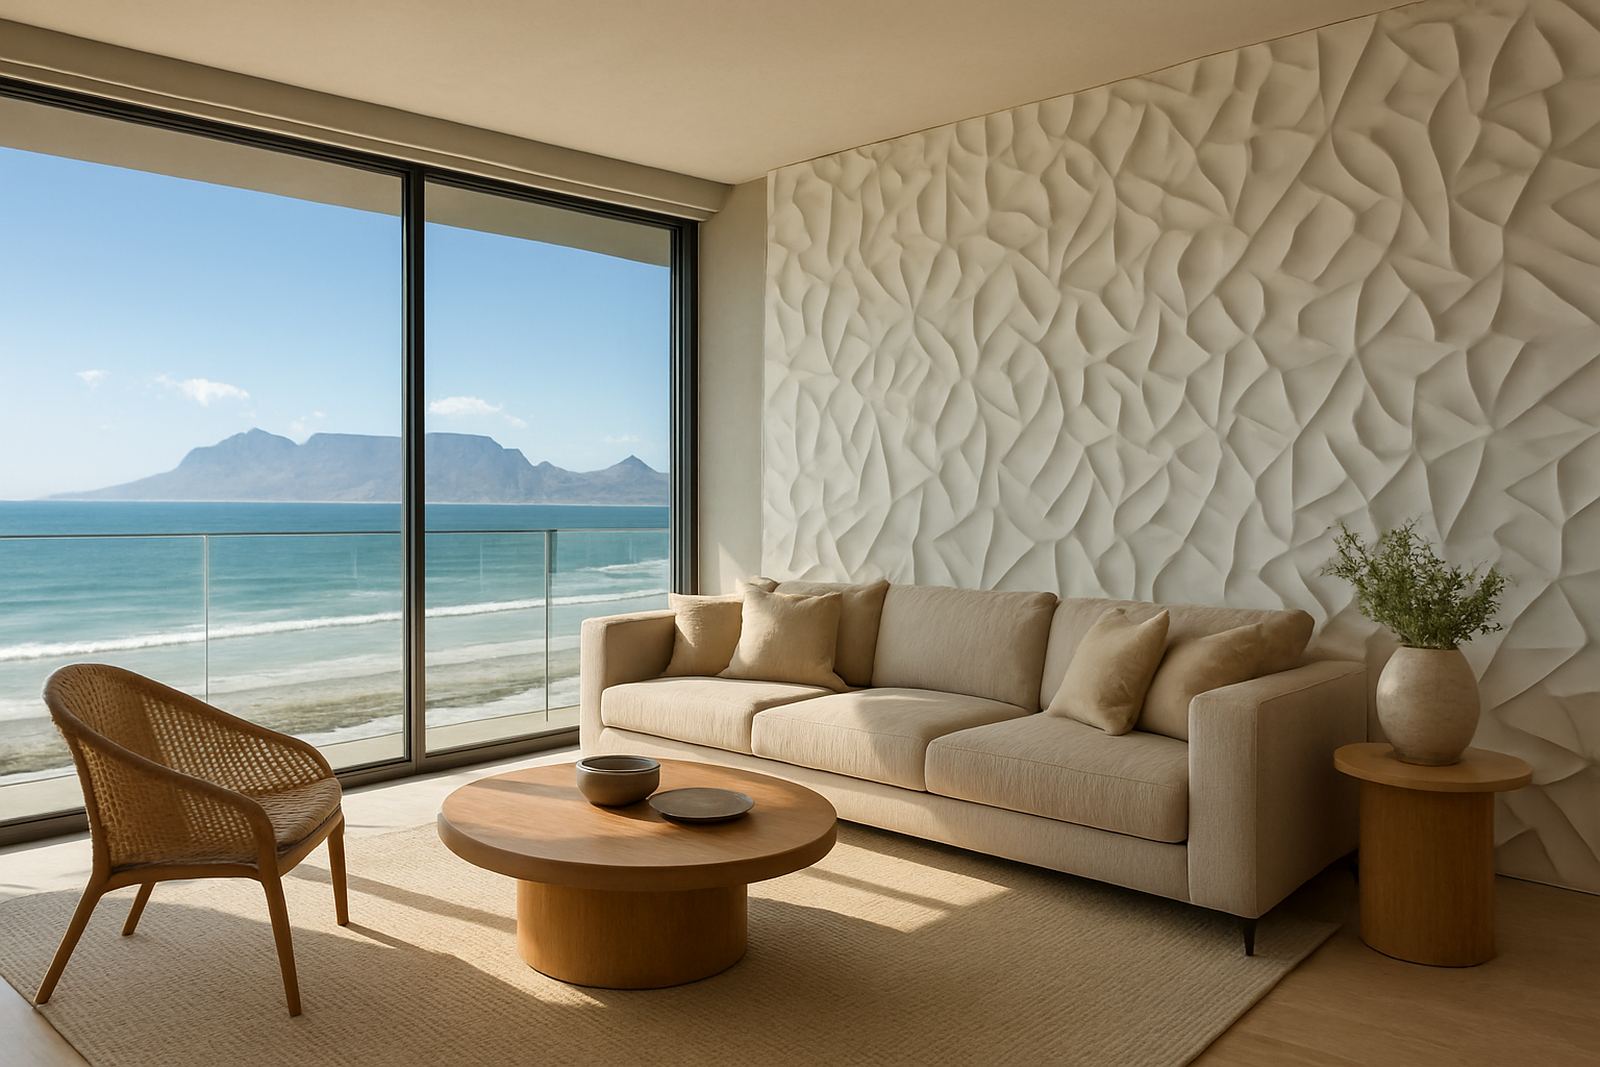
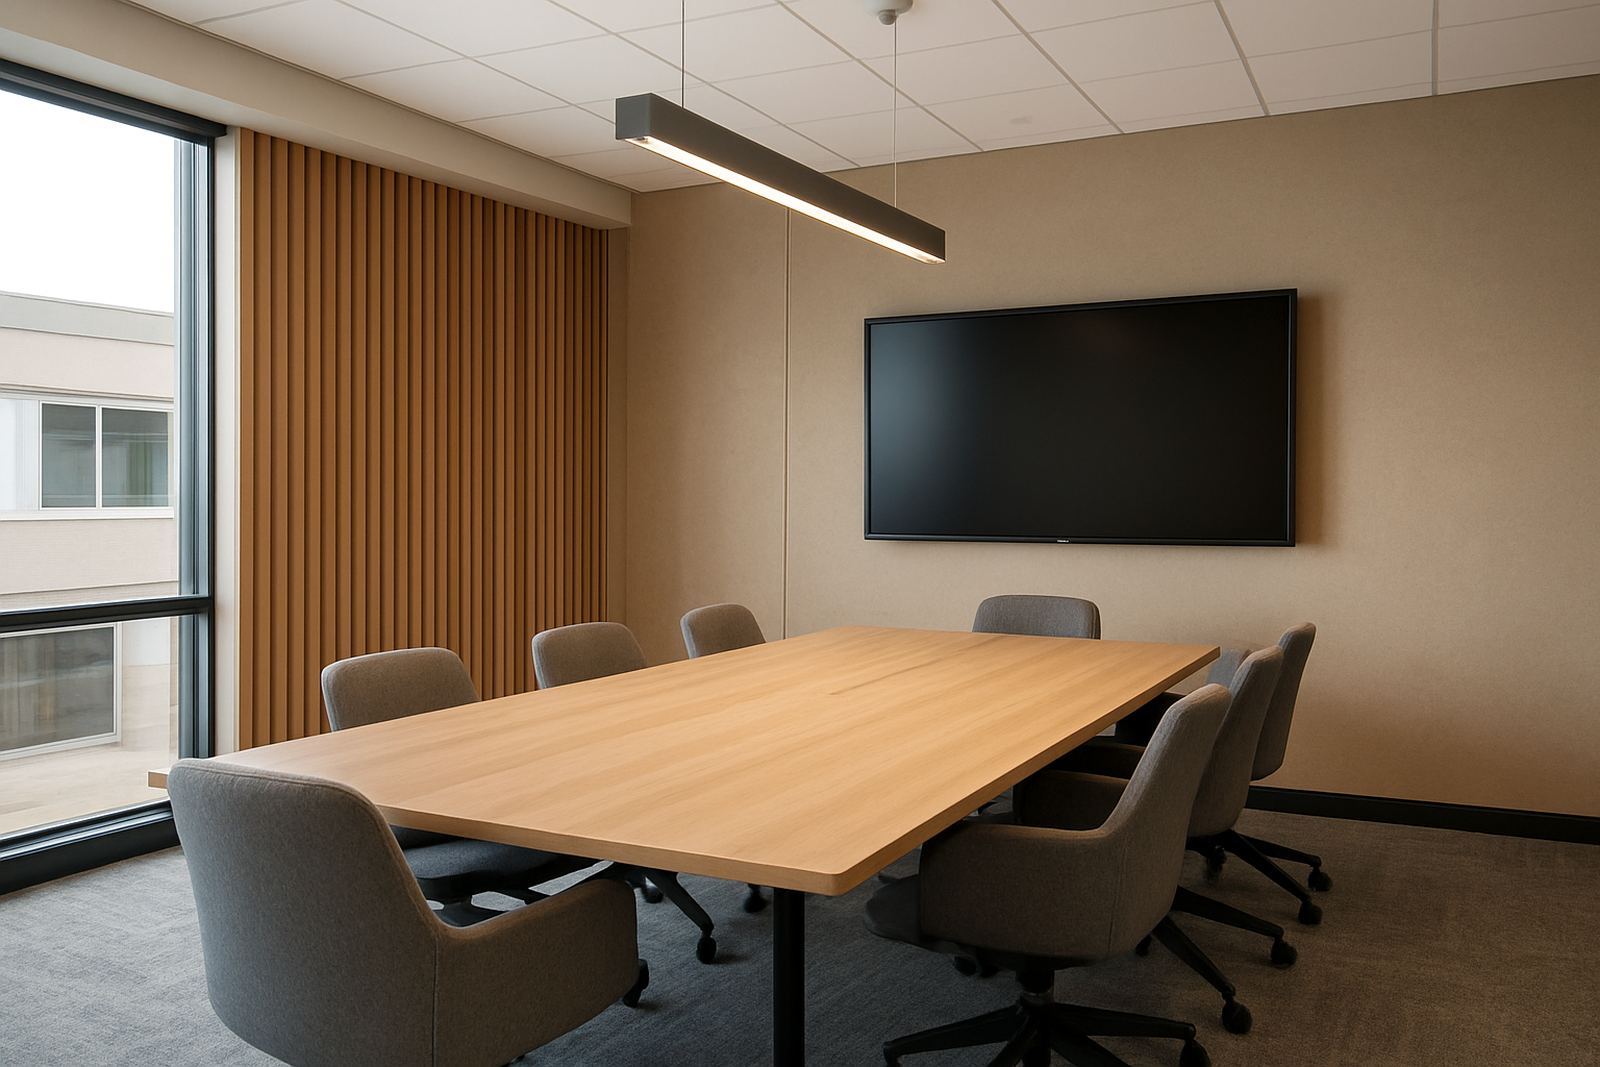
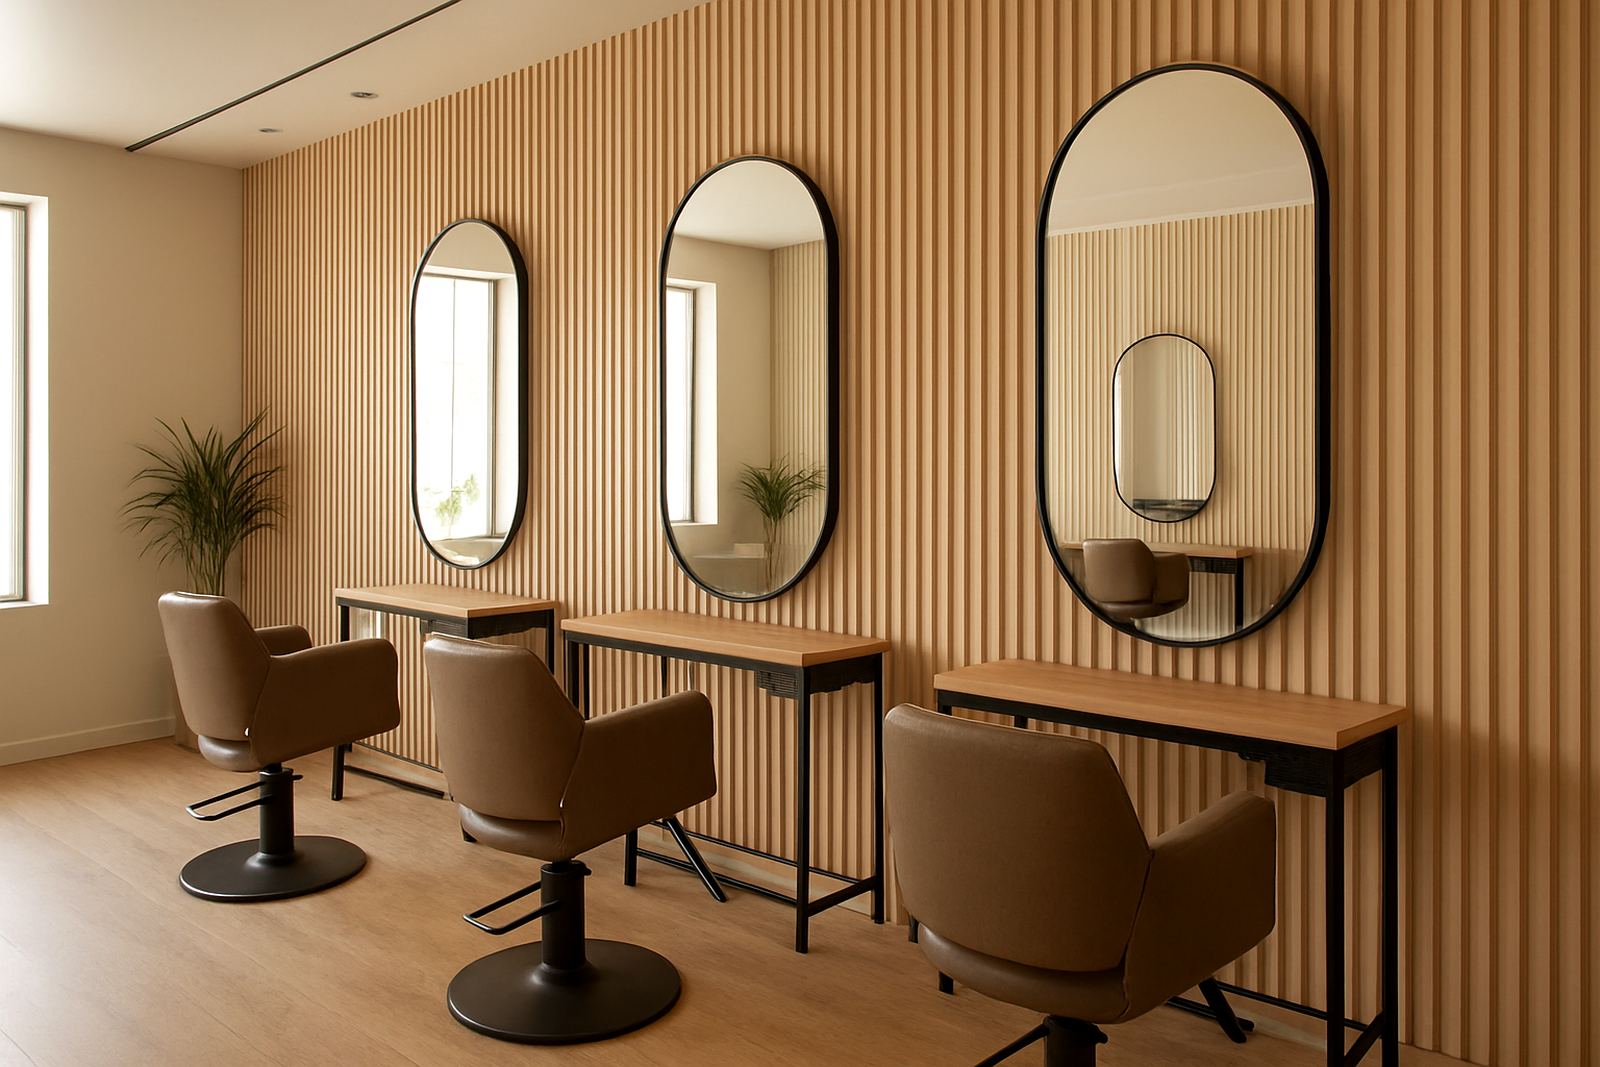
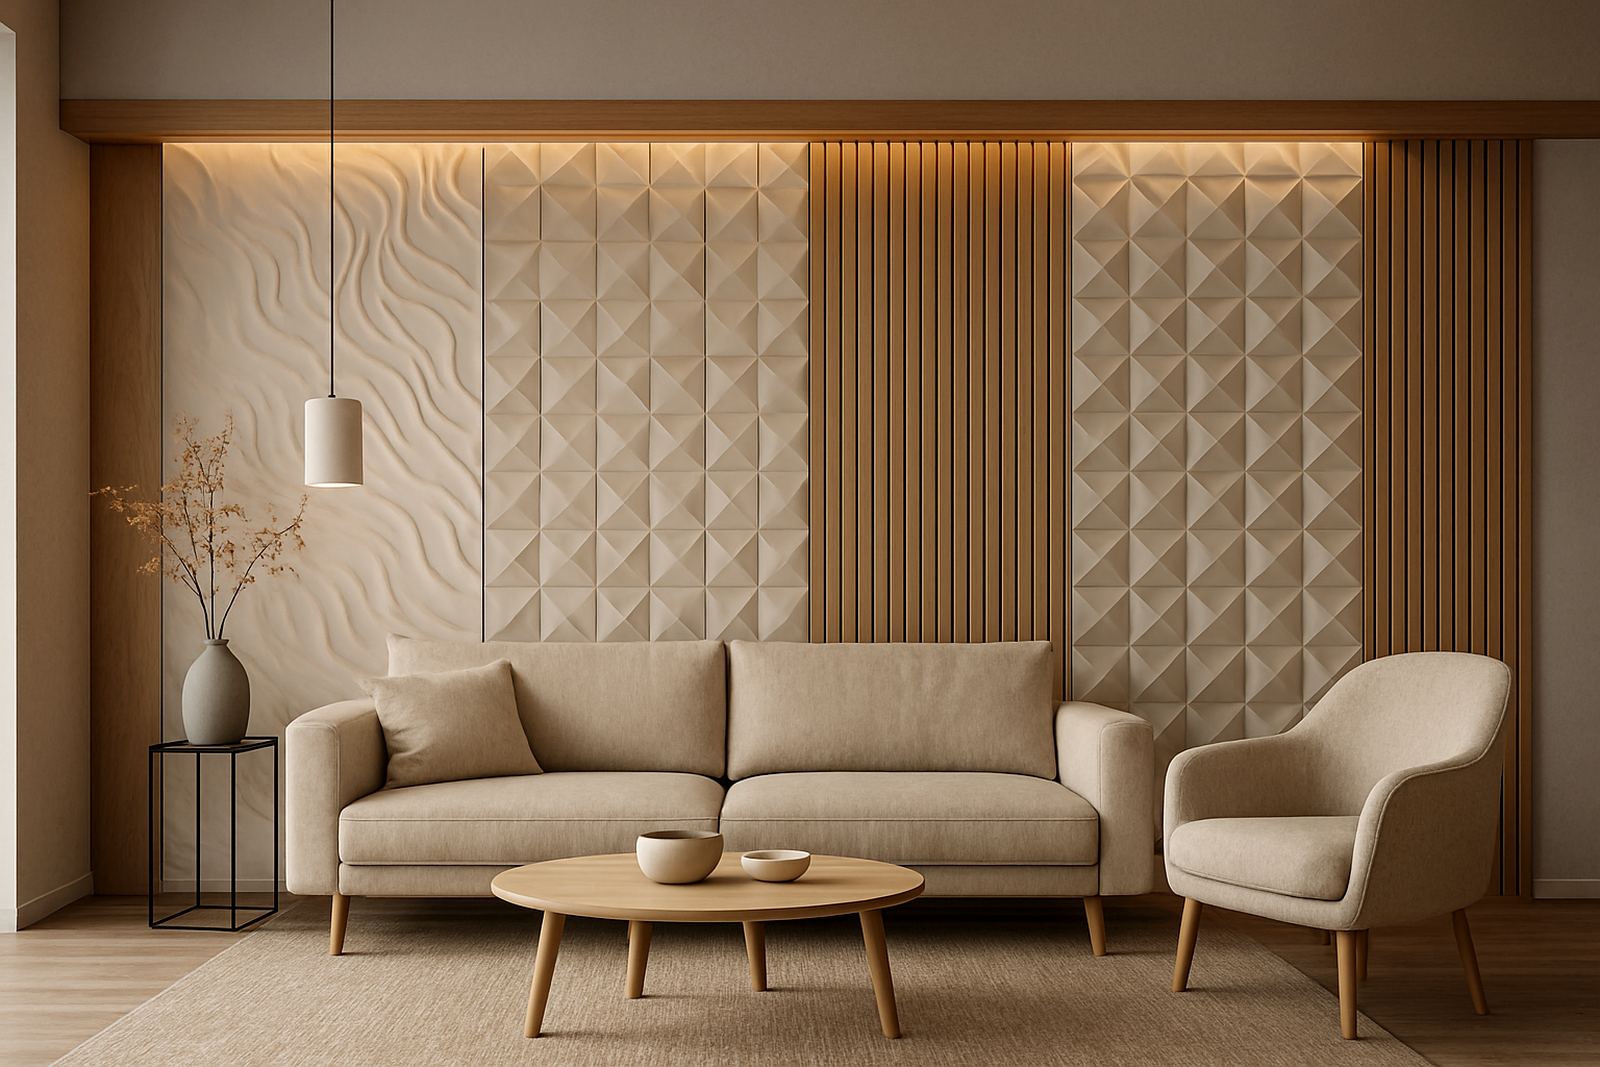
We proposed fluted wall panels in a neutral tone to bring rhythm into the room without overpowering the rest of the interior. Fluted profiles work well in salons because they catch light nicely, hide minor wall imperfections and add a tailored look that feels neat from every angle. The profile depth also helped break up the sound reflections that are common in tiled commercial spaces.
The selected panels were suitable for interior use in a dry salon environment and were matched to the surrounding paint and joinery so the finished wall looked intentional rather than added later. We also supplied trims and finishing pieces to keep edges crisp around corners, electrical points and the base line. In a place like Durbanville where clients expect a clean presentation, those small details matter a lot.
- Fluted decorative wall panels for feature surfaces
- Matching trims for edges, returns and corners
- Adhesive fixing system suited to interior wall cladding
- Preparation materials for a clean bond and level finish
Preparing the walls before installation
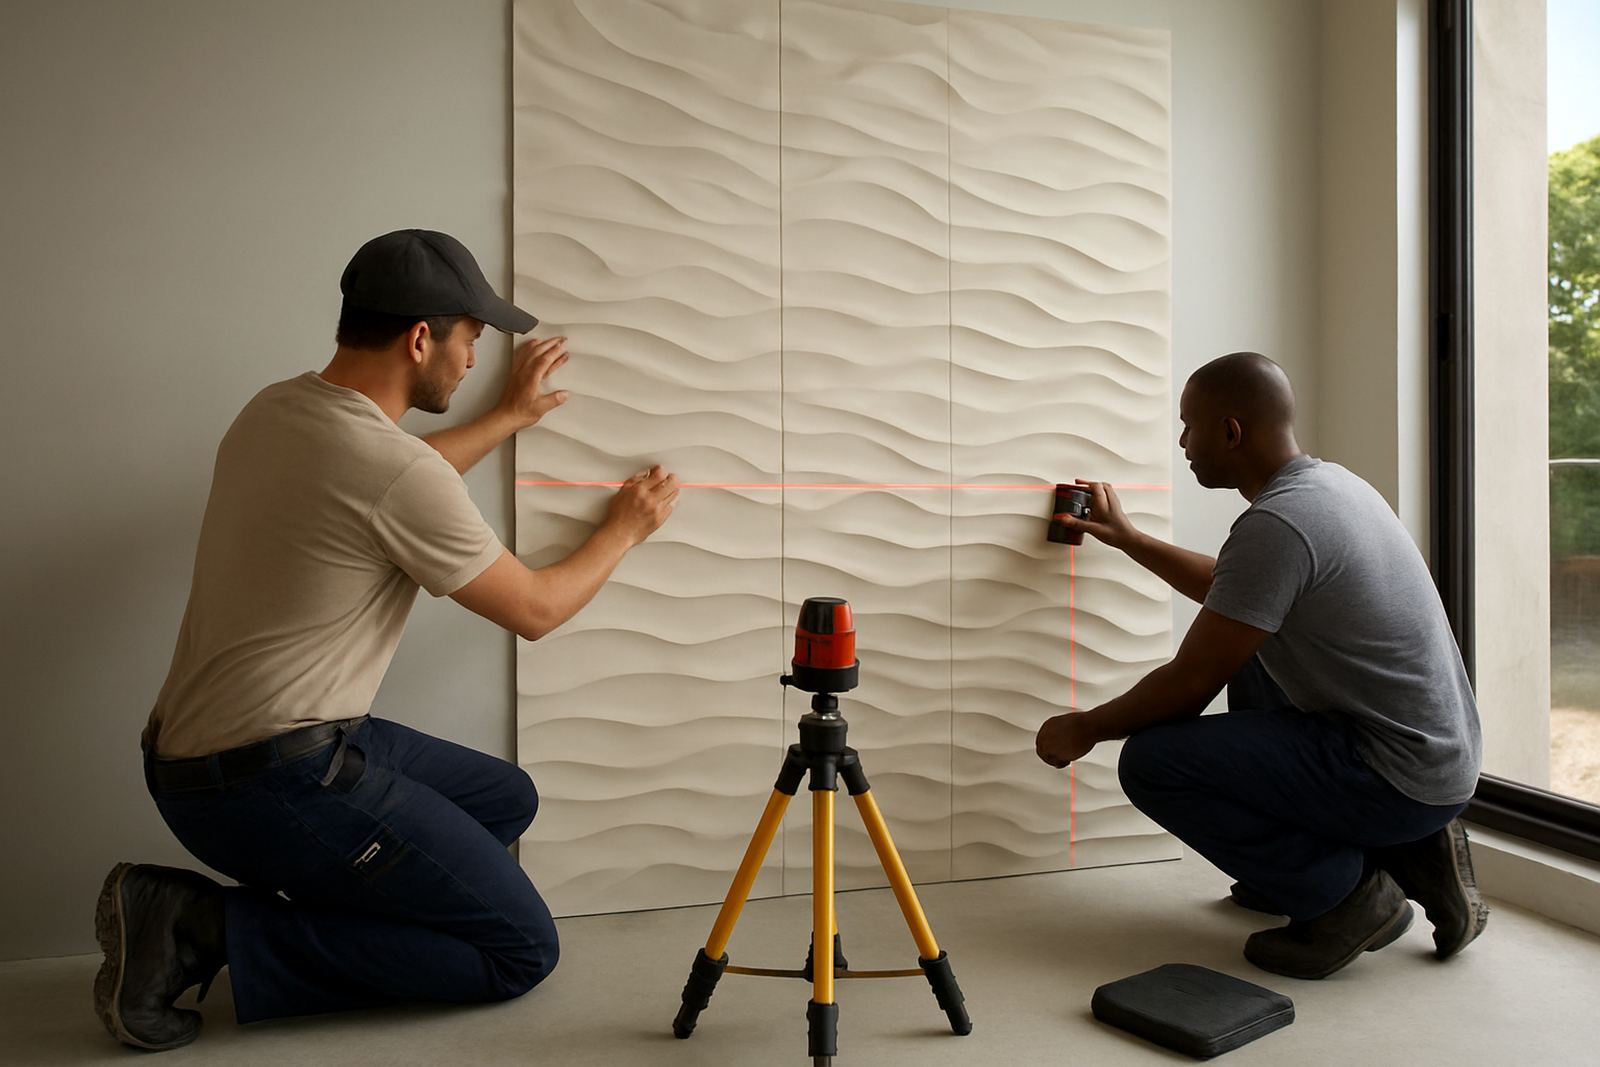
Before fitting the panels, our team checked the wall surfaces and marked out the panel positions to suit the salon layout. We had to work around existing lights, mirrors and service points, so the setting-out stage was important. The wall prep included cleaning the substrate, checking for uneven sections and making sure the surfaces were ready for a stable installation.
In salons, a small alignment error can stand out immediately because the space is full of mirror lines and straight sightlines. That is why we measured carefully and worked from fixed points rather than relying only on the room edges. The project also needed to avoid dust and mess near the wash and styling stations, so the sequence of work was planned to keep disruption low. It helped that the client could give us access in stages, which made the install smoother than expected.
- Measured on site before panel layout started
- Walls checked for level, surface condition and fixing points
- Installation sequenced around mirrors and salon equipment
- Clean working method to keep the trading area usable
The install in Durbanville and how long it took
The full fit-out took two weeks from final sign-off to completion, including prep, fitting and final touch-ups. The first week was used for site measure-ups, ordering, confirming the layout and checking the wall conditions. The second week covered the actual installation and finishing. Because the panels were being used in both the waiting zone and the styling area, we focused on keeping the lines continuous so the whole room felt joined together rather than split into separate parts.
Johan and the installation team handled the fitting, while Bianca assisted with design alignment and colour matching. Tshegofatso coordinated the programme and kept the client updated on timing, which helped around their appointment bookings. Once the panels were fixed, we checked every join, trimmed the edges and gave the walls a final clean down. The result was a sharper interior with a softer feel under the light, and the salon owner said the room already felt more settled on the first day back in full use.
- Total project time: 2 weeks
- Work included measure-up, prep, install and finishing
- Install team coordinated around salon trading hours
- Final checks done on joins, lines and edge detail
Results seen in the waiting and styling zones
The biggest change was how the room felt. The fluted panels added depth and texture, but they also took the edge off the hard surfaces that made the space feel noisy before. In the waiting area, the feature wall now gives clients a calm first impression as soon as they walk in. In the styling section, the panels work as a backdrop that does not compete with mirrors, shelving or product displays.
The salon also benefited from a more practical wall finish. The surface is easy to keep looking presentable with regular cleaning, and the profile detail helps disguise small marks that can happen in a busy service environment. For a business like this, where appearance is part of the service, that matters. It was a straightforward way to improve both look and function without changing the full layout.
- More polished first impression for clients
- Less echo in the main treatment area
- Feature wall that supports the salon brand feel
- Practical surface for ongoing daily use
What we would carry into a similar salon feature wall
If we were doing another Durbanville salon or a similar fit-out in the Northern Suburbs, we would follow the same approach: accurate measure-ups, careful panel layout and proper wall preparation before any fixing starts. That order of work saves time and avoids unhappy surprises once the installation begins. We would also keep the colour selection close to the existing finishes so the cladding feels like part of the room, not an afterthought.
For salons near coastal areas such as Blouberg or the Atlantic Seaboard, we would pay extra attention to ventilation and wall condition before fitting. Moisture, salt air and frequent cleaning can all affect a finish if the prep is rushed. In this case, Durbanville gave us a fairly controlled interior, but the same principles still apply. Good prep and tidy detailing are what make a feature wall look right for years, not just on the day it is installed.
- Use measured layout lines from fixed room points
- Choose a finish that matches mirrors, lighting and joinery
- Check wall dryness and surface condition before install
- Keep the design clean so maintenance stays simple