
What wall preparation covers on a cladding project
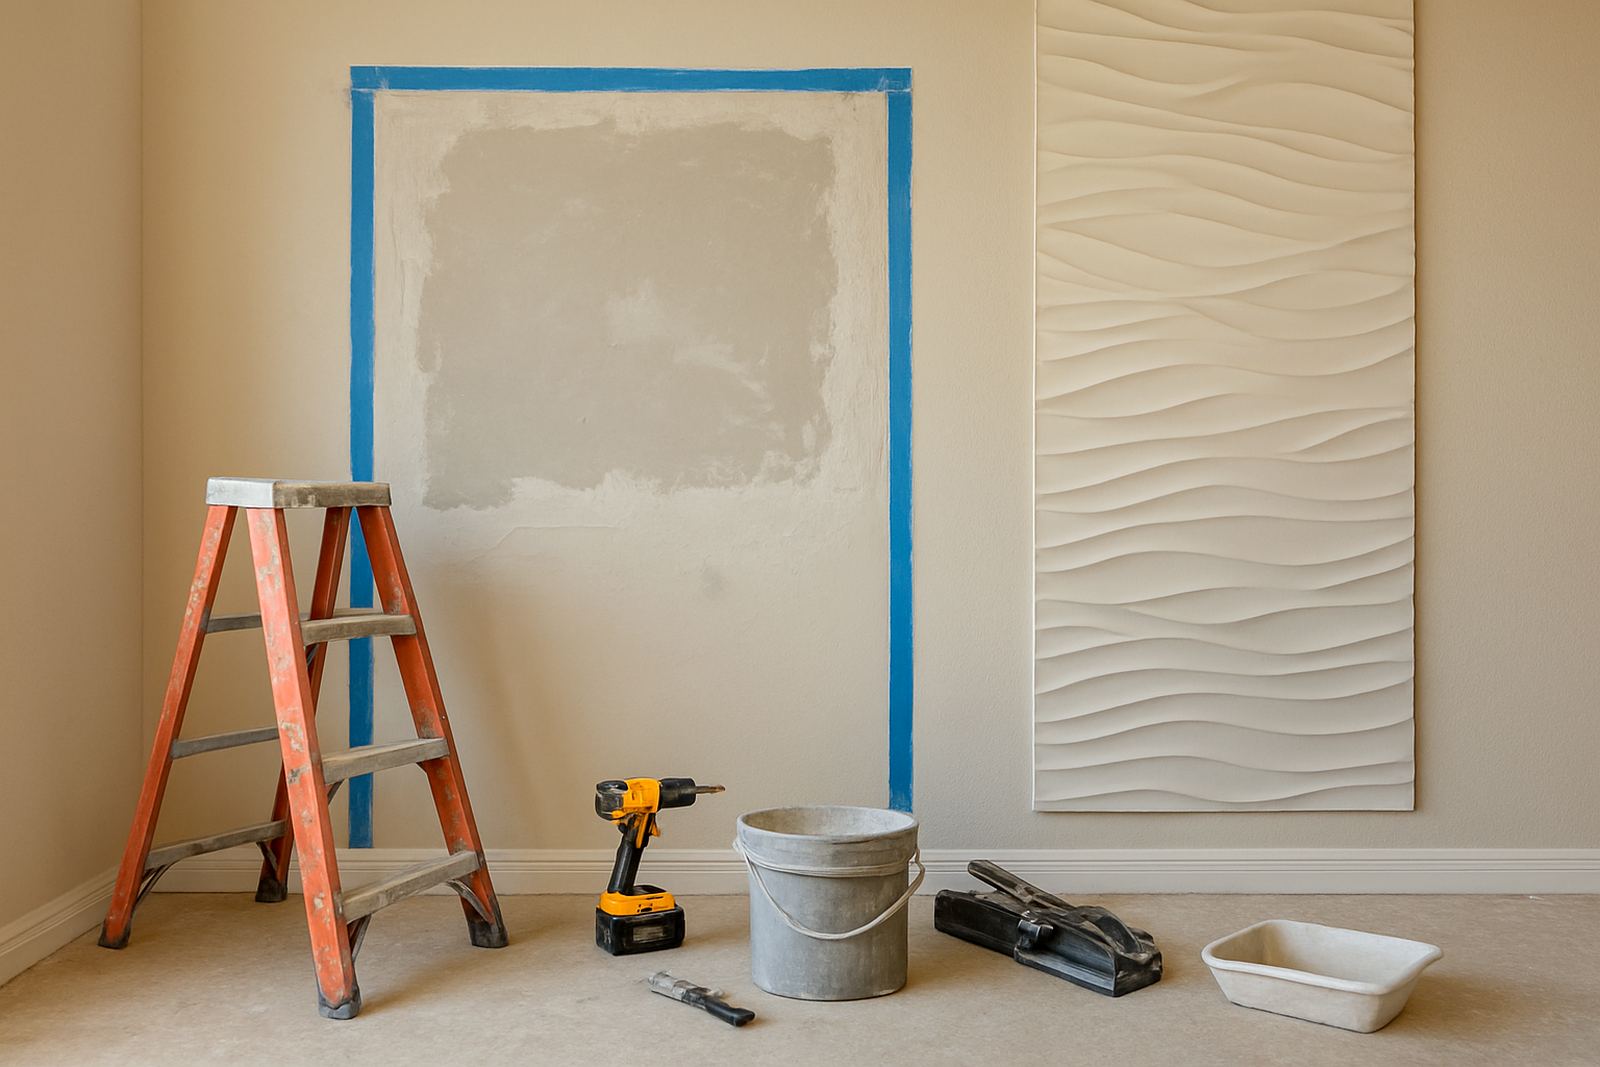
Wall preparation is the stage where we make the surface ready for cladding, so the finish bonds properly and the lines stay true. On a typical project, this can mean removing loose paint, scraping away old adhesive, filling cracks, sanding rough patches and checking that the wall is sound before any panels go up. If the base wall is not right, even good panels can show bumps, gaps or movement later.
We work on plaster, painted brick, gypsum board and block walls. In coastal areas such as the Atlantic Seaboard and around Somerset West, we pay close attention to damp marks, salt exposure and soft paint layers because those conditions can affect adhesion. In workshops, offices and retail spaces, we also check for previous patch repairs, cable chases and uneven skim coats that may need more work than expected.
- Loose paint and dust removal
- Minor crack filling and patch repair
- Surface levelling and sanding
- Moisture and adhesion checks
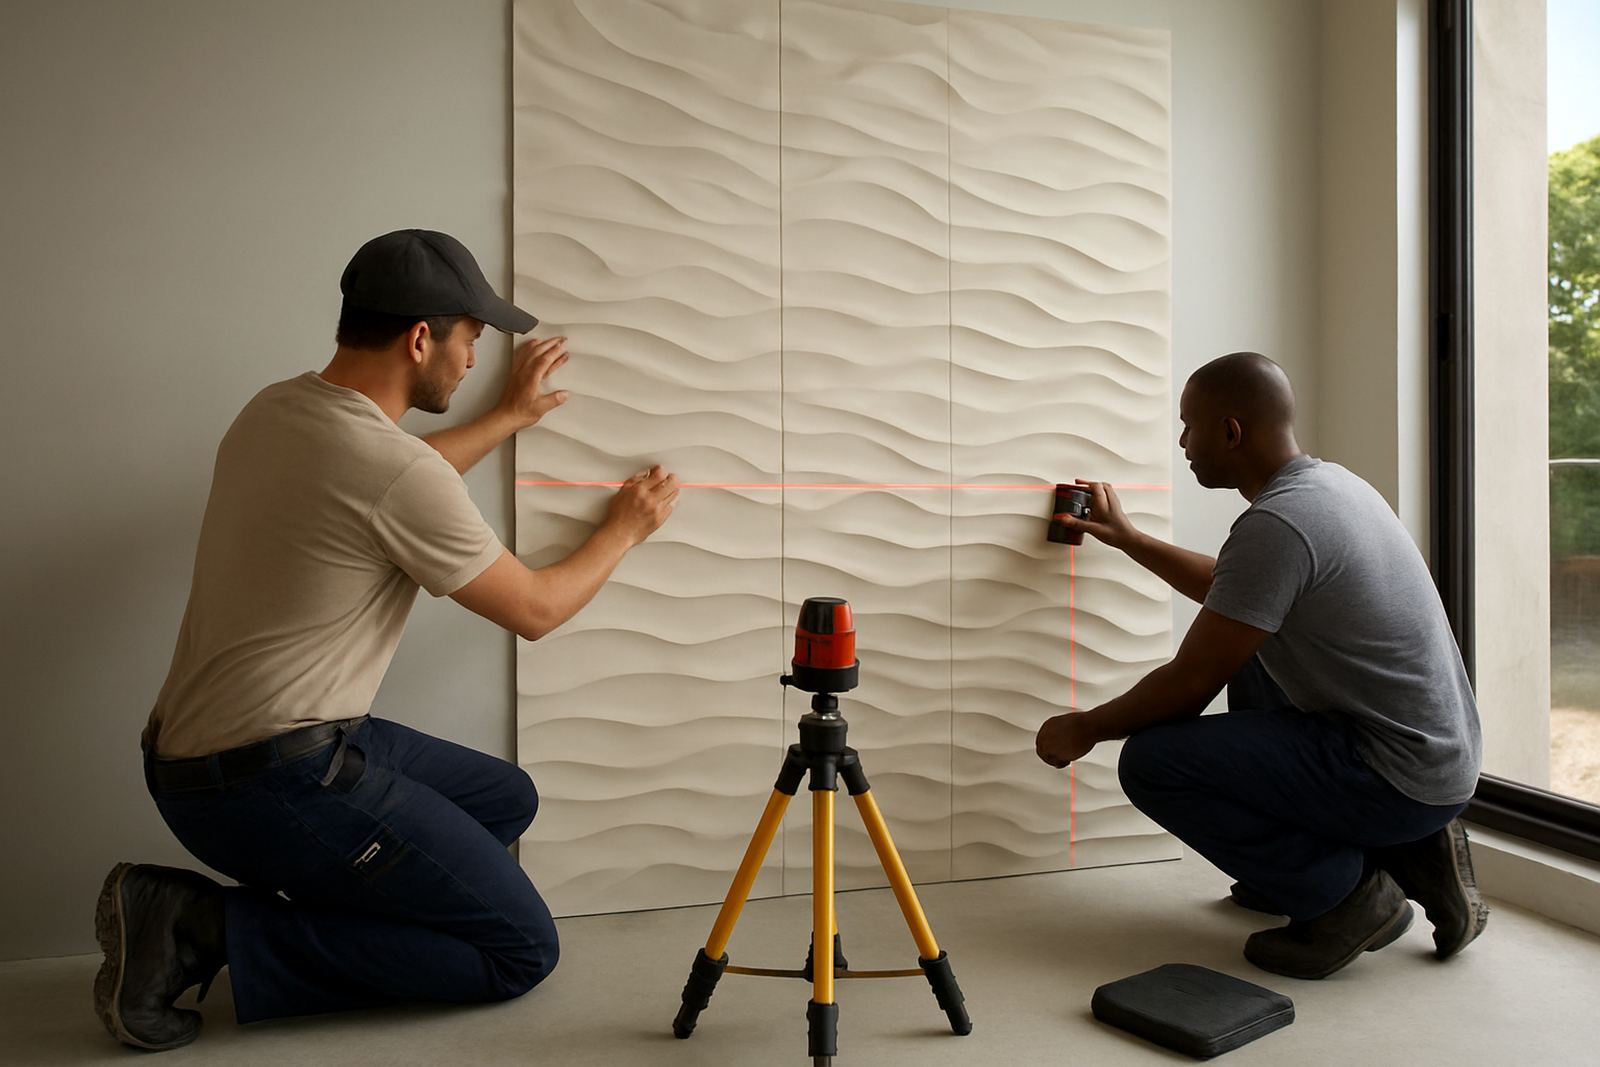
- Layout marking before installation
Why prep matters before installation begins
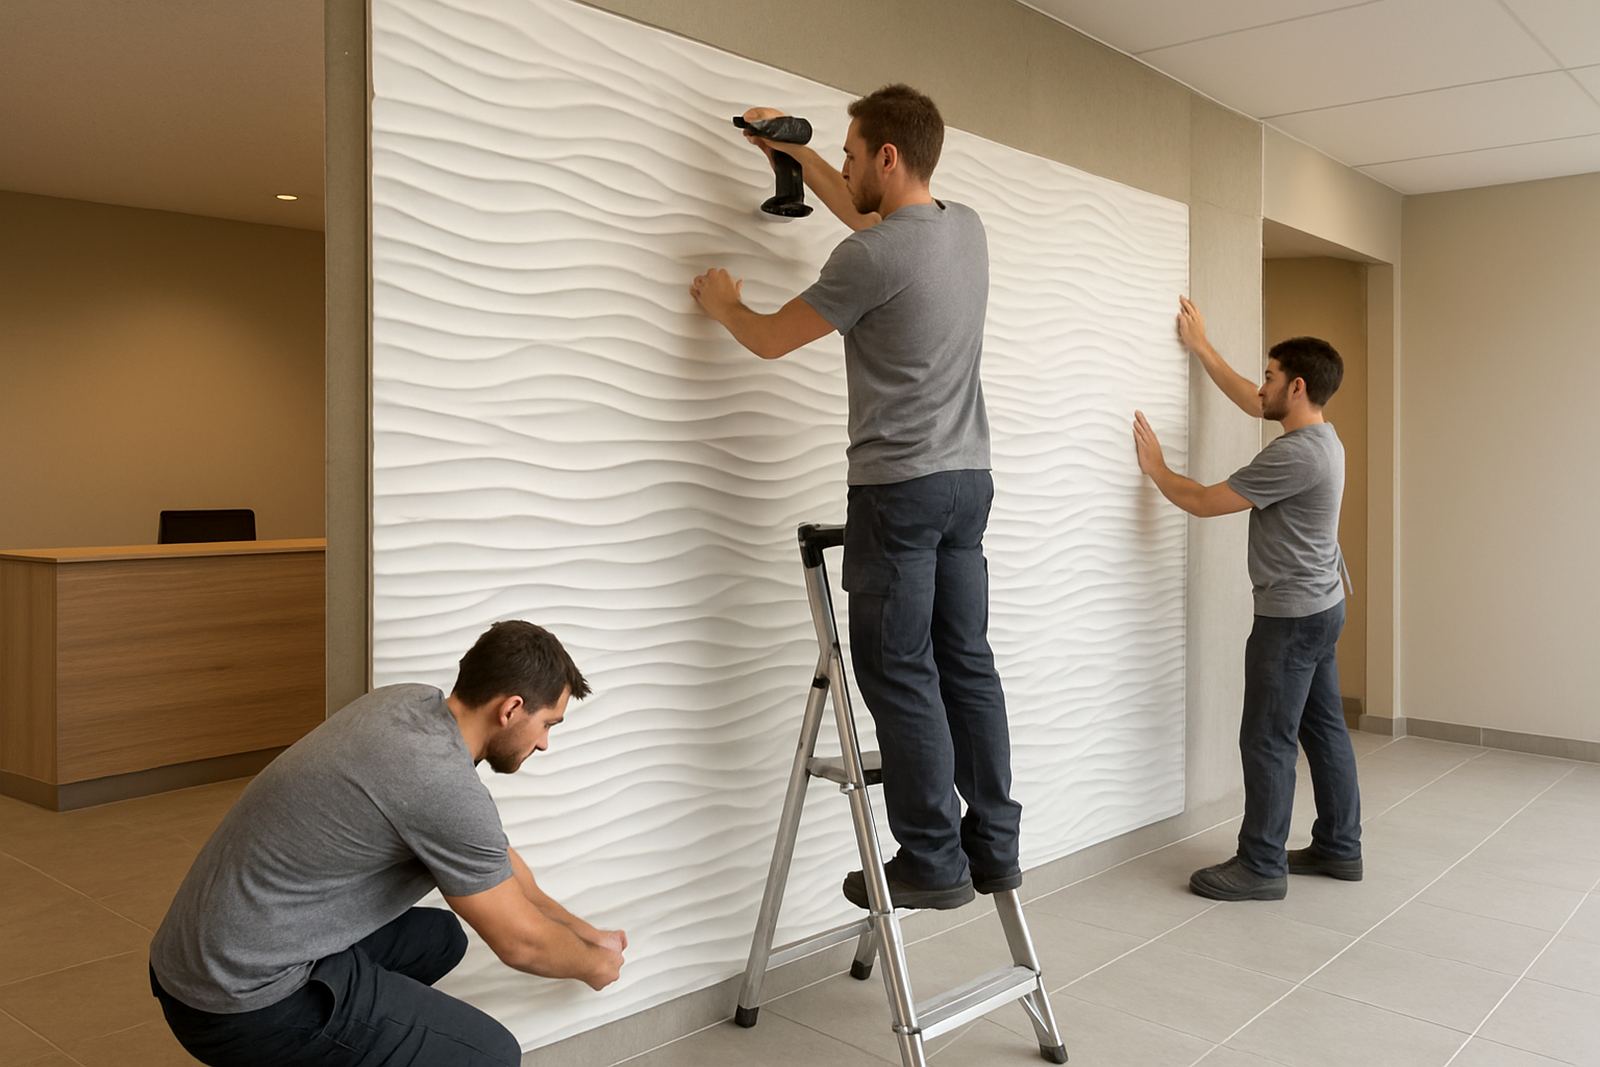
Feature wall cladding is only as good as the surface behind it. A wall that is dusty, chalky or slightly bowed can cause panels to lift, joints to show, or corners to look uneven. Good preparation helps with stronger adhesion, straighter lines and a longer-lasting result. It also reduces the chance of callbacks, which matters on busy commercial sites where turnaround is tight.
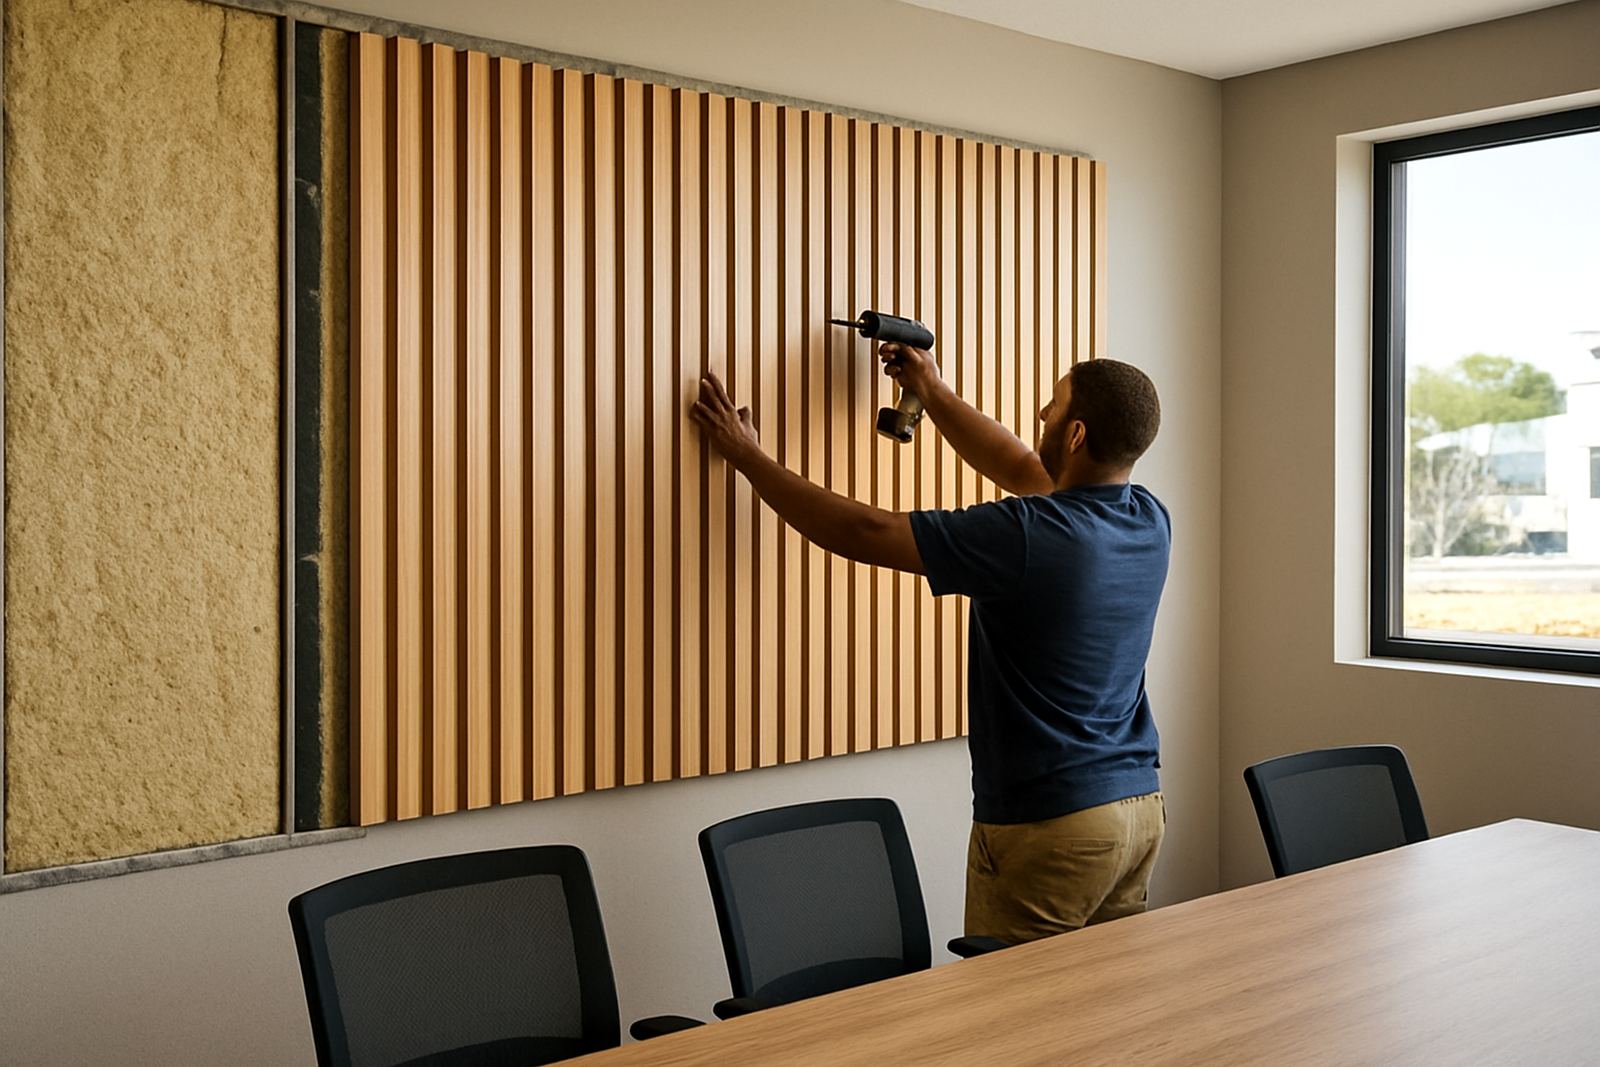
For acoustic panels, prep is even more important because gaps and unevenness can affect both appearance and fit. On larger commercial rollouts, we often work to the same level across multiple walls so every area reads consistently. That saves time during installation and keeps the final finish tidy from one section to the next.
- Improves grip between wall and panel adhesive
- Helps with accurate spacing and alignment
- Reduces visible bumps and shadowing
- Supports a cleaner finish in high-traffic areas
Our step-by-step preparation process
We start with a site measure-up and a visual check of the wall condition. If there are obvious defects, we flag them early and explain what needs to be done before installation starts. That can include filling, sanding, spot priming or moisture-related repairs. Where needed, we coordinate the prep sequence with the rest of the project so the job does not sit half-finished while materials wait on site.
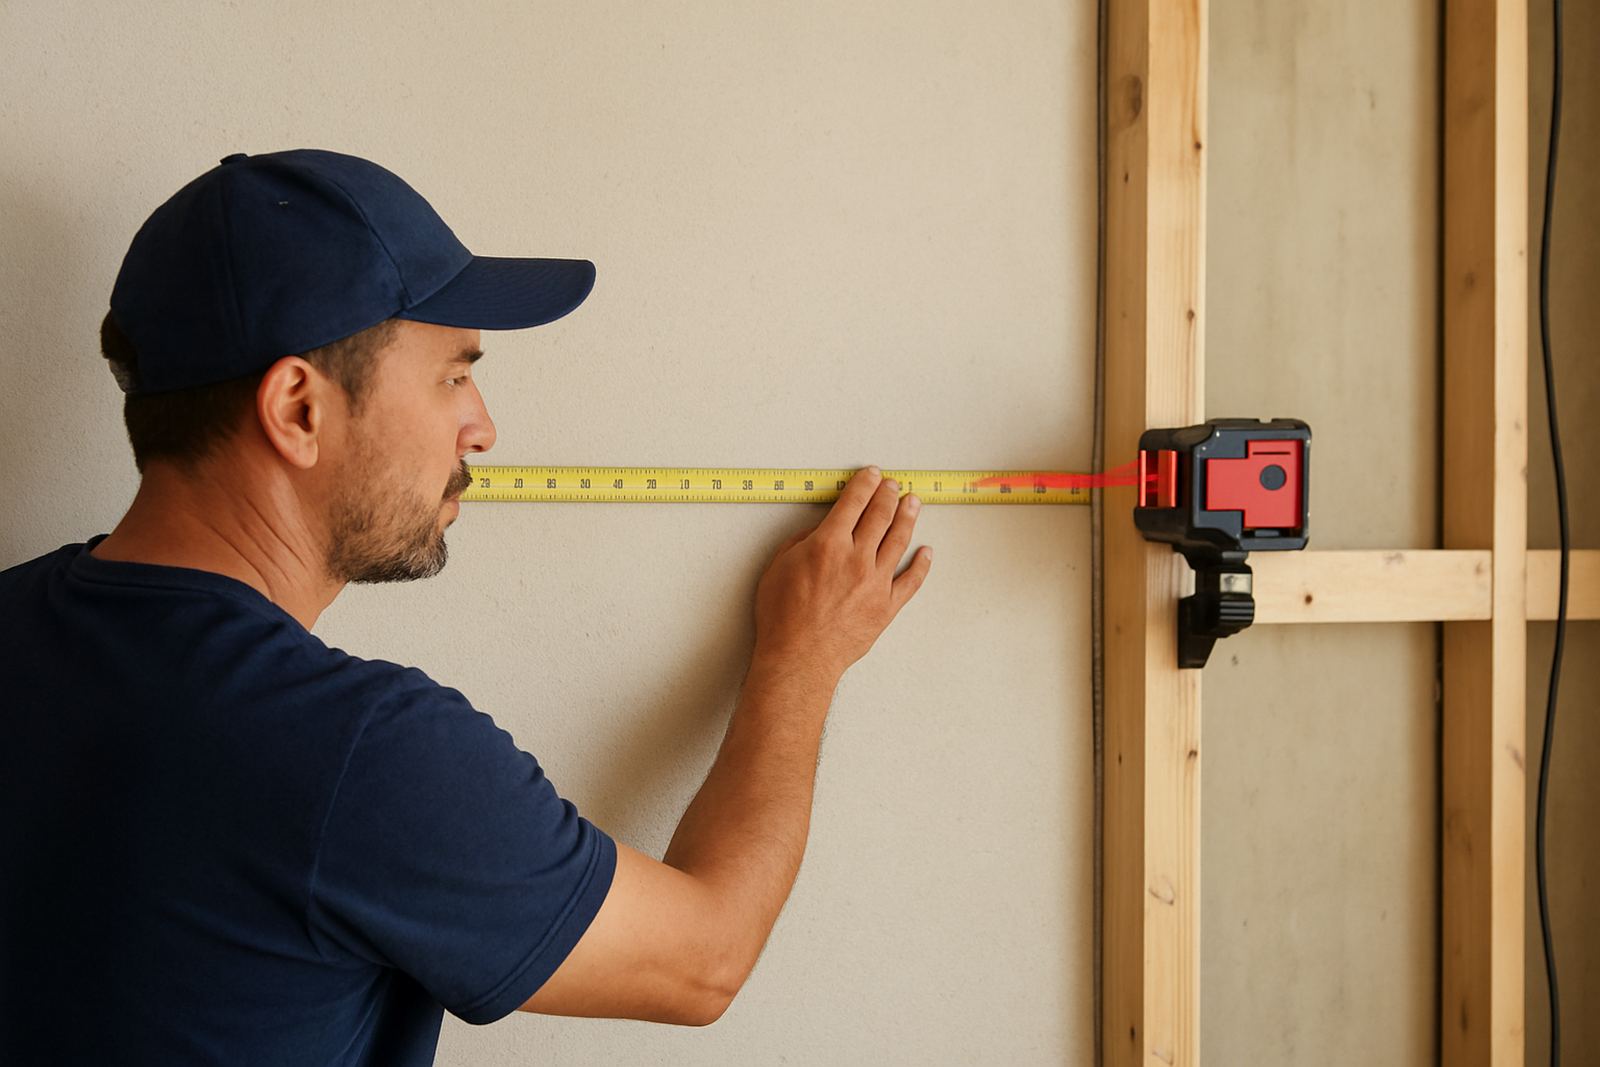
Once the wall is ready, we mark out the panel layout, confirm edge lines and check that any sockets, skirting or trim details are accounted for. This is especially useful in offices, reception areas and retail spaces where a small mistake is easy to notice. Johan Smit oversees installation readiness, while Tshegofatso Mabunda keeps the project sequence moving so the site stays organised and on time.
- Initial inspection and measurement
- Crack repair and surface filling
- Sanding, dust removal and spot priming
- Moisture check where required
- Set-out marks for panel placement
Turnaround times for homes, shops and offices
Small wall preparation jobs can often be completed in a day, especially on straightforward interior walls with light patching. For larger spaces, multiple feature walls or sites with damp and uneven plaster, the prep stage may take two to three days before installation can start. On commercial projects in Montague Gardens, the Northern Suburbs or Stellenbosch, we plan around trading hours, loading access and delivery timing so disruption stays low.
Weather can also affect turnaround in the Western Cape. Cold, damp conditions slow drying times, and in winter we allow for extra curing where needed. If a wall has serious movement, rising damp or major substrate damage, we will not rush it. That kind of surface needs proper correction first or the cladding will not hold as it should.
Pricing approach and what affects the cost
Wall preparation is priced according to the condition and size of the wall, not as a flat one-size-fits-all fee. A smooth painted wall needing only light sanding will cost less than a wall with cracks, flaking paint or moisture damage. For larger commercial sites, we can price by wall area, by room, or as part of a full supply and install package.
Factors that affect pricing include access height, substrate condition, the amount of patching needed and whether additional priming is required. If the wall needs specialist repairs before cladding can begin, we will explain that clearly before work starts. Our approach is practical: no hidden extras and no guesswork once the site has been assessed.
- Wall size and total square metres
- Condition of plaster, paint or board
- Amount of filling, sanding and priming
- Access, ceiling height and site logistics
- Whether prep is paired with installation
Care after prep and when to schedule maintenance
After preparation, the surface should stay clean and dry until installation begins. If there is a delay between prep and fitting, the wall should be protected from dust, water splashes and rough handling. Once panels are installed, maintenance is usually light, but the wall behind the panels still benefits from periodic checks in humid or high-use spaces.
In homes, a visual check every 12 months is usually enough unless there has been water ingress or impact damage. In restaurants, offices and retail spaces, we recommend reviewing the surface and panel edges every 6 to 9 months. If you are in a coastal area, salt air and humidity can make inspections more important, especially where windows or aircon units create condensation. A small issue caught early is easier to fix than a full repair later.
- Keep the wall dry before and after installation
- Inspect edges and joints annually in homes
- Check commercial areas every 6 to 9 months
- Report cracks, lifting or damp marks early
Key facts
| Base wall types | Plaster, painted brick, gypsum board, concrete block |
|---|---|
| Typical prep tolerance | Surface deviations kept to within 2 to 3 mm where the substrate allows |
| Common prep tasks | Filling, sanding, crack repair, dust removal, spot priming |
| Turnaround | 1 to 3 days for most interior walls, depending on condition |
| Service area | Montague Gardens, Cape Town and the Western Cape, with nationwide panel dispatch |
| Maintenance interval | 12 months for homes, 6 to 9 months for commercial spaces |