
Timber-Look Cladding for Warm, Modern Walls
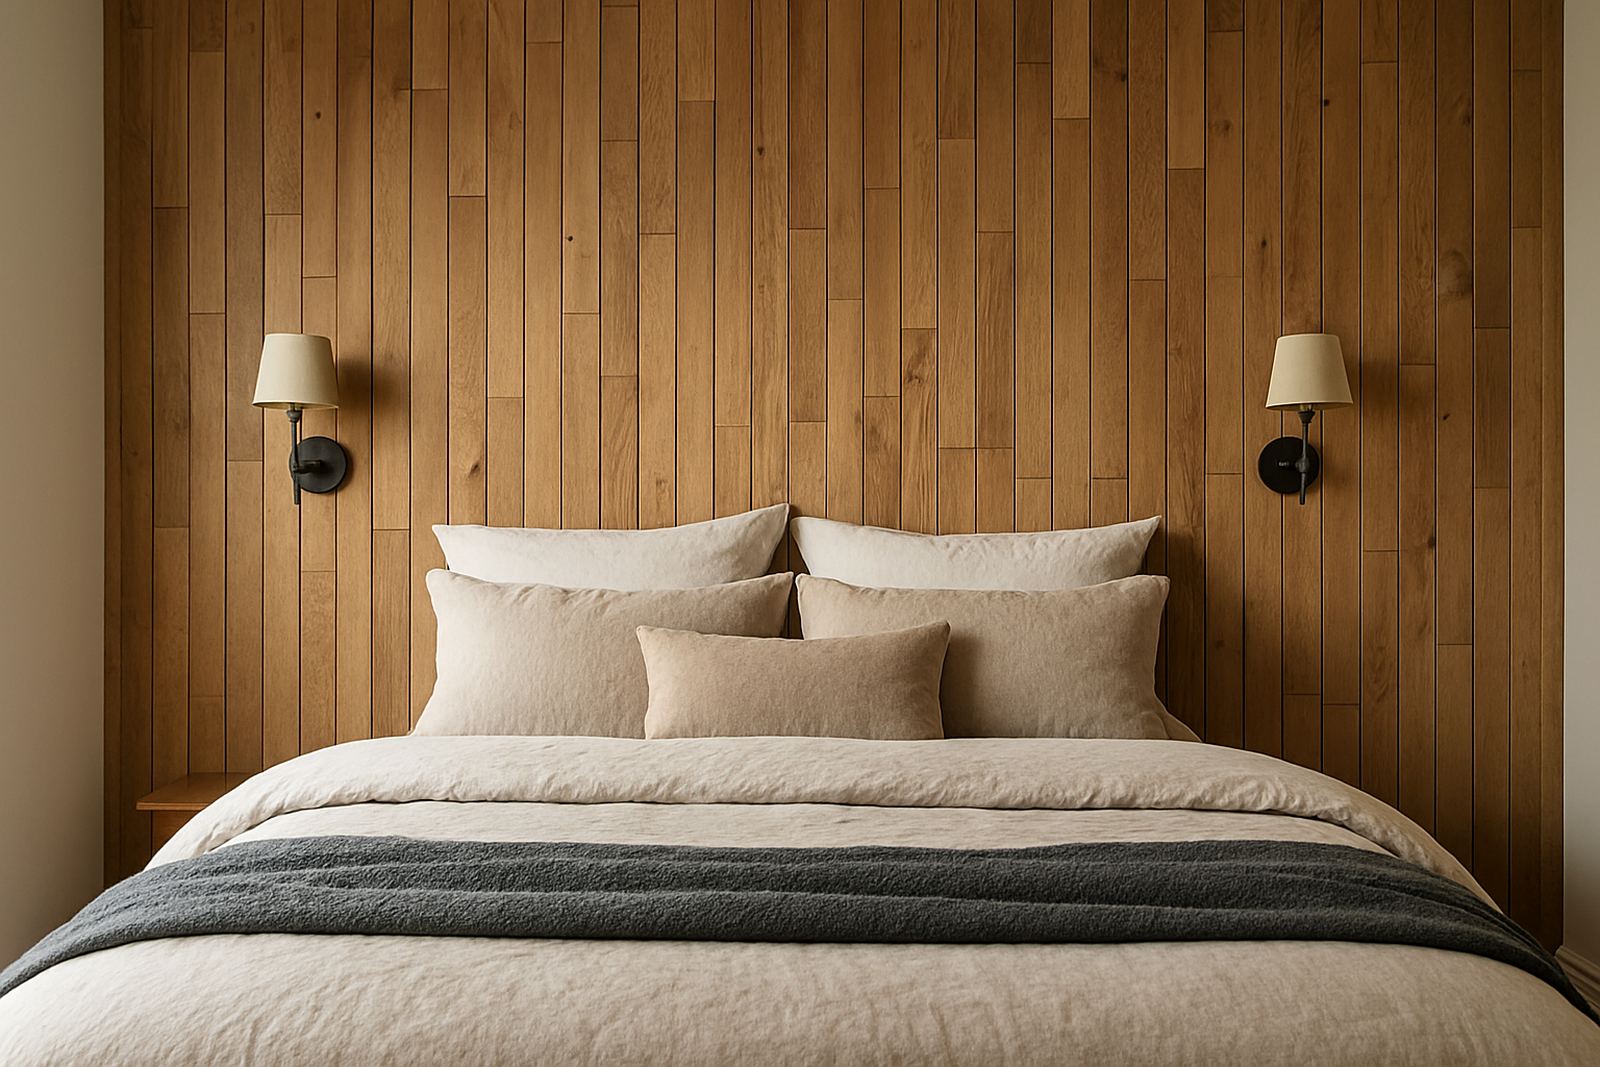
Timber-look cladding is a wall finish designed to give the appearance of timber grain, timber slats or wood toned panelling without the sanding, sealing and frequent maintenance that real wood can need. It is a practical option for feature walls, reception areas, passage walls, TV walls and shop interiors where you want warmth and texture but also want the wall to stay looking tidy for longer.
In Cape Town and along the coast, natural timber can move with humidity and salt air. That can lead to swelling, fading or uneven colour over time. Timber-look panels are made to keep a more consistent finish, which is useful in Stellenbosch, Somerset West and other Western Cape areas where the climate can change quickly between damp winters and dry summer heat. The look is refined enough for an upmarket home in the Southern Suburbs, but also durable enough for busy commercial spaces in Montague Gardens or the Atlantic Seaboard.
These panels are often chosen by architects, designers and homeowners who want a clean wood effect without having to match every board by hand. The result is more predictable, easier to order, and simpler to install on larger wall areas.
Profiles, finishes and the sizes to plan for
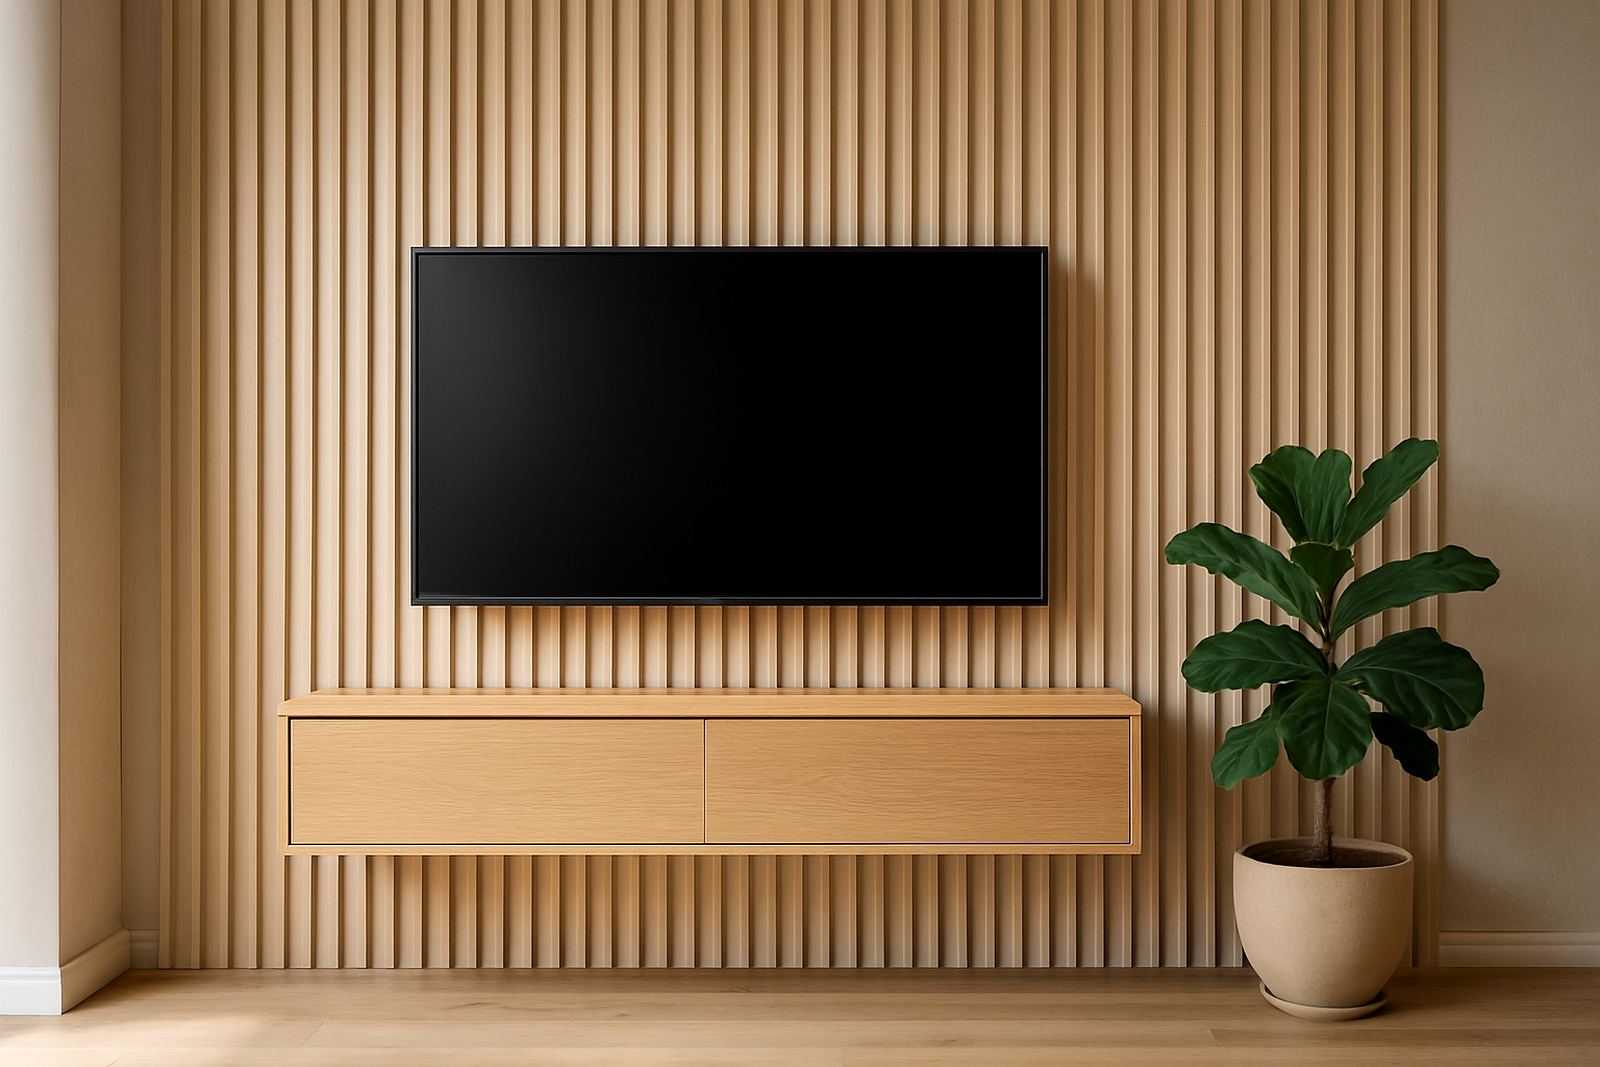
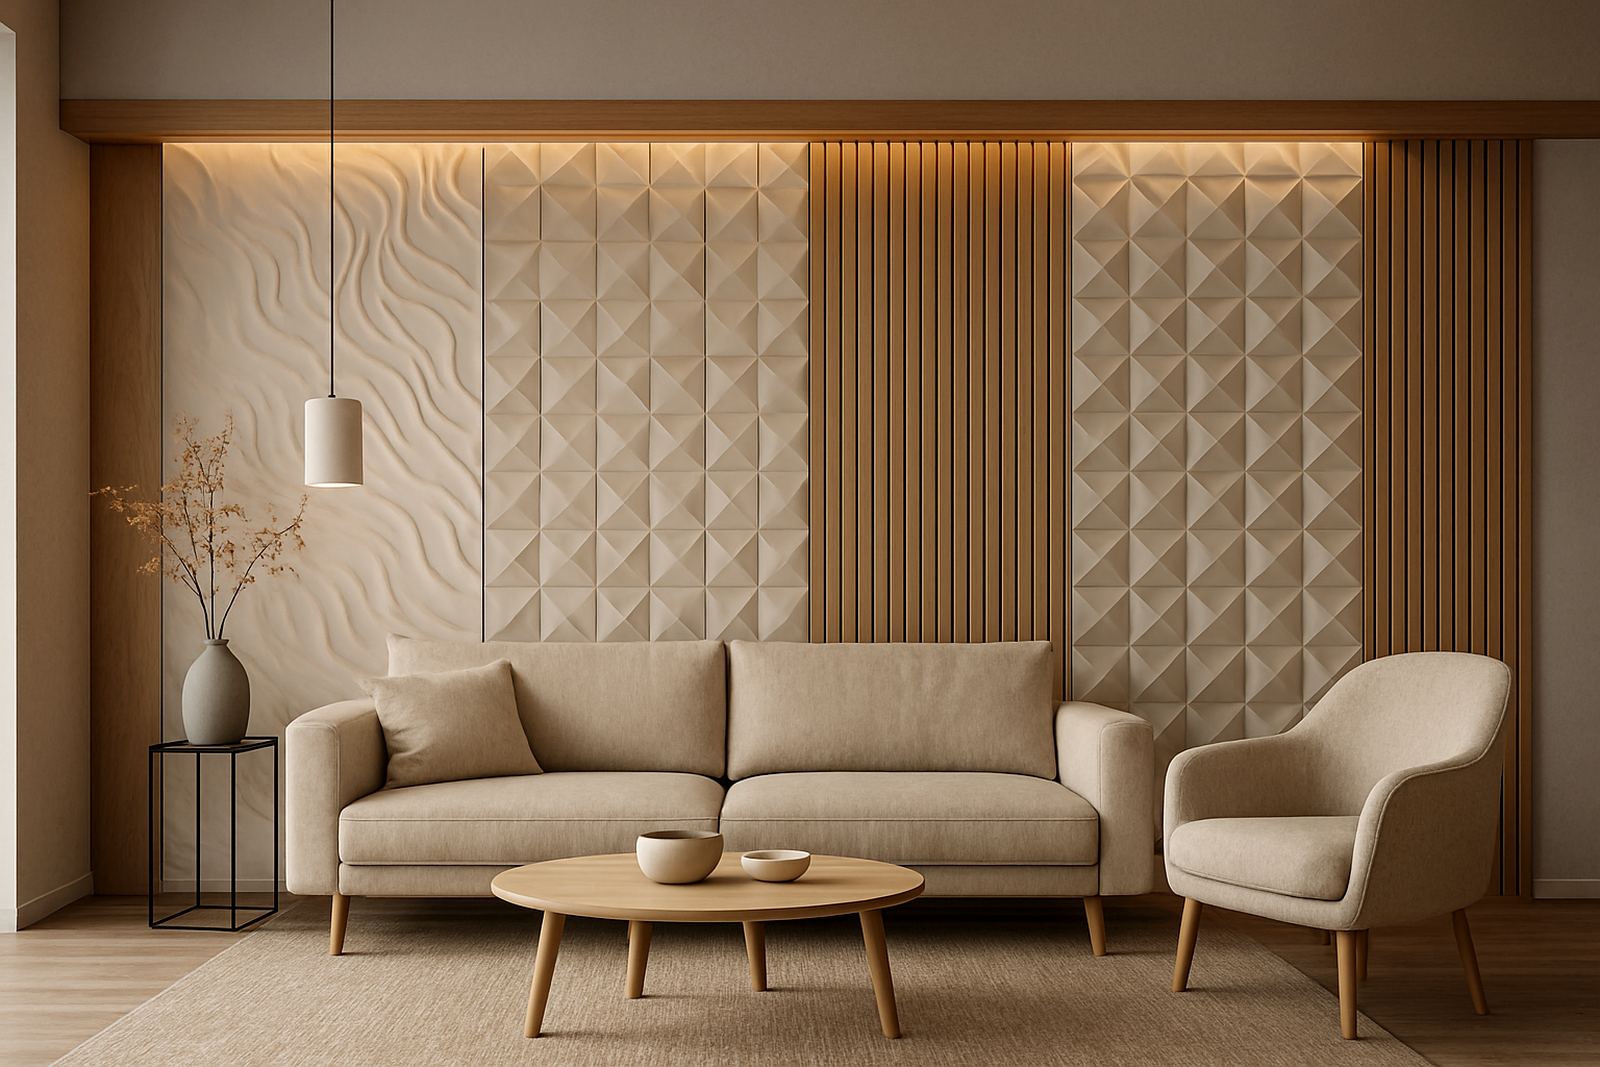
Timber-look cladding is available in different surface patterns, from straight slat styles to broader plank visuals and decorative feature sections. Depending on the room, you can use a single wall finish or combine it with painted surfaces, stone, plaster or acoustic backing. The key is to choose a pattern that suits the scale of the room. A narrow slat profile can work well in smaller spaces, while wider plank styles often suit boardrooms, lounges and entrance walls.
Common planning sizes include standard panel lengths of around 2.4 m to 3.0 m, with widths varying by profile. Thickness depends on the panel type and backing, but many feature wall panels fall in the 6 mm to 18 mm range. For project planning, allow for trimming on site, corner details and any movement joints required by the substrate. If the wall is not perfectly level, the installation team will usually assess whether battens or levelling compound are needed first.
- Choose from light oak, walnut, smoked wood and darker timber tones
- Ask for sample matching if you need the finish to work with flooring or cabinetry
- Check whether the profile is suitable for full wall coverage or a smaller feature section
- Confirm if the panels are solid, layered or decorative faced, as this affects weight and fixing method
Where timber-look cladding works best
This product suits a wide range of spaces across the Western Cape. In homes, it is often used behind television units, on stair landings, in bedrooms and in entrance passages. In commercial spaces it can be used for reception counters, meeting rooms, restaurant walls, hotel corridors and retail display areas. It is a practical way to add texture without making the space feel heavy.
It also works well where you want to soften acoustics a bit, especially in rooms with hard floors, large windows or higher ceilings. While timber-look cladding is not the same as a dedicated acoustic panel, certain profiles can help break up sound reflections and make a room feel less echoey. That is useful in offices, salons, conference rooms and open plan living areas.
For coastal properties from Blouberg to the Atlantic Seaboard, the material choice needs to take moisture into account. For inland towns like Paarl and Stellenbosch, heat and direct sun can also affect wall finishes if the wall gets strong light through glass. A proper substrate and the right fixing method matter more than people often think. If the wall is damp or flaking, it should be sorted before any cladding goes up.
Installation, preparation and power needs
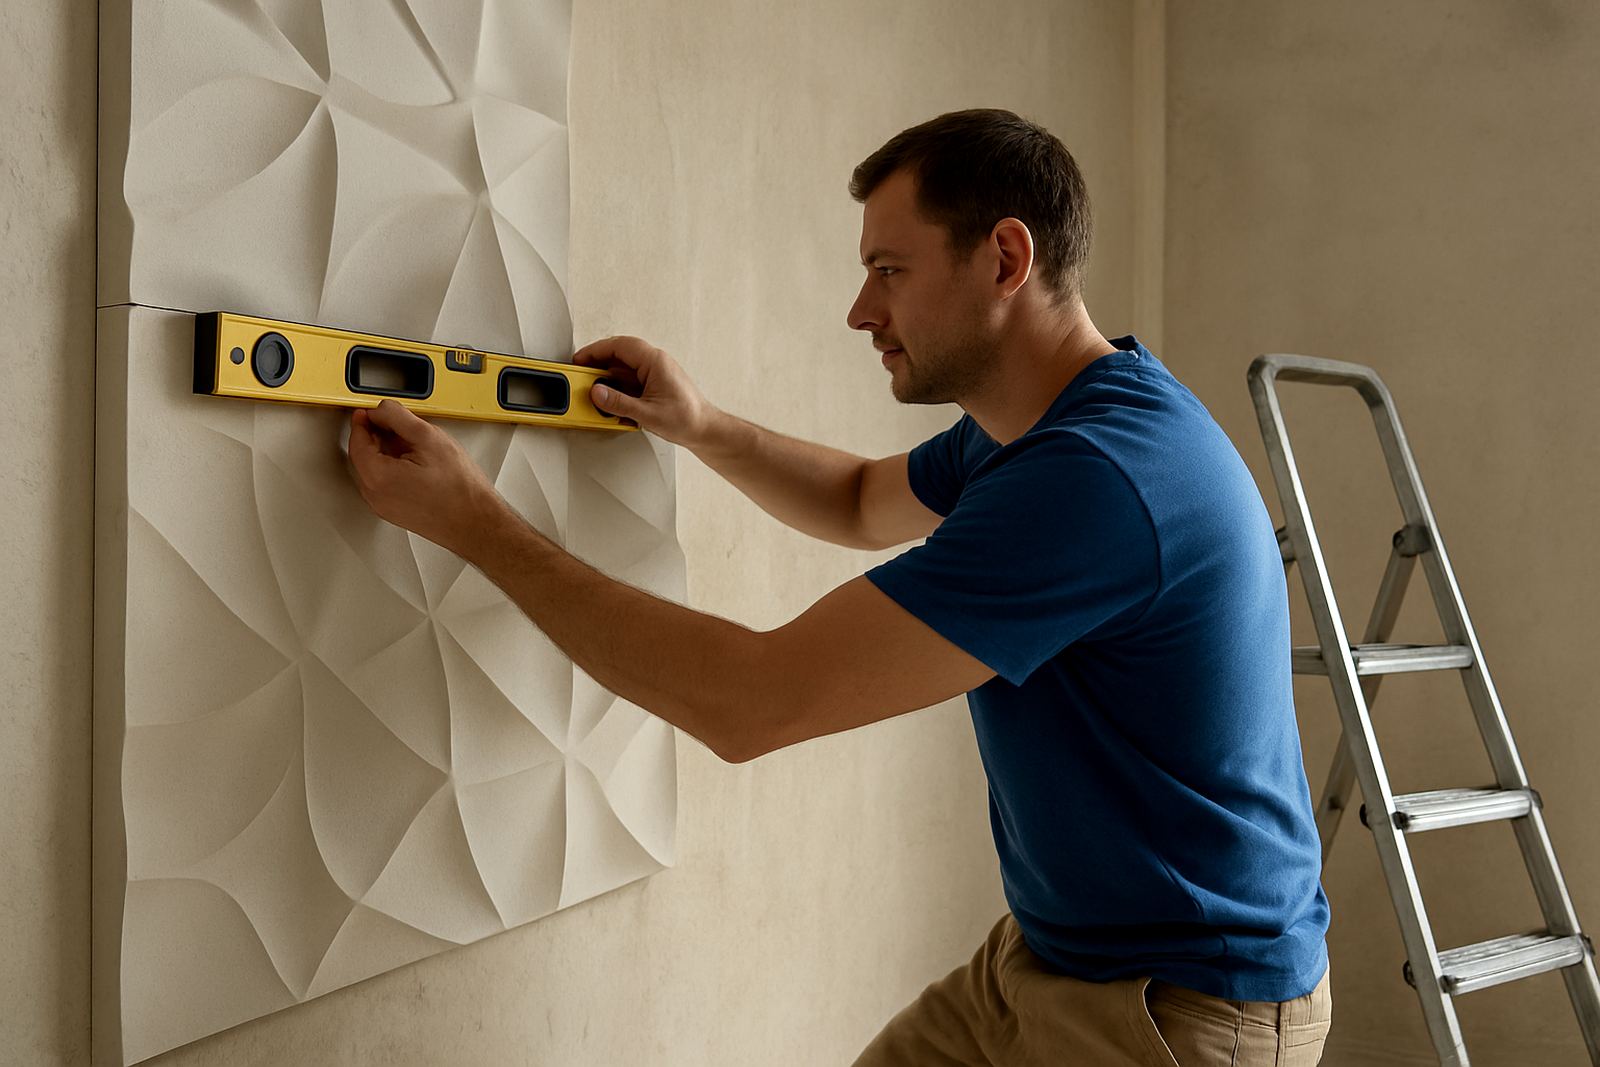
Most timber-look cladding installations are straightforward, but the wall still needs proper prep. The surface should be sound, dry and reasonably level before fitting starts. On site we usually check for loose plaster, cracks, moisture and uneven sections. If the wall is in a retail or office environment, install timing may also need to work around trading hours, loading bays and municipal noise rules where applicable.
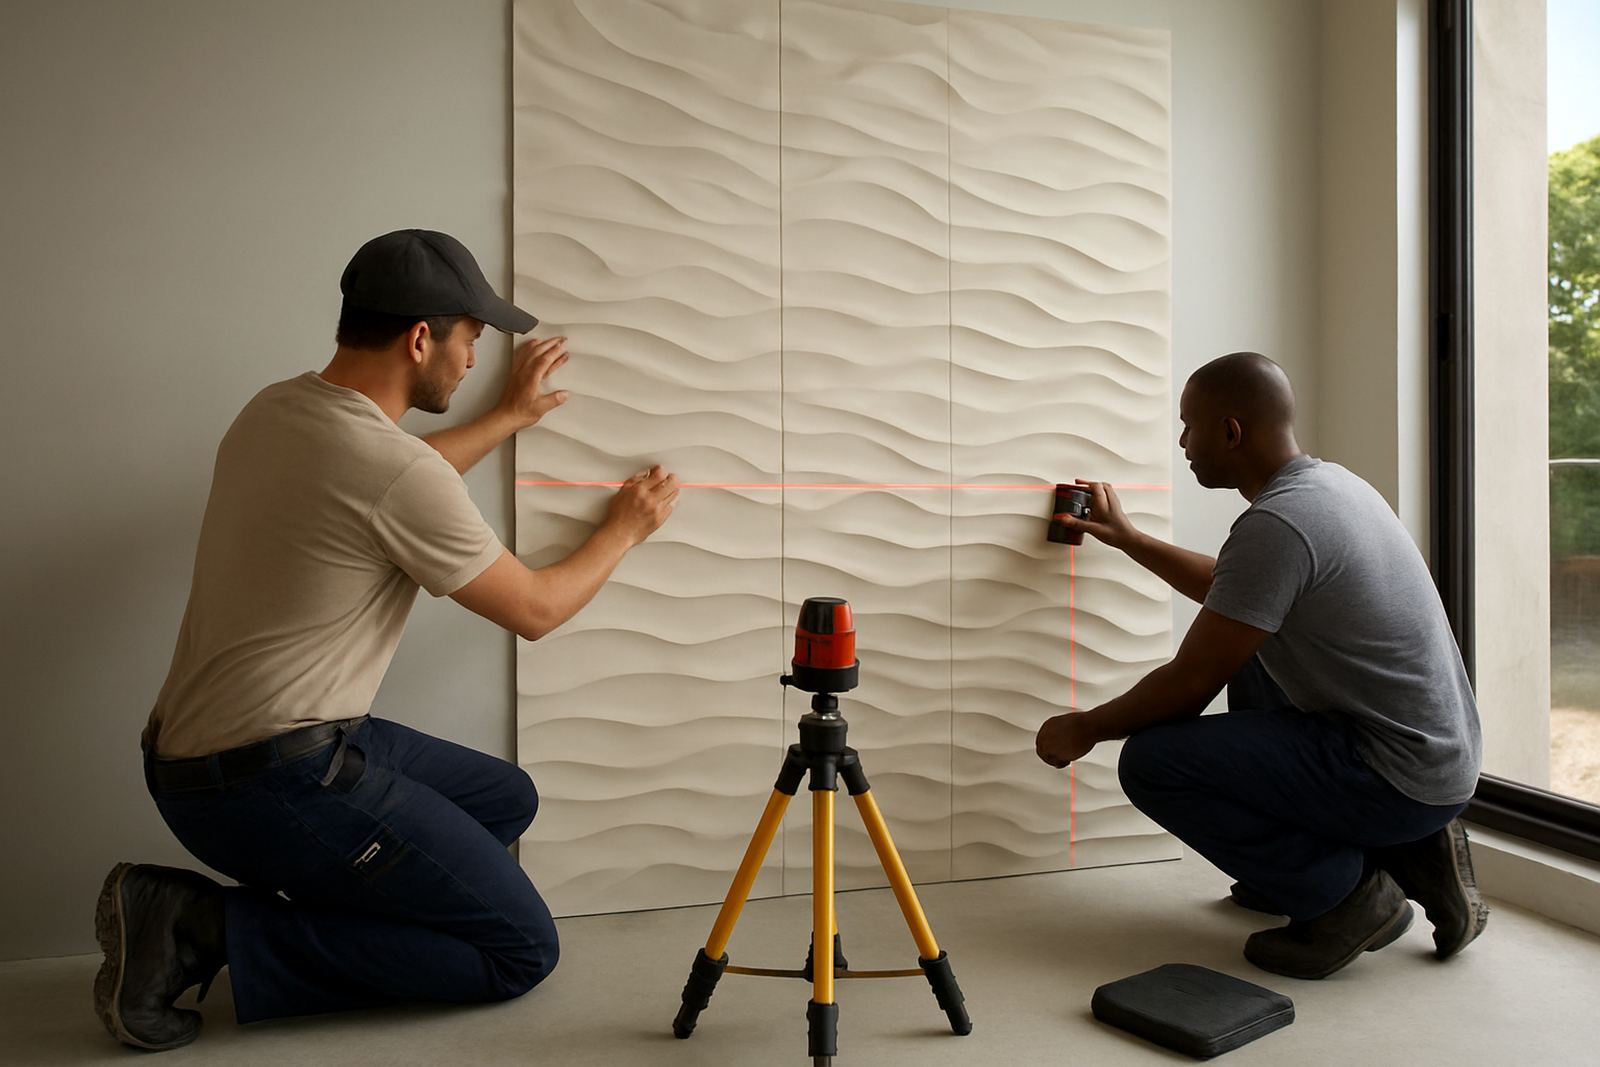
Installation methods vary by product and substrate. Panels may be glued, screwed or fixed to battens, depending on the wall condition and the weight of the panel. For larger commercial rollouts, a site measure-up helps to reduce waste and avoid delays. If cuts need to be made on site, the team will plan for dust control and clean edges, especially in furnished homes or occupied business premises.
There is no power or gas requirement for the cladding itself. The only power needed is for tools used during installation, such as saws, drills and measuring equipment. If your project includes integrated lighting, TV mounting or concealed cables, that must be coordinated with the relevant trades before the panels are fitted.
- Check wall moisture before ordering, especially in bathrooms, kitchens and coastal homes
- Make sure skirtings, trims and corners are planned before delivery
- Allow for access around built in cupboards, switches and plug points
- For commercial spaces, confirm after-hours installation if the site cannot shut during trading
Care, cleaning and long-term servicing
One of the main reasons people choose timber-look cladding is the easier care routine. In most cases, regular dusting and a light wipe with a damp cloth is enough. For marks, use a mild cleaner rather than harsh chemicals or abrasives, since those can dull the surface finish over time. If the wall is in a high traffic area like a passage, retail front or hospitality venue, routine cleaning will keep it looking more even and prevent build-up on joints and edges.
Unlike natural timber, these panels generally do not need sanding, resealing or oiling every year. That said, damage can still happen from impact, furniture movement or poor water management. If a section is chipped, swollen or lifted, early repair is better than leaving it to spread. We can assist with panel repairs and aftercare support so the finish remains neat and the wall stays serviceable.
In areas with coastal humidity, it is also worth checking ventilation and condensation around the wall. Even a good finish can struggle if the room holds moisture for long periods. A small amount of maintenance goes a long way and can save you from bigger problems later on.
What to verify before ordering fluted wall panels
Before ordering timber-look cladding, it helps to confirm a few practical details so the result matches your space and budget. The first is the exact wall size, including height, width and any cut-outs for doors, windows, light switches and sockets. The second is the finish tone, because wood-look colours can shift quite a bit under warm indoor lighting versus daylight. A sample view on site is often more reliable than choosing from a picture alone.
You should also check how the product will be fixed, whether trims are needed, and if the wall needs prep work first. For commercial projects, it is worth confirming delivery timing, access restrictions and whether the install will happen in phases. For residential work, make sure furniture can be moved and the room can stay clear while the job is underway. If you need matching on more than one room, ask for the same batch where possible so the tone stays consistent.
- Confirm the panel length, width and total square metres required
- Check the colour tone in both natural light and artificial light
- Ask about trims, corners and finishing details before sign off
- Confirm whether your wall needs levelling, sealing or moisture treatment first
- For large jobs, ask about phased delivery and installation planning
If you are working on a home in the Northern Suburbs, a hospitality site in the city bowl or a commercial fit-out in Montague Gardens, a proper measure-up and sample match can save time and reduce rework. The result should look tidy on day one and still hold up well after day to day use.
Key facts
| Product type | Timber-look feature wall cladding for interior use |
|---|---|
| Typical panel length | 2.4 m to 3.0 m, depending on profile |
| Typical panel width | Varies by style, often 100 mm to 600 mm equivalent coverage |
| Typical thickness | 6 mm to 18 mm depending on construction and backing |
| Installation method | Glue, screw or batten fixing, subject to substrate and panel type |
| Power or gas needs | No power or gas required for the product itself; only standard installation tools |